
Keyword Info: Underpainting is a foundational technique in oil painting, where an initial layer of paint, often monochromatic, creates a base for subsequent layers to achieve more depth and luminosity in the artwork.
What is Underpainting Oil?
Underpainting oil refers to the initial layer of oil paint applied to a canvas before the final layers of paint. It serves multiple purposes, ranging from establishing the composition to allowing artists to explore color harmony and tonal values. By using underpainting Techniques, artists can create a roadmap for their work, enhancing the vibrancy and depth of colors in the final piece.
Benefits of Underpainting in Oil
The use of underpainting in oil painting provides several significant advantages:
| Benefit | Description |
|---|---|
| Establishes Composition | Lay down a preliminary foundation for design and layout, allowing for adjustments. |
| Defines Values and Tones | Helps in defining light and shadow areas, providing a guide for coloring in later layers. |
| Enhances Luminosity | Allows colors to glow by letting the underpainting show through subsequent layers. |
| Saves Time | Artists can quickly build layer upon layer with an established structure, saving time overall. |
Techniques for Underpainting in Oils
There are several techniques used for underpainting, each with its unique characteristics:
-
Monochromatic Underpainting:
- This technique uses a single color, often in shades of gray (grisaille), to establish value without distraction from colors.
- Ideal for focusing purely on the tonal composition of a piece.
-
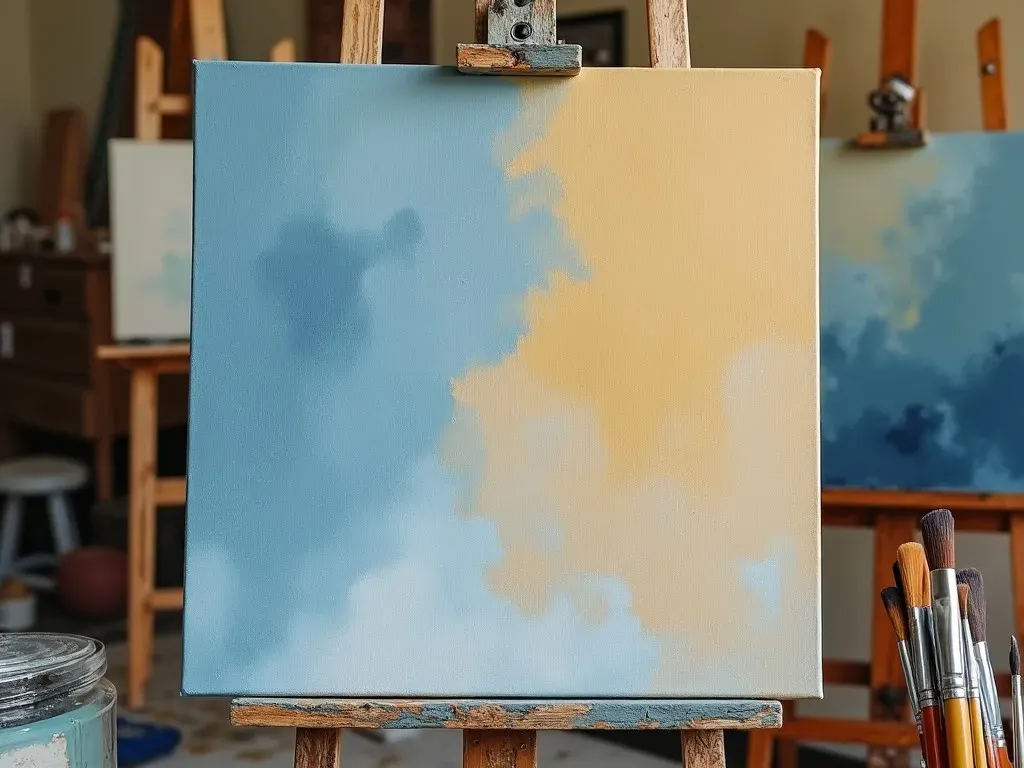
Imprimatura:
- A method that involves applying a colored wash that influences the overall color of the artwork.
- Offers flexibility in color choices and adds warmth to paintings.
-
Two-Color Underpainting:
- Utilizes two colors to create contrasts and depths, often combining a light and dark tone.
- This method can enhance the visual complexity of the artwork.
Reference Video
Popular Underpainting Colors
Choosing the right color for underpainting is crucial for the overall feel of the painting. Here are some widely used colors and their applications:
| Color | Use Case |
|---|---|
| Raw Umber | A traditional choice for a warm underpainting. |
| Gray | Excellent for achieving a neutral base. |
| Venetian Red | Provides a vibrant tone that influences the overall warmth. |
| Green | Great for creating depth and handling light tones. |
Underpainting Techniques—Step by Step
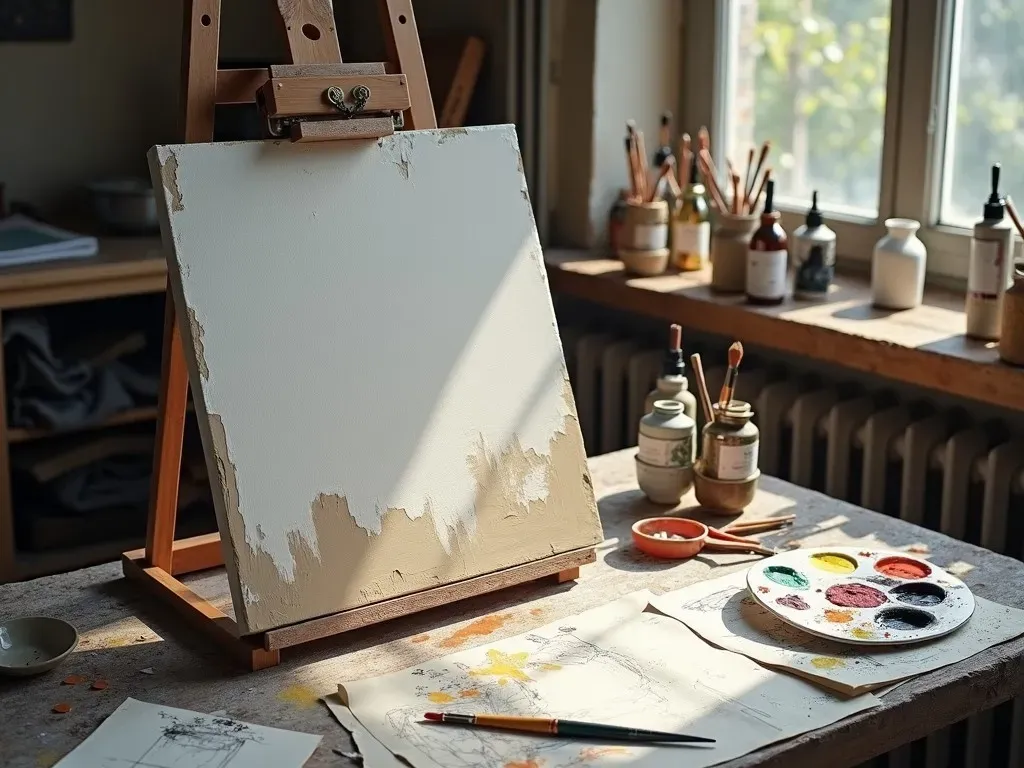
Step 1: Prepare Your Canvas
Start by priming your canvas with a suitable gesso and allowing it to dry completely. This will help the oil paint adhere better and allow for smoother application.
Step 2: Sketch Your Composition
Using a pencil or thinned paint, create a light outline of your desired composition on the canvas. This will guide your underpainting process.
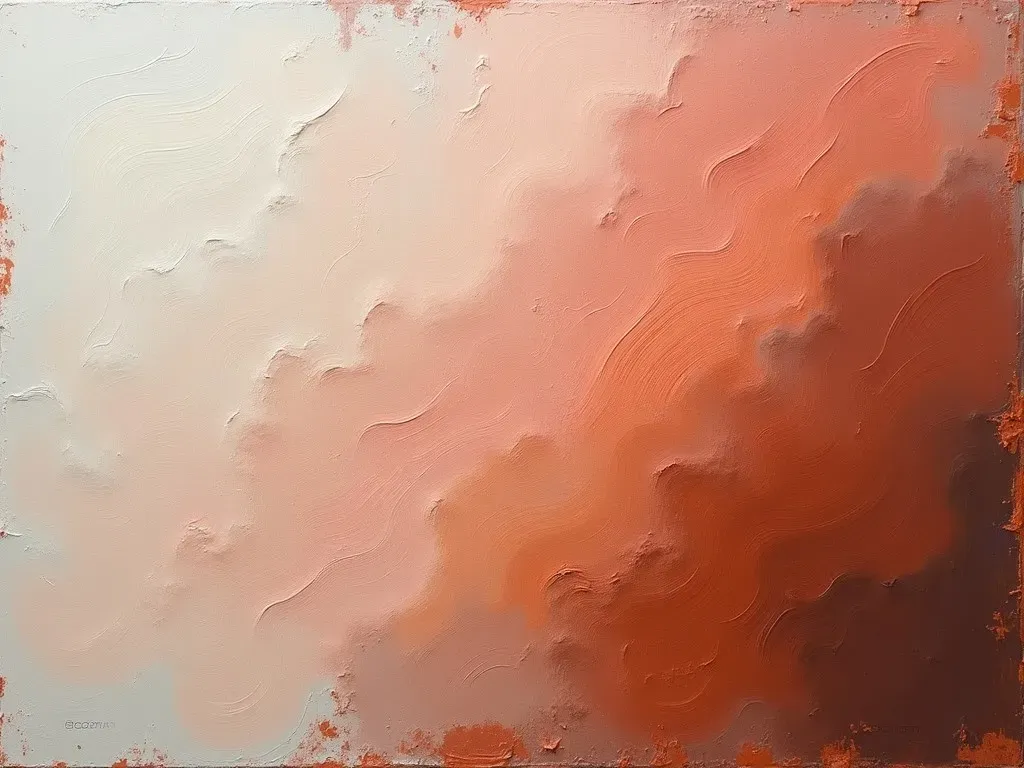
Step 3: Apply the Underpainting Layer
Choose your method of underpainting (monochromatic, imprimatura, etc.) and fill in your sketched outlines. Use thinned oil paint and broad strokes to begin.
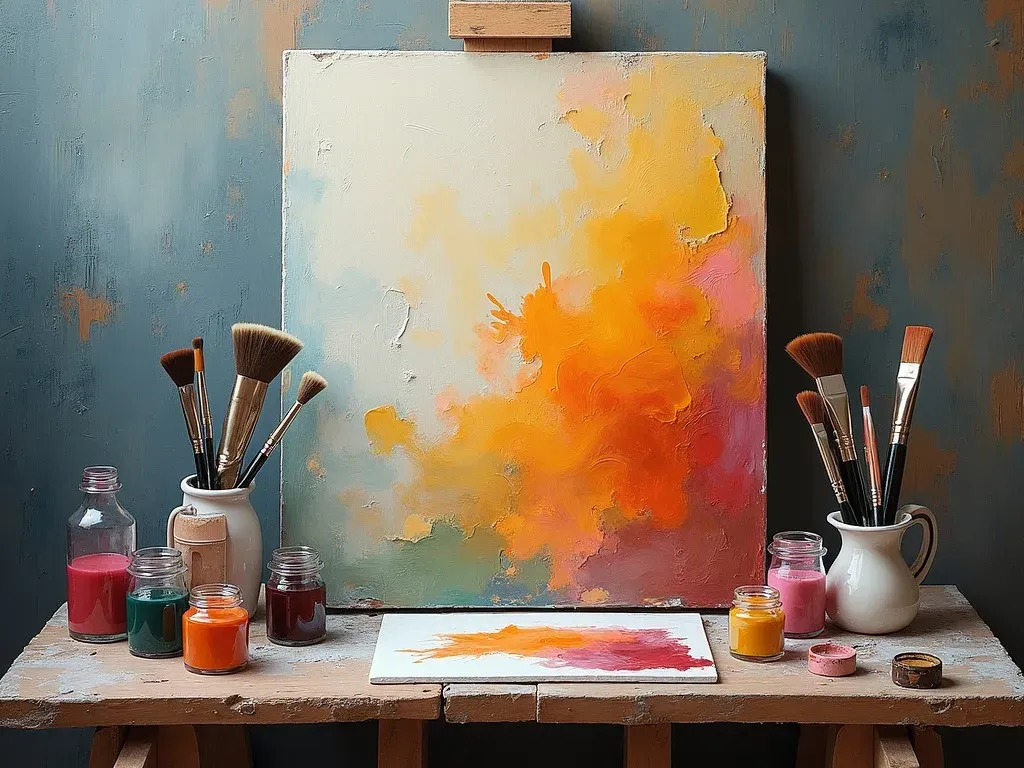
Step 4: Build Layers
Once your underpainting has dried, you can begin applying additional layers of color. Use glazes to enhance depth and luminosity.
Step 5: Final Adjustments
Continuously evaluate your piece for tonal accuracy and color balance, making adjustments as needed for a harmonious result.
Underpainting vs. No Underpainting
Many artists debate the necessity of underpainting. Here are some key points comparing both approaches:
| Aspect | Underpainting | No Underpainting |
|---|---|---|
| Time Efficiency | More initial time but saves time later. | May seem faster initially. |
| Color Depth | Enhances depth and luminosity. | Can result in flat colors. |
| Structure | Provides a clear structure to follow. | More freedom but less guidance. |
| Learning Curve | Encourages understanding of values. | May limit growth for beginners. |
Frequently Asked Questions About Underpainting Oil
What materials do you need for underpainting in oil?
You will need a primed canvas, oil paints, brushes (both stiff and soft), and medium (like linseed oil) to thin the paint.
How long should the underpainting dry before proceeding?
Typically, it takes around 24 hours for an underpainting layer to dry sufficiently before applying subsequent layers, but this can vary depending on the thickness of the paint and environmental conditions.
Can you use acrylics for underpainting before oil?
Yes, acrylics can be used for underpainting as they dry quickly. However, they should ideally be fully dry before applying the oil paint as a top layer.
What are some common mistakes to avoid in underpainting?
- Using too much paint can lead to a heavy, less transparent layer.
- Not allowing sufficient drying time before layering can result in muddy colors.
- Overworking sections can destroy desired texture.
Final Thoughts on Underpainting Oil
Mastering the technique of underpainting in oils is crucial for developing your skills as a painter. It opens a world of color possibilities and helps create depth and interplay in your artwork. Seek Inspiration and technical knowledge from various resources, and practice consistently to enhance your artistry.
For further reading and resources, visit Jerry’s Artarama for comprehensive guides on underpainting techniques and tips.
