Oil painting for beginners step by step is your ultimate guide to mastering the art of oil painting. This article aims to break down the entire process into manageable steps, ensuring you feel confident as you embark on this creative journey.
Understanding Oil Painting
Before you pick up your brush, it’s vital to understand what oil painting is. Oil painting involves using pigments suspended in oil, typically linseed oil, to create beautiful works of art. One of its major appeals is the rich depth of color and the ability to manipulate texture, allowing artists to explore various Techniques.
Why Choose Oil Painting?
- Versatile Medium: Suitable for many styles—realism, impressionism, and abstraction.
- Slow Drying Time: Allows for blending and working on details over an extended period.
- Rich Colors: Produces vibrant hues and allows for unique textures.
Essential Supplies for Beginners
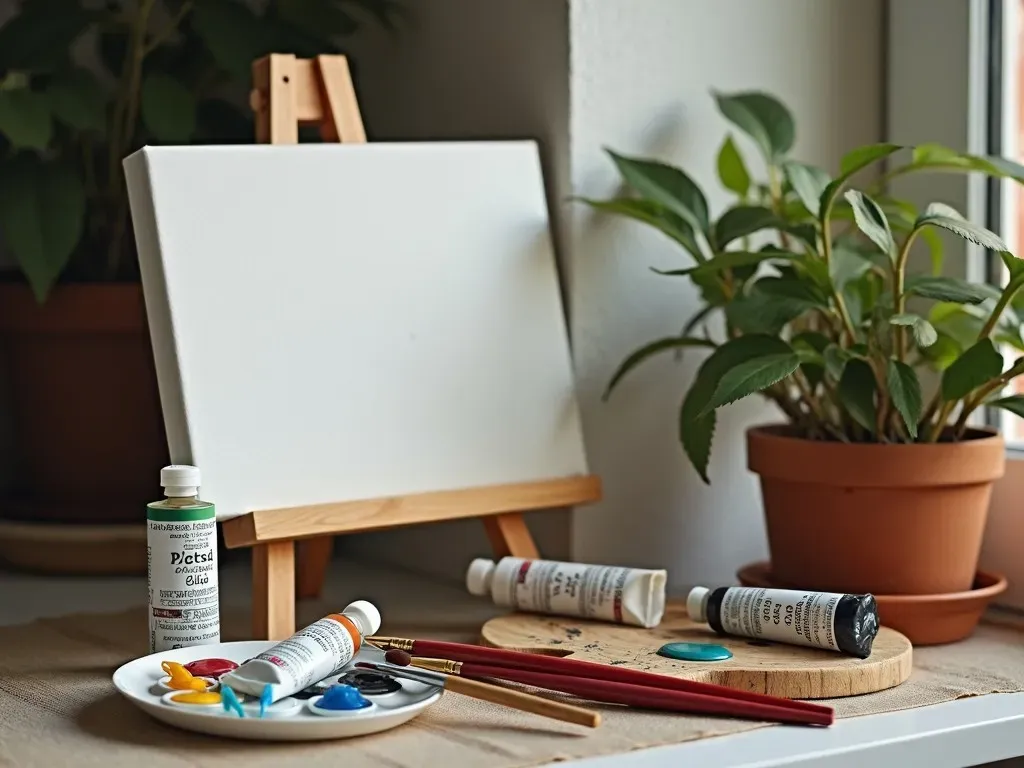
Before diving into your first piece, gather the essential Supplies. Here’s a quick list:
| Item | Purpose |
|---|---|
| Oil Paints | The primary medium for your artwork. |
| Brushes | Use different shapes and sizes for varying effects. |
| Canvas or Panel | The surface where you will create your art. |
| Palette | For mixing colors. |
| Palette Knife | Useful for mixing colors and applying textures. |
| Solvent | Helps clean brushes and thin paint. |
| Cloth or Paper Towels | For cleaning your brushes and wiping excess paint. |
| Varnish | A protective layer for finished paintings. |
 oil painting supplies">
Step-by-Step Process of Oil Painting
Step 1: Preparing Your Workspace
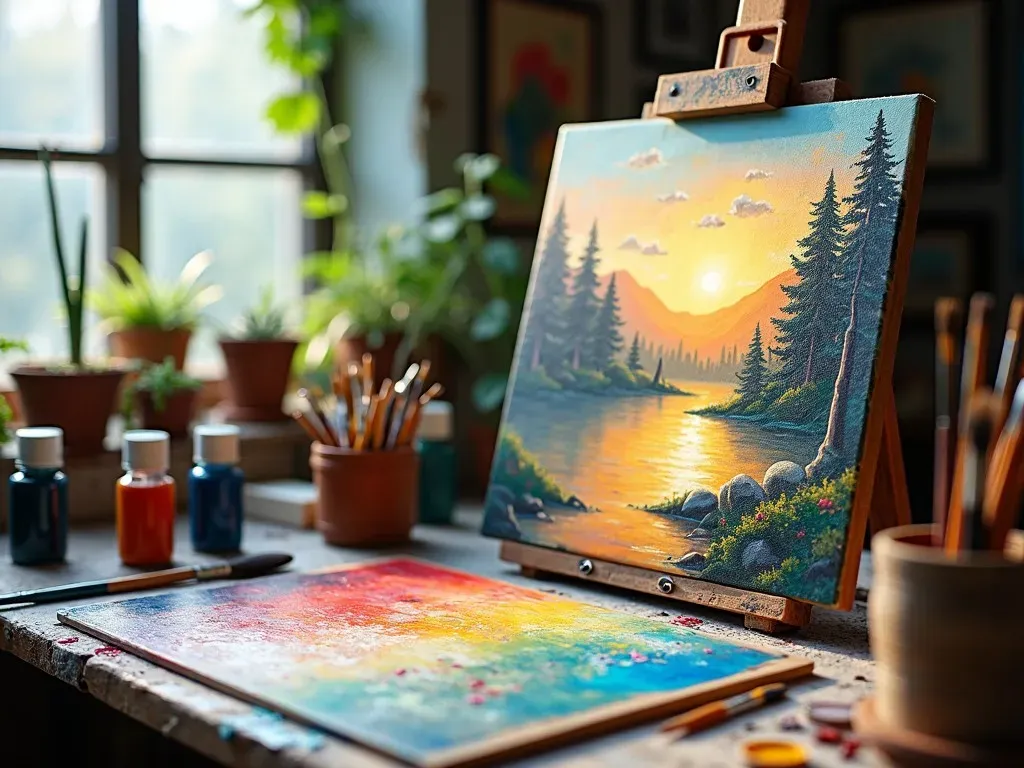
Create a comfortable, well-lit workspace. Natural light is best, but ensure you have adequate artificial lighting as well. Cover surfaces with protective materials to guard against spills.
Step 2: Setting Up Your Canvas
When starting, consider buying pre-stretched canvases. If you prefer to work on wooden panels, ensure they are primed. This can affect the paint’s adherence and your final appearance.
Step 3: Sketching Your Design
Use a light pencil or charcoal to outline your composition on the canvas. Focus on the major shapes and forms to establish your layout before applying paint.
Step 4: Mixing Colors
Start by learning the color wheel. Basic colors include:
| Primary Colors | Secondary Colors | Tertiary Colors |
|---|---|---|
| Red | Orange | Red-Orange |
| Blue | Green | Blue-Green |
| Yellow | Purple | Yellow-Green |
Understanding complementary colors can enhance your palette. For instance, mixing a little complementary color into your primary one can produce shades and tints.
Step 5: Understanding oil painting techniques
- Glazing: Applying a transparent layer over dried paint.
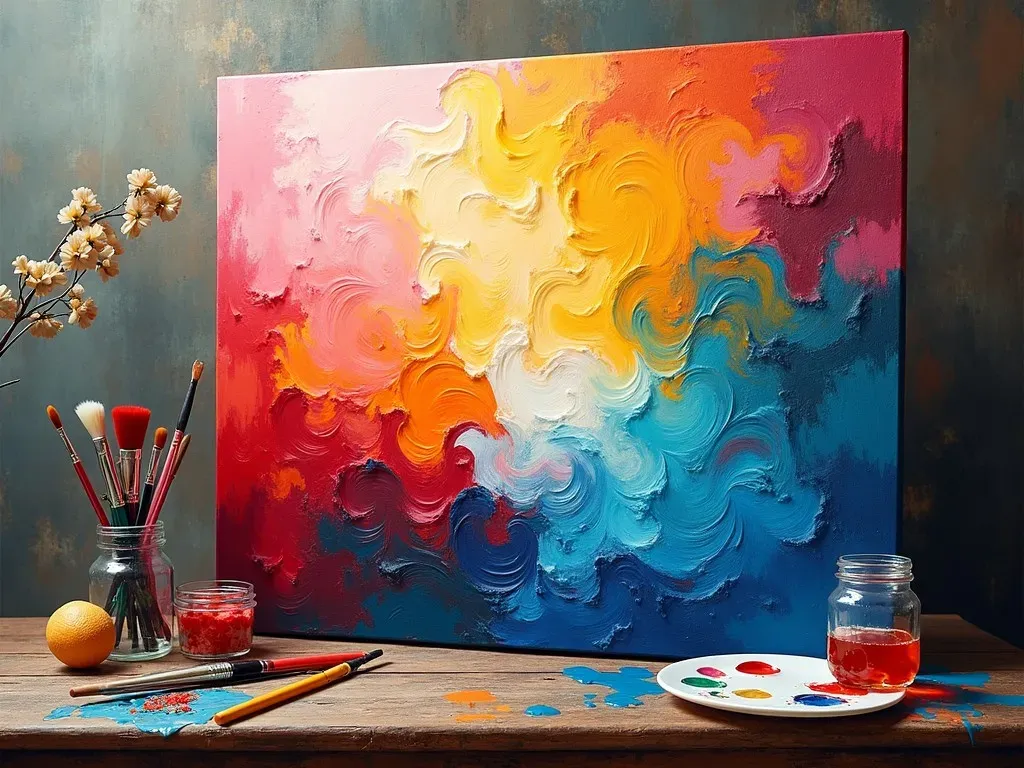
- Impasto: Thick application for texture.
- Wet-on-Wet: Applying paint onto wet paint for blending.

Step 6: Beginning with the Underpainting
Start with a thin layer of paint to lay down your basic colors and forms. This will serve as your foundation. Use a quick-drying medium if needed, since oil paint dries slowly.
Step 7: Building Layers
Oil painting is primarily a layering process. Once the underpainting is dry, add subsequent layers using your preferred techniques.
- Work from dark to light colors.
- Be patient; allow each layer to dry before adding new ones.
Step 8: Fine Tuning
After laying down the colors, use softer brushes to blend transitions and create shadows, highlights, and depth. This is the time to refine the details and make necessary adjustments.
Step 9: Finishing Touches
Add final details and highlights. You can use a small brush for precision.
Step 10: Varnishing Your Painting
Once your painting is completely dry, apply a varnish to protect it from dust and UV light. This step is crucial as it enhances the vibrancy and longevity of your artwork.
Reference Video
FAQs About Oil Painting for Beginners
Q1: Can I use water-based oil paints?
Yes, water-miscible oil paints allow for easier cleanup and quicker drying.
Q2: How do I clean my brushes?
Use a solvent such as turpentine or mineral spirits. Make sure to wipe off excess paint before cleaning thoroughly.
Q3: How long does it normally take for an oil painting to dry?
Typically, oil paintings can take anywhere from several days to months to dry, depending on the thickness of the paint layers and environmental conditions.
Q4: What if I make a mistake?
Mistakes can often be painted over! Oil paint is forgiving, so don’t hesitate to experiment.
Q5: Where can I find online tutorials?
There are various trusted websites with tutorials, such as Art Ignition and Concept Art Empire.
Tips for Success in Oil Painting
- Practice Regularly: Like any skill, practice is key!
- Be Patient: Accept that oil painting takes time. Allow your work to evolve.
- Keep Experimenting: Don’t hesitate to try new colors and techniques.
- Use Quality Supplies: Good materials can make a significant difference in your results.

By following these step-by-step guidelines on oil painting for beginners, you can confidently begin your journey into the vibrant world of oil art. Each stroke will denote your unique touch and creativity. Remember, the more you practice, the more confident you’ll become in your skills!
