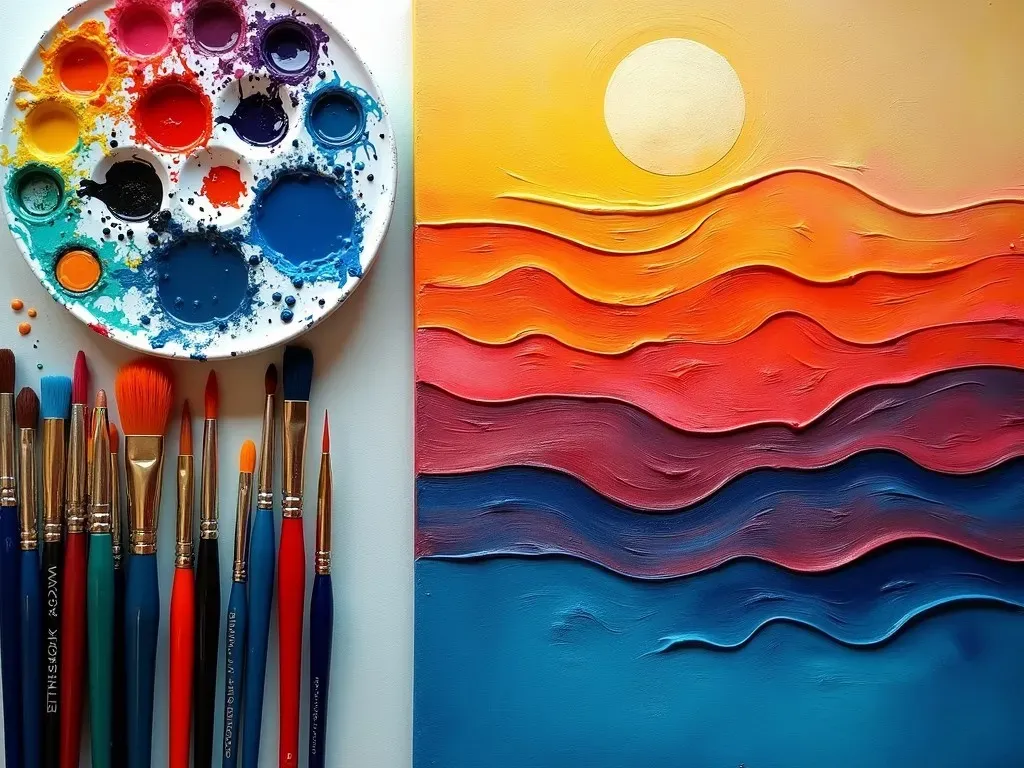
Layering in oil painting refers to the technique of applying multiple layers of paint to create depth, dimension, and luminosity in a painting. This method is not only foundational to the art of oil painting but is also essential for achieving lifelike qualities and rich textures that can transform a simple canvas into a masterpiece.
Understanding the Basics of Layering in Oil Painting
Oil painting is an intricate art form that relies heavily on the technique of layering to build complex visual effects. Each layer of paint interacts with the layers beneath it, allowing artists to achieve depth, vibrancy, and a sense of realism that is difficult to replicate with other mediums.
Key oil painting techniques Involving Layering
-
Underpainting: The first layer that sets the tone and outlines the composition. Typically done in monochrome.
-
Blocking-In: Establishing basic shapes and values with a rough initial layer.
-
Glazing: A thin, transparent layer of paint applied over previous dry layers that allows underlying colors to interact in compelling ways.
-
Impasto: Applying paint thickly, often using a palette knife, which adds texture and a three-dimensional quality to the work.
| Layer Technique | Description | Typical Use |
|---|---|---|
| Underpainting | Monochromatic layer that defines values and composition | Foundation for complex color layering |
| Blocking-In | Basic shapes and colors are roughly established | Initial layout and value setting |
| Glazing | Thin layers of transparent paint to add depth and luminosity | Enhancing vibrancy and altering colors without losing detail |
| Impasto | Thickly applied paint for texture | Creating surface interest and depth |
The Importance of Layering in Oil Painting
In the realm of oil painting, the concept of layering carries immense significance. It serves various purposes that enhance the quality and emotional impact of an artwork.
Benefits of Layering
-
Depth and Dimension: Layering adds both physical and visual depth, enhancing the three-dimensionality of the painting. Each layer engages with the light differently, leading to a dynamic interplay that breathes life into the work.
-
Color Richness: By layering colors, artists can achieve stunningly rich and complex hues that would be difficult to create with a single application.
-
Texture Variation: Different Techniques like impasto provide a tactile experience, enriching the overall aesthetic appeal of the piece.
-
Optical Effects: Layering allows artists to exploit optical phenomena like glazing to create effects that change based on light dynamics.
Layering Techniques Explained
-
Block-In Method: This initial covering is essential for establishing the fundamental composition of the artwork. Artists often use a large brush for this step, working quickly to lay down significant color areas without meticulous detail.
-
Glazing: One of the most sophisticated techniques of layering, glazing involves applying transparent layers of color over a dried base. This method is ideal for altering existing colors, enhancing brightness, and adding depth while keeping the underlying forms visible.
-
Impasto Technique: This technique creates a striking visual and tactile quality. Artists can use palette knives or the tips of their brushes to add thick, textured layers of paint, which catch and reflect light uniquely.
Layering Process: Step-by-Step
-
Preparation: Start with a well-oiled canvas. A gesso preparation layer helps with paint adherence and prevents oil absorption.
-
Initial Layer: Apply the underpainting using a monochromatic color scheme to map out your shapes.
-
Blocking-In Colors: Use broader, opaque colors to fill in the main forms and establish your values.
-
Building Layers: Gradually add layers using glazing or impasto. Ensure that each layer dries thoroughly before adding the next to maintain paint integrity.
-
Final Touches: Once the painting reaches a desired saturation and texture, the final details can be added for depth and interest.
Reference Video
Tips for Effective Layering in Oil Painting
-
Adhere to the Fat Over Lean Rule: Always make sure each subsequent layer of paint contains more oil (or is ‘fatter’) than the previous layer. This prevents cracking and ensures a flexible, durable finish.
-
Experiment with Mediums: Different oil mediums can alter the texture, drying time, and finish. Explore various options like Liquin or stand oil to find those that best suit your artistic goals.
-
Use the Right Tools: Invest in high-quality brushes and palette knives for effective layering. Different brushes can create varying textures; use them accordingly.
-
Work Slowly: Patience is key. Each layer may take time to dry before you can assess how to enhance it further.
References
For more detailed techniques and step-by-step guides, check out Art Ignition’s comprehensive Layering Oil Paint Guide.
FAQs About Layering in Oil Painting
Q: How long should I let each layer dry before applying the next?
A: It typically varies by the thickness of the paint and the environment, but a general rule is to allow at least 24 hours of drying time for thinner layers.
Q: Can I paint over an existing layer without waiting for it to dry?
A: While some techniques like wet-on-wet allow this, it’s generally advisable to let the paint dry to prevent mixing and mudding of colors.
Q: Do I need to use mediums for glazing?
A: While not mandatory, mediums generally improve transparency and flow, which is ideal for glazing techniques.
Q: What are some good colors to start with for glazing?
A: Common glazing colors include Transparent Red Oxide, Cadmium Yellow, and Ultramarine Blue due to their ability to create rich combinations.
Q: Is glazing suitable for every painting style?
A: Glazing works well with realistic, impressionistic, and even abstract styles; however, for heavy textures, consider complementary techniques.
Feel free to insert images at the appropriate locations (e.g., “ “) to enhance the visual appeal and instructional value of the content!
