Unlock Your Artistic Potential: Essential Drawing and Sketching Supplies You Can’t Live Without

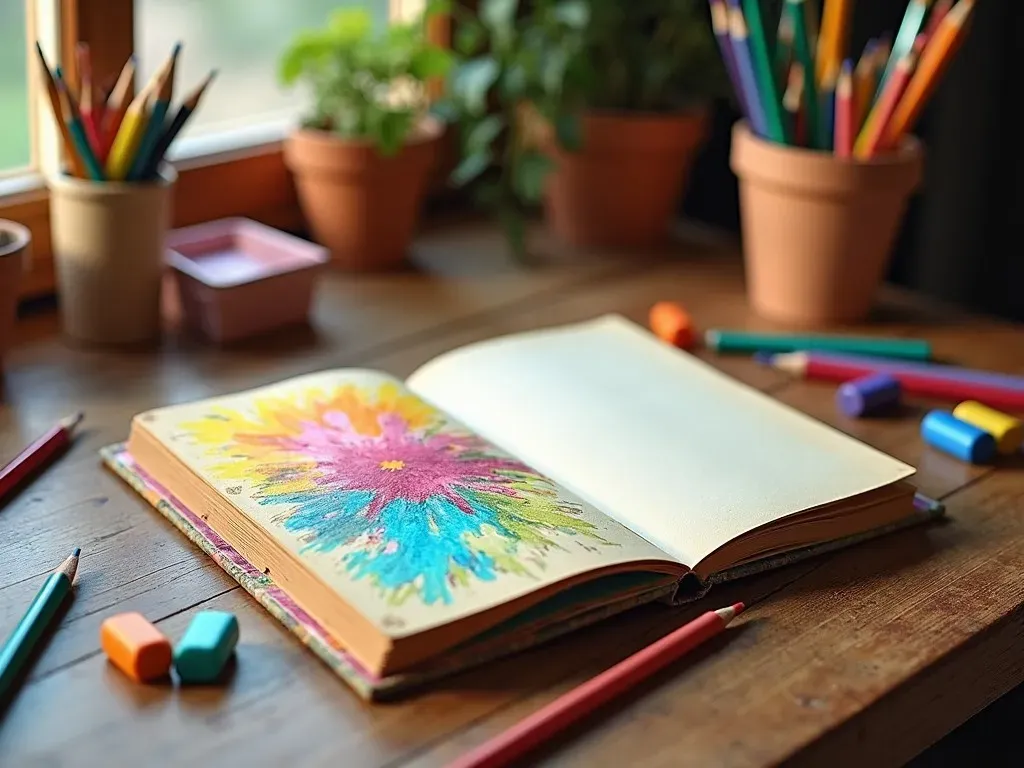
Drawing and sketching Supplies are fundamental materials that every artist, whether beginner or experienced, should have on hand. These vital tools not only enhance your creativity but also influence the final outcome of your art. From pencils to paper, investing in high-quality materials can elevate your work and make your artistic journey more enjoyable.

Essential Drawing and Sketching Supplies

1. Quality Drawing Pencils

Not all pencils are created equal, and starting with professional-grade art pencils can significantly improve your drawing experience. Here’s a simple list of the types of pencils you should consider:

Pencil Type Description Example Use
Graphite Pencils Varying degrees of hardness (H, B, etc.) for detailed lines. Sketching outlines & details.
Colored Pencils Bright hues available in a variety of brands. Adding color to sketches.
Charcoal Pencils Thick and dark lines with rich textures. Bold sketches and shading.

2. Quality Paper

The type of paper you use can make a significant difference in your drawing results. The "tooth" of the paper affects how your drawing medium interacts with the surface. Here’s a breakdown of popular paper types:

Paper Type Texture Best For
Sketch Paper Smooth Initial sketches and light drawings.
Bristol Board Medium Inking and detailed illustrations.
Watercolor Paper Rough Mixed media and water-soluble materials.

3. Erasers and Sharpeners

Keeping your workspace clean is crucial for an effective drawing session. Here are essential tools that help maintain precision in your work:

  • Kneaded Eraser: Malleable eraser that removes graphite without smudging.
  • Vinyl Eraser: Ideal for cleanly erasing pencil without tearing paper.
  • Pencil Sharpener: Essential for keeping your pencil tips sharp and ready for use.

4. Blending Tools

Achieving soft edges and gradients in your drawing is made easier with blending tools:

  • Tortillons: Great for smudging and blending pencil marks.
  • Paper Stumps: Firm and allows for precise blending.
  • Soft Brushes: Useful for charcoal and pastel drawings.

5. Sketchbooks

Choosing the right sketchbook can inspire you and keep your work organized. Here’s what to consider:

Feature Description
Paper Type Select based on your preferred medium (graphite, charcoal, etc.).
Binding Style Hardbound for durability or spiral-bound for ease of use.
Size Larger sizes for elaborate drawings, smaller for travel.

6. Additional art supplies

The world of art supplies extends beyond traditional drawing materials. Consider including the following for a complete toolkit:

  • Markers: Permanent markers for bold lines and detailing.
  • Pastels: Soft pastels for vibrant, rich colors.
  • Watercolor Pencils: For versatile sketching and water effects.

Top Brands to Check Out

When it comes to art supplies, brand quality matters. Here’s a curated list of trusted brands offering exceptional drawing and sketching supplies:

Brand Name Product Type Noteworthy Products
Faber-Castell Pencils Polychromos Colored Pencils, Graphite Pencils
Prismacolor Colored Pencils Premier Colored Pencils
Strathmore Paper Sketch Pads, Mixed Media Paper
Cretacolor Charcoal Charcoal Pencils, Graphite Pencils

For further insight and more product recommendations, visit Jerry’s Artarama.

Tips for Selecting Art Supplies

  • Try Before You Buy: Many local artisan shops offer sample days where you can test pencils and papers.
  • Invest Gradually: Start with basic supplies and build up your collection as you learn and refine your style.
  • Care for Your Supplies: Proper storage and usage prolong the life of your materials.

FAQs

What should I consider when buying drawing supplies?

A: Focus on the medium you want to explore and the quality of the supplies. Investing in better materials can greatly impact your drawings.

Are expensive art supplies worth it?

A: High-quality materials offer superior performance and can make the process of creating art more enjoyable. They often last longer and yield better results.

How often should I replace my art supplies?

A: It depends on usage. For frequent artists, pencils may need replacement once they’re shortened significantly, while sketchbook pages may need more frequent updating.

Is it necessary to have a variety of pencils?

A: Yes, different pencil hardnesses (H for light lines, B for dark lines) allow for more versatile and controlled sketching.

Final Thoughts

Equipping yourself with the right drawing and sketching supplies is vital for any artist looking to unleash their full potential. Whether you’re creating deep, emotional pieces with charcoal or delicate sketches with graphite pencils, the quality of your supplies will undoubtedly influence your artistic expression.
Mastering Oil Painting Techniques: Unlock Your Creativity with These Essential Methods!

Oil painting Techniques are an integral part of the artistic journey, enabling both beginners and experienced artists to create mesmerizing works of art. From glazing to impasto, mastering these techniques can significantly enhance your creative output. This article delves deep into various oil painting techniques, offering valuable tips and guidance, along with attention to detail for those keen to elevate their painting skills.

1. Understanding the Basics of Oil Painting

Oil painting, a method that uses pigments suspended in oil, typically linseed, has been a staple in the art world for centuries. Its versatility and rich texture allow artists to express their creativity vivid and compellingly. The following are some essential oil painting techniques widely used among artists.

2. Key Oil Painting Techniques

Technique Description Effect
Glazing Applying thin, transparent layers of paint to create depth and luminosity. Creates a glowing effect and adds complexity to colors.
Impasto Applying thick layers of paint with a palette knife or brush, allowing for texture. Adds dimension and a three-dimensional appearance to the painting.
Scumbling Applying a layer of lighter, opaque paint over a dry layer. Produces a broken color effect and adds vibrancy.
Alla Prima Painting wet on wet without allowing previous layers to dry. Ideal for fast execution and spontaneous expressions.
Underpainting Creating a base layer with monochrome or tinted paint. Establishes the composition and tonal values early on.

3. Specialized Techniques

In addition to the fundamental methods, artists also utilize several specialized techniques to achieve specific visual effects:

  • Chiaroscuro: The use of strong contrasts between light and dark to create a sense of volume.
  • Sfumato: A technique that produces soft transitions between colors and tones.
  • Pointillism: Using small dots of color to create dynamic imagery, which appears unified from a distance.

4. Supplies Needed for Oil Painting

Item Purpose
Oil Paints The primary medium for creating artwork.
Palette For mixing colors.
Brushes Different sizes for varied stroke effects.
Palette Knives For mixing and applying paint in a thick manner.
Canvas or Wood Panels Surface to paint on.
Linseed Oil Medium to thin out paint and increase fluidity.
Solvents (like turpentine) For cleaning brushes and thinning paints.

oil painting Supplies">

5. Tips for Painting with Oil Paint

  • Choose the right medium: Different mediums can alter the drying time, sheen, and texture.
  • Work in layers: Allow each layer to dry before applying the next; this builds depth and complexity.
  • Use the right brush technique: Experiment with different holds and brushes to find what suits your style.

6. Advanced Oil Painting Methods

For painters seeking to refine their skills further, the following methods are highly regarded:

  1. Blocking in: Laying down large areas of color to establish a composition before refining details.
  2. Wet-on-wet: Painting over wet paint to blend colors directly on the canvas.
  3. Dry brushing: Using a dry brush to apply paint for an uneven texture and enhanced detail.

7. Common Mistakes and How to Avoid Them

Mistake Solution
Painting too thickly from the start. Start with a loose, thin layer and build up slowly.
Lack of planning in composition. Sketch the layout lightly on the canvas first.
Neglecting color mixing basics. Practice mixing colors and creating a swatch sheet.

8. Studying Famous Artists and Their Techniques

Understanding how historical artists approached oil painting can offer invaluable insights. The following artists are notable for their distinctive oil painting techniques:

  • Vincent van Gogh: Known for his expressive use of impasto and vibrant colors.
  • Rembrandt: Mastered chiaroscuro, using light contrast dramatically in his portraits.
  • claude monet: Pioneered plein air painting using quick brushstrokes and layers of color.

9. FAQs About Oil Painting Techniques

Q1: Can I use oil paints on paper?
Yes! You can use oil paints on specially prepared paper designed for oil painting, but traditional canvas gives better results.

Q2: How do I clean my oil painting brushes?
Use a solvent like turpentine or mineral spirits followed by soap and water to clean your brushes effectively.

Q3: What is the difference between professional and student-grade oil paints?
Professional-grade paints have higher pigment concentrations and better durability compared to student-grade, which may have fillers and less vibrancy.

10. Learning Resources

For artists wanting to dive deeper into oil painting techniques, numerous resources are available:

  • ArtIgnition: A comprehensive reference on mastering oil painting techniques. Visit Here
  • Fine Art Tutorials: Offers various methods and exercises for beginners and advanced painters. Visit Here

Mastering oil painting techniques is a rewarding endeavor that allows for endless creative possibilities. By experimenting and continuously practicing these methods, both new and experienced artists can enhance their craft and unlock new levels of artistic expression. Happy Painting!

Reference Video

Exit mobile version