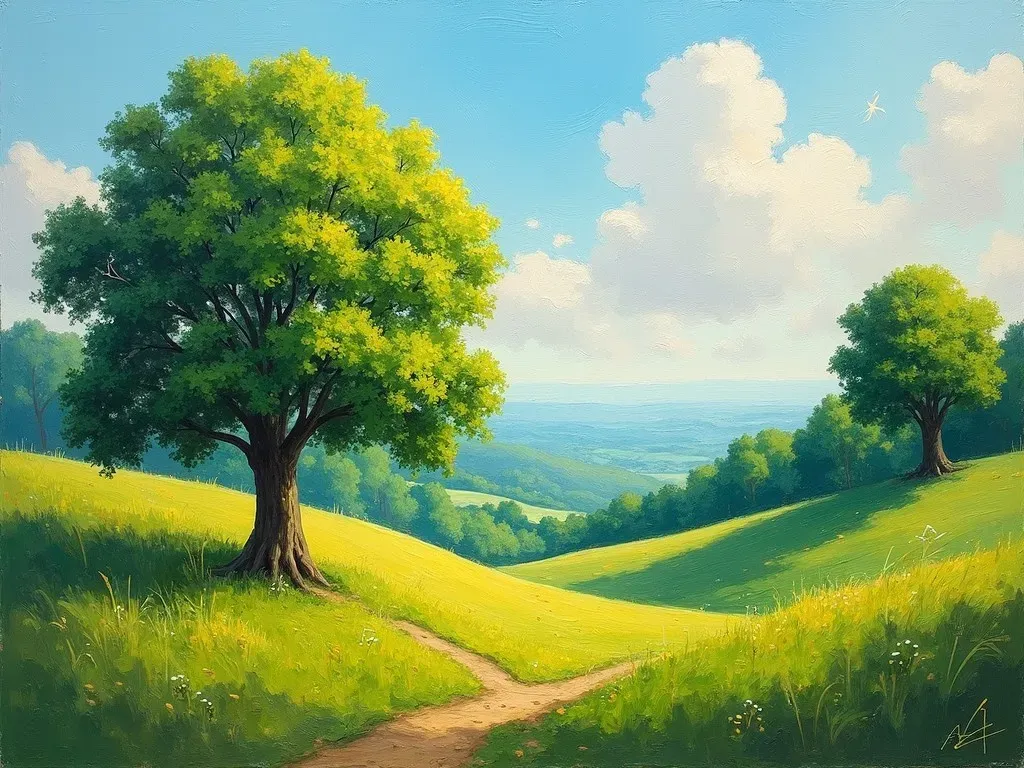
Landscape painting trees are among the most captivating subjects in the realm of art, embodying the essence of nature’s beauty while also adding depth and character to any canvas. Whether you’re capturing the lively hues of autumn leaves or the delicate silhouettes of winter branches, painting trees in your landscapes can enhance the overall composition and evoke emotions. This article dives deep into the Techniques, styles, and essentials of painting trees within landscapes.
Understanding Tree Anatomy for Enhanced Realism
Before we even pick up a brush, it’s vital to understand the anatomy of trees.
- Trunk: The central pillar that supports the structure, usually the thickest part of the tree.
- Branches: These extend from the trunk and vary in strength and thickness, especially as they approach the leaves.
- Foliage/Leaves: Depending on the season, the shape and color of leaves can change dramatically from the lush greens of summer to the bare branches of winter.
| Tree Component | Description |
|---|---|
| Trunk | Central support; provides structure. |
| Branches | Extend outward; vary in thickness and shape. |
| Foliage/Leaves | Seasonal change; crucial for color dynamics. |
Techniques for Painting Trees
1. Choosing the Right Tools
For landscape painting trees, the right materials can make all the difference. Here’s what you’ll generally need:
- Brushes: Flat brushes for the foliage, round brushes for detailing, and filbert brushes for blending.
- Palette Knives: Great for creating texture on bark or rugged terrains.
- Canvas or Paper: Choose based on your medium—either oil, acrylic, or watercolor.
2. Layering Techniques
Layering is essential in giving trees dimension and depth. Start with broad strokes for the trunk and branches using earthy tones. Gradually build up with highlights and shadows for added realism.
- Step 1: Base coat for the trunk (dark browns).
- Step 2: Adding mid-tones and highlights (lighter browns, ochres).
- Step 3: Leaf detail using dabs of green and yellow to create a vibrant look.
Important Tip: Always work from background to foreground, as this helps in maintaining perspective.
Color Harmony in Landscape Paintings
Achieving color harmony is essential, especially when painting trees within a landscape. Here’s how you can ensure that your colors complement each other:
- Complementary Colors: Use colors oppositional on the color wheel to create vibrancy.
- Analogous Colors: Select colors next to each other on the wheel for a more subtle effect.
- Tonal Variation: Incorporate various shades to avoid flatness; lighter shades can be used to represent sunlight breaking through the branches.
Here’s a simple table illustrating color choices:
| Color Type | Effect |
|---|---|
| Complementary | Creates dynamic tension (e.g., greens vs. reds) |
| Analogous | Produces calm and coherence |
| Tonal Variation | Adds complexity and depth |
Common Mistakes to Avoid
When attempting to paint trees in a landscape, beginners often make certain common mistakes. Avoiding these pitfalls can elevate your artwork.
- Flat Edges: The biggest mistake is to paint trees with sharp outlines. Instead, use soft edges to mimic natural forms.
- Uniform Color: Don’t make your trees one solid color. Incorporate multiple shades for realism.
- Ignoring Light Source: Always consider where the light is coming from, casting shadows accordingly.
Focusing on Different Types of Trees
Different species of trees can drastically change the mood and feel of a landscape. Here are some types along with key characteristics:
| Tree Type | Characteristics | Ideal Season |
|---|---|---|
| Oak | Strong trunk, broad leaves | Autumn |
| Elm | Vase-shaped, dense foliage | Summer |
| Pine | Tall and slender with needle-like leaves | Winter |
| Birch | White bark, delicate and slender | Spring |
Techniques to Bring Trees to Life
- Sfumato: A technique that creates depth by softening edges, effectively rendering foliage and bark.
- Impasto: Apply paint thickly for a 3D effect, especially useful for textured tree bark.
- Dry Brush: Use a dry brush technique for creating the appearance of fine branches and leaves.
Tips for Professional Touches
- Use Reference Photos: Studying images can help understand tree shapes and colors.
- Practice Sketching: Before painting, sketch trees in different perspectives to master their forms.
- Experiment: Feel free to experiment with styles—impressionistic, realism, or abstract.
FAQs
What brushes are best for painting trees?
Flat and round brushes are ideal for creating different textures in the foliage and trunk details.
How can I make my trees look more realistic?
Incorporate a range of colors, use layering techniques, and pay attention to light sources.
What are the best colors for painting trees?
Earth tones like browns and greens are predominant. You can mix in yellows and reds to reflect seasonal changes.
Is it necessary to use a reference image?
While not necessary, using a reference image can greatly enhance your understanding of tree structure and color.
Where can I find more resources on landscape painting trees?
Visit Artists Network for detailed guides and tutorials.
In exploring the rich subject of landscape painting trees, you equip yourself with both technical and creative insights that elevate your artwork. Enjoy the journey as you paint the natural world’s beauty!
