Unlock the Secrets of Oil Mediums for Oil Painting: A Comprehensive Guide to Elevate Your Artwork!

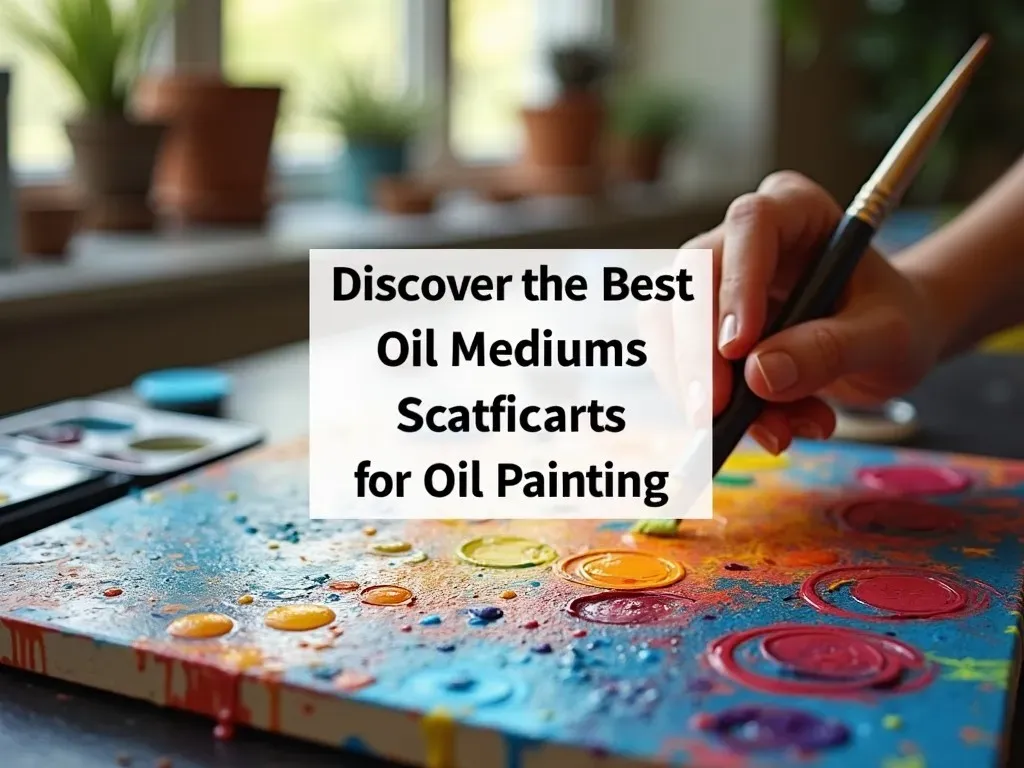
Oil mediums for oil painting are a crucial component in the artist’s toolkit. They not only manipulate the texture and flow of the paint but also impact drying times and the final appearance of the artwork. Whether you are a beginner or an experienced painter, understanding oil mediums can enhance your creative process and the quality of your work. This article provides an exhaustive look at various oil painting mediums, their uses, recipes, and answers to common FAQs, all designed to help you master oil painting.

Types of Oil Mediums

Oil painting mediums can be broadly categorized based on their ingredients and properties. Below is a table summarizing some of the most commonly used oil mediums in oil painting:

Medium Base Ingredient Properties Ideal Use
Linseed Oil Flaxseed Slow drying, enhances vibrancy, adds gloss Base layers, mixing
Walnut Oil Walnut Good flow, slow drying, reduces yellowing Glazing, detailed work
Stand Oil Refined Linseed Oil Thick consistency, smooth finish Final layers, fine details
Safflower Oil Safflower Light-colored, slow drying, good for pale colors Light color paintings
Damar Varnish Natural resin Glossy finish, fast drying Glazing, final varnish in artworks
Odorless Mineral Spirits Solvent Reduces viscosity, speeds up drying Cleaning brushes, thinning paint

Addressing Common Concerns with Oil Mediums

Oil painting can be daunting due to the myriad choices available for mediums. Common concerns include:

  • Drying Time: Some artists gravitate towards linseed oil for its slow drying time, allowing extensive blending and layering. In contrast, mediums like damar varnish dry quickly but require careful application to avoid unwanted drips.

  • Color Shift: The impact of oil mediums on the final color of an artwork is significant. For instance, some oils, like linseed, can yellow over time, while walnut oil maintains a more stable color.

Facts about drying times show that linseed oil can take up to 3-5 days to dry, whereas walnut oil may dry in 2-4 days under optimal conditions.

Recipes for Custom Oil Mediums

Creating your own oil mediums can be a fun and creative endeavor. Here are some recipes commonly used among artists:

  1. Lean Medium:

    • 2 parts Linseed Oil
    • 1 part Odorless Mineral Spirits
    • Use: Ideal for initial layers, improves paint flow.
  2. Fat Medium:

    • 1 part Stand Oil
    • 1 part Linseed Oil
    • Use: Great for final layers, enhances gloss and depth.
  3. Glaze Medium:

    • 1 part Damar Varnish
    • 1 part Stand Oil
    • 1 part Turpentine
    • Use: Adds a translucent layer and enhances luminosity.

Application Techniques

Understanding how to apply oil mediums effectively can drastically affect your painting style. For instance:

  • Glazing: This technique involves applying multiple thin, transparent layers using a glaze medium. It adds depth and complexity to the colors without heavy texture.

  • Impasto: When using thicker mediums like stand oil, artists can create bold, textured strokes that enhance the painting’s dimensional quality.

  • Blending: To achieve soft transitions, mixing linseed oil into your paint can improve flow and allow for gradual blending of colors.

Frequently Asked Questions (FAQ)

What is the best oil painting medium for beginners?

For beginners, linseed oil is often recommended due to its availability and versatility. It helps in achieving a consistent texture and promotes vibrant colors.

How do I store oil mediums?

Keeping oil mediums in a cool, dark place will help to prolong their shelf life. It’s advisable to store walnut oil in the refrigerator to prevent rancidity.

Can I mix different oil mediums?

Yes, mixing oil mediums can yield unique results. However, it’s crucial to test the combinations on a sample canvas before using them in a final piece.

How do oil mediums affect drying times?

Oil mediums can significantly alter the drying time of oil paints. Faster drying mediums will accelerate the process, while slower mediums, like linseed oil, allow for more work before the paint hardens.

Are there any health risks associated with oil mediums?

Yes, some oil mediums can release harmful solvents. It’s important to use them in a well-ventilated area and wear gloves to avoid skin irritation.

Conclusion (removed)

Understanding oil mediums for oil painting is essential for both the novice and seasoned artist. By learning how each medium impacts the drying time, texture, and color of your oil paints, you can better enjoy the process of creating art. For more information, be sure to check out the Jackson’s Art Blog for additional insights into how these mediums work and can be integrated into your artwork.

Don’t forget to experiment and find the perfect mediums that resonate with your artistic style! Every stroke can lead to a new discovery. Happy painting!
oil painting Techniques">

Reference Video

Unleash Your Creativity with the 7 Layer Painting Technique: A Deep Dive into Layer Painting Techniques

The layer painting technique, particularly the 7 layer oil painting technique, is a fascinating approach that allows artists to create depth, texture, and vibrant detail in their artwork. This method involves applying multiple transparent and semi-transparent layers of paint, which work together to build richness and luminosity in the finished piece. Whether you’re a beginner or an experienced painter, mastering layering can elevate your artwork to new heights.

Understanding the Basics of Layer Painting

Layer painting is a fundamental technique in both oil and acrylic mediums that promotes the gradual buildup of color and texture. It can be broken down into several key principles:

  1. Transparency: Utilizing transparent paints allows the underlayers to influence the final appearance, creating effects that can’t be achieved with a single coat of paint.
  2. Drying Time: Ensuring each layer dries before applying the next is crucial for achieving desired effects. Oil paints can take longer to dry, while acrylics can dry quickly, allowing for faster layering Techniques.
  3. Building Texture: Depending on the application method, such as whether you use a brush, palette knife, or sponge, the texture can vary significantly across layers.

Key Facts About Layer Painting Techniques

Aspect Oil Paint Acrylic Paint
Drying Time Slow (days to weeks) Fast (minutes to hours)
Layering Technique Fat over lean Wet on dry
Transparency Various mediums for glazing Glazing and opaque textures
Best for Classic techniques and textures Modern, versatile applications

7 Layer Oil Painting Technique: Step-by-Step Guide

  1. Underpainting: Start with a monochromatic base to establish value. This sets the foundation for depth.
  2. First Color Layer: Apply a thin layer using a transparent color. This can include softer tones to begin shaping your subject.
  3. Second Layer: Introduce a different hue while considering complementary colors for balance.
  4. Add Opacity: Next, use more opaque colors to create focal points and add details.
  5. Glazing Layers: Use a transparent medium to layer colors that overlap. This enhances luminosity.
  6. Texturing: Incorporate various tools like a palette knife or brush techniques to build physical texture.
  7. Final Touches: Apply highlights using the most opaque colors and add additional glazes or textures as needed.

Additional Techniques for Layering

Several additional techniques can be utilized while mastering the layer painting technique:

  • Scumbling: A method where a dry brush with thin paint is used to create a hazy effect over dried paint, providing a sense of atmosphere.
  • Glazing: A technique that involves applying thin, transparent layers to modify color and create depth without altering the structure of the under layers.
  • Acrylic Painting Layering: When acrylics are used, layering can be more spontaneous since acrylics dry quickly, encouraging rapid methodical work.

Reference Video

Tools Essential for Layer Painting

Tool Purpose
Brushes For smooth application of paint
Palette Knives For creating textured and impasto effects
Sponges To add porous texture or soft edge effects
Glazing Mediums To increase transparency in layers
Rags and Water For a clean workspace and brush care

Painting Layers Technique: Advanced Approaches

The beauty of layering extends beyond just colors. Texturing through mixed media can enhance your artwork significantly. Incorporating materials such as:

  • Pastels: Can create soft edges and highlight areas.
  • Inks: Can add unexpected vibrancy.
  • Gel mediums: For thick texture applications.

Incorporating these into your layers can lead to unique artistic expressions.

Frequently Asked Questions (FAQs)

What is the key to successful layering in painting?

The critical factors for successful layering are drying time between coats, understanding color transparency, and the application technique. Patience is essential!

Can I use layering techniques with acrylic paints?

Absolutely! Acrylic paints are particularly versatile for layering due to their quick drying time. Techniques like glazing and scumbling are especially effective with acrylics.

How many layers should I use?

There’s no fixed number of layers you must adhere to. The “7 layer” method is a guideline. Depending on your composition and desired effects, you may use more or fewer layers.

What mediums enhance the layering technique?

When using oil paints, mediums such as linseed oil can enhance fluidity and transparency in layers. For acrylics, using an acrylic medium can achieve similar effects.

Where can I find more information on layering techniques?

You can explore techniques and tips from Nancy Reyner’s website for in-depth guidance on various layering processes.

With these insights and resources, diving into the world of layer painting techniques can transform your artistic process into an exploration of color depth and textural richness. Remember, practice and experimentation are key to unlocking your creative potential. Enjoy the journey!

Exit mobile version