Discover the Magic of Landscape Canvas Oil Painting: Your Ultimate Guide to Creating Breathtaking Masterpieces

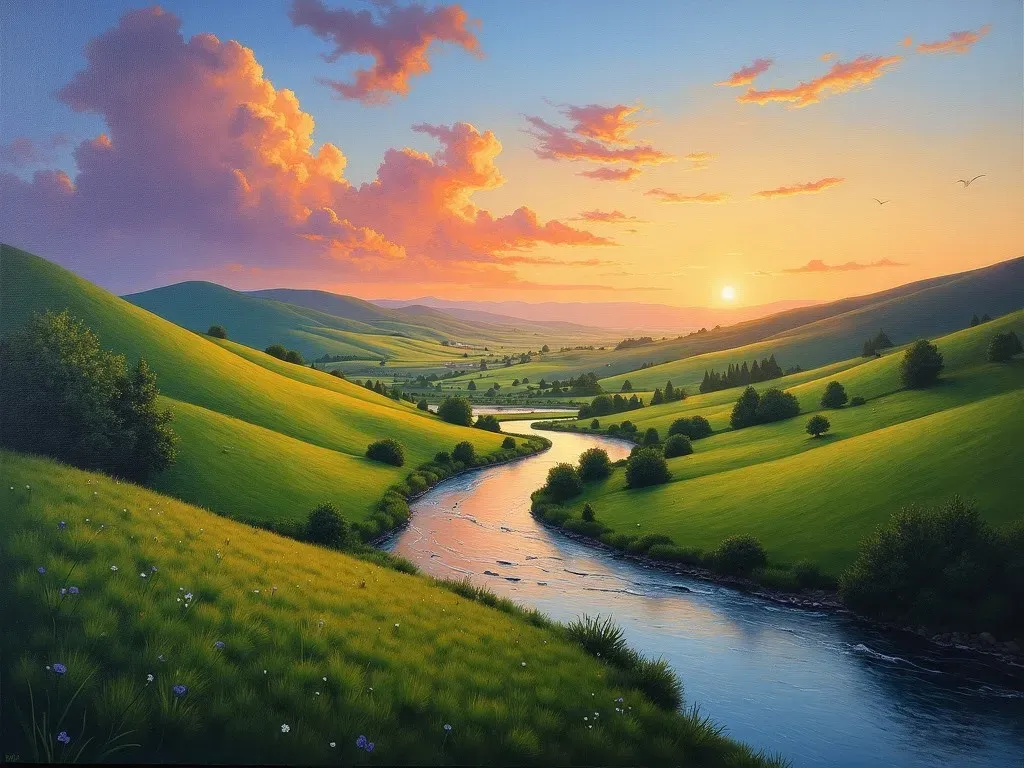
Landscape canvas oil painting is an enchanting art form that captures the essence and beauty of nature on a blank canvas using oils. This method allows artists to bring vivid scenes of mountains, valleys, rivers, and skies to life, making it a cherished choice for amateurs and seasoned painters alike.

Understanding Landscape Canvas Oil Painting

What is Landscape Canvas Oil Painting?

Landscape canvas oil painting involves using oil paints on canvas to depict natural scenes. Oil paints are preferred due to their versatility, allowing for a wide range of Techniques, textures, and depths in color. The slow drying time of oil paint enables artists to work at their own pace, blending colors seamlessly and building layers for a rich, immersive effect.

The Benefits of Oil Paints

  • Blendability: Oil paints can be easily blended for smooth transitions in color.
  • Color Depth: They provide a beautiful, reflective quality that enhances the vibrancy of the painting.
  • Texture: Artists can employ various techniques to create texture, adding dimensionality to landscapes.

Key Supplies Required

Supplies Description
Canvas Stretched or primed canvas as the painting surface.
Oil Paints A selection of colors; basic colors include titanium white, ultramarine blue, burnt sienna, and cadmium yellow.
Brushes Variety of sizes, including flat, round, and filbert brushes.
Palette For mixing colors; wooden or glass palettes work well.
Mediums Linseed oil, turpentine, or odorless mineral spirits.

oil painting supplies">

Essential Techniques for Landscape Painting

1. Planning Your Composition

Before putting brush to canvas, have a clear vision for your composition. Step back and observe your landscape subject. Consider aspects like the placement of the horizon line and the focal point of the painting. Sketch a rough outline on your canvas if needed.

2. Layering and Underpainting

Start with an underpainting to establish a tonal foundation. This basic layer provides a reference for shadows and highlights, which can guide you as you add more layers. The underpainting can be done in a muted color to help the final colors pop.

3. Establishing Shapes

Using a palette knife, block in large shapes of your landscape with broad strokes. It’s easier to refine details afterward when you’ve mapped out the general forms, such as mountains, trees, and water bodies.

4. Building Textures

Use a variety of brush techniques such as stippling, dry brushing, or feathering. Dabbing with a sponge can also create interesting textures, particularly for foliage or grassy areas.

5. Adding Depth

To create depth in your painting, use a technique called atmospheric perspective. This involves softening colors and details in the background while keeping foreground elements sharp and vibrant.

Tips for Beginners

  1. Start Simple: Choose a landscape scene with fewer elements and work your way up to more complex compositions as your skills improve.
  2. Practice Color Mixing: Understanding how to mix colors accurately will help you achieve realistic landscapes.
  3. Observe Nature: Spend time outdoors observing light, shadows, and the way colors change in different environments.

FAQs

What types of canvases are best for landscape oil painting?

Selecting a quality canvas is essential. Stretched canvases are popular as they provide a firm support. Look for pre-primed canvases specifically designed for oil painting.

How do I care for my oil painting supplies?

To prolong the life of your brushes, clean them thoroughly with turpentine or mineral spirits after each session. Store your paints in a cool, dry place away from sunlight.

Can I use watercolors or acrylics for landscape painting instead?

While you can use these mediums, oil paints provide unique qualities that greatly enhance the depth and texture of landscapes. Each medium has its characteristics, and the choice depends on the desired effect.

Are there online resources for learning landscape oil painting?

Yes! Websites like Artists Network offer extensive tutorials, tips, and community support.

Expert Techniques for Advanced Painters

As you delve deeper into landscape canvas oil painting, consider exploring advanced techniques like impasto for dramatic texture or glazing for luminosity. Here’s a brief overview:

Technique Description
Impasto Applying thick layers of paint for a three-dimensional effect.
Glazing Layering transparent color to create depth and subtle hues.
Sgraffito Scratching through layers of paint to reveal colors beneath.

Conclusion to the Art of Landscape Canvas Oil Painting

As you embark on your journey with landscape canvas oil painting, remember that practice is key. Each stroke brings you closer to capturing the beauty of nature, and embracing both the challenges and joys of painting will ultimately enhance your skills and satisfaction as an artist.

Explore more ideas and tutorials in landscape painting through these resources:

With each piece you create, you not only improve your technique but also offer viewers a glimpse into your personal interpretation of the world around you. Happy painting!
Which is the Best Surface for Oil Paints? Discover the Top Choices for Your Masterpiece!

When it comes to oil painting, choosing the right surface is crucial for achieving the desired artistic effect. So, which is the best surface for oil paints? The answer varies depending on your painting style, budget, and personal preferences. Here’s a comprehensive guide that explores the different options available for oil painting surfaces, highlighting their pros and cons to help you find the perfect foundation for your artwork.

Understanding Oil Painting Surfaces

Oil paints adhere well to various surfaces, including canvas, wood panels, and paper. The choice of surface affects not just the final look but also how the paint interacts with the medium. Common surfaces used for oil painting include:

  1. Canvas (stretched and primed)
  2. Wood panels
  3. MDF (medium density fiberboard)
  4. Paper
  5. Canvas boards
  6. Metal
  7. Glass and plastic

Each of these surfaces offers a unique texture and feel, making them suitable for different painting styles and Techniques.

Pros and Cons of Popular Oil Painting Surfaces

Surface Type Pros Cons
Canvas Lightweight, flexible, widely available Can warp over time, may require priming
Wood Panels Rigid, less prone to warping, absorbs less paint Heavier, typically more expensive
MDF Affordable, smooth surface, doesn’t warp More absorbent, may require sealing before use
Paper Convenient, budget-friendly, portable Less durable, can buckle with heavy paint applications
Canvas Boards Convenient, affordable, easy to store May lack the flexibility of stretched canvas
Metal Unique texture, durable, enhances certain styles Requires special preparation, can be costly
Glass/Plastic Extremely smooth, great for specific techniques Requires careful handling, can be slippery

Popular Options: Exploring Each Surface Type

1. Canvas

Canvas is perhaps the most popular surface for oil painters. Both cotton and linen canvases are available, with linen often preferred for its durability and texture.

  • Cotton Canvas: Generally more affordable and readily available, making it ideal for beginners.
  • Linen Canvas: A high-quality option that’s more durable and has a finer texture, preferred by professional artists.

Prep Tip: Always ensure your canvas is properly primed to prevent oil from seeping into the fibers, which can lead to deterioration over time.

2. Wood Panels

Wood panels offer a rigid surface that can handle heavy layers of paint. They are particularly favored for detailed work.

Advantages:

  • Less warping compared to canvas.
  • Suitable for both traditional oil painting and mixed media.

Preparation: It’s important to sand and seal your wooden surface with a primer suitable for oils to prevent absorption.

3. MDF (Medium Density Fiberboard)

MDF provides an affordable and smooth surface for painting.

Usage:

  • Good for beginners who want to experiment.
  • Supports a range of techniques due to its smooth texture.

Caution: MDF can absorb moisture, so always seal it before applying paint.

4. Paper

Specially designed oil painting paper is an emerging option that offers portability and convenience, especially for studies and quick sketches.

Benefits:

  • Lightweight and cost-effective.
  • Available in various textures.

Limitation: Not as durable as other surfaces; heavy applications might cause buckling.

5. Metal

Metal surfaces can create striking artworks with their reflective quality. However, they often require additional preparation.

Surface Preparation:

  • Must be sanded and primed properly to ensure adherence.

Factors to Consider When Choosing an Oil Painting Surface

When selecting the best surface for your oil paintings, consider the following factors:

  • Painting Techniques: Certain techniques may work better with specific textures (e.g., thick impasto works well on canvas, while smooth glazes benefit from wood panels).
  • Budget: Your budget will influence the materials you can purchase. For instance, canvas is typically more affordable than a high-quality wood panel.
  • Portability: If you are a plein air painter, lightweight options like canvas boards or paper may be preferable.
  • Durability: Consider how long you want your artwork to last; wood panels can offer longevity compared to paper.

FAQs About Oil Painting Surfaces

Q1: Can I paint oil on any surface?
A1: While oil paints adhere to various surfaces, not every surface is recommended. It’s best to use primed materials specifically designed for oil paint.

Q2: What is the best budget option for beginners?
A2: Cotton canvas or oil painting paper is a great choice for beginners due to their affordability and accessibility.

Q3: How do I prepare my surface for oil painting?
A3: Ensure the surface is clean and dry. Use a primer (for wood and canvas) to prevent oil absorption, and let it dry before beginning your painting.

Q4: Is there a preferred surface for detailed work?
A4: Wood panels are often preferred for detailed work because of their rigidity and smooth texture.

Q5: How does the surface affect drying time?
A5: The drying time can be influenced by the surface type, with absorbent surfaces like paper slowing down the drying process compared to less absorbent ones like primed canvas.

Conclusion

Choosing the best surface for oil paints is essential for achieving the desired outcome in your artwork. As you delve deeper into the world of oil painting, consider experimenting with various surfaces to discover what resonates with your artistic style. Each option offers unique possibilities that can enhance your creative expression. For more information on oil painting surfaces, visit ArtWeb.

Mastering Acrylic Painting: Top Tips for Beginners to Unlock Your Creative Potential

Acrylic painting is a versatile and accessible medium that allows artists of all levels to explore their creativity. Whether you’re a complete novice or looking to refine your skills, this article provides essential acrylic painting tips that will help you on your creative journey.

Understanding Acrylic Paint

Acrylic paint is a fast-drying paint made of pigment suspended in acrylic polymer emulsion. One of its most attractive features is its versatility; it can be thinned with water, used straight from the tube, or mixed with various mediums to create different effects. The paint is non-toxic and dries quickly, which makes it ideal for beginners looking to experiment without long waiting periods.

Key Characteristics of Acrylic Paint

Feature Description
Drying Time Fast-drying
Water Soluble Can be thinned and cleaned with water
Versatility Can mimic watercolors or oil paints
Finish Dries to a flexible, water-resistant finish
Toxicity Non-toxic, suitable for beginners

Essential Tools and Supplies

Having the right tools is crucial when starting your acrylic painting journey. Here’s a list of fundamental Supplies you’ll need:

  • Acrylic Paints (varied colors)
  • Brushes (synthetic brushes are ideal)
  • Palette (for mixing colors)
  • Canvas or acrylic paper
  • Water container (for rinsing brushes)
  • Rags or paper towels
  • Palette knife (for mixing and applying paint)

Reference Video

Acrylic Painting Tips for Beginners

1. Start with a Limited Color Palette

Using a limited palette of primary colors (red, blue, yellow) along with black and white will help you understand color mixing without getting overwhelmed by choices. Mixing colors from these basic hues will give you a broader range with fewer paints.

2. Master Color Mixing

It’s essential to learn how to mix colors effectively. Begin by creating a color wheel. This will help you understand complementary colors and how they interact on the canvas.

3. Work on Different Surfaces

The beauty of acrylics is that they can be painted on various surfaces—canvas, wood, and even glass. Experiment with different textures to find what works for your style.

4. Use the Right Brush Techniques

Invest in different types of brushes, such as flat, round, and filbert. Each type offers different effects:

  • Flat Brushes: Ideal for broad strokes and washes.
  • Round Brushes: Great for detail work and lines.
  • Filbert Brushes: Versatile for blending and shaping.

Familiarize yourself with brush strokes like stippling, dry brushing, and washes to expand your repertoire.

Brush Type Usage
Flat Broad strokes, washes
Round Detail work, outlines
Filbert Blending, creating shapes

5. Experiment with Water and Mediums

Acrylic paints respond well to water, meaning you can adjust the consistency based on your technique. Adding water can help create watercolor-like washes, whereas acrylic mediums can enhance texture or drying times.

6. Layer Your Paint Wisely

Acrylics dry quickly, allowing you to build layers without waiting long. However, ensure that each layer is dry before applying the next. This technique can create depth and richness in your artwork.

Advanced acrylic painting techniques

7. Incorporate Mixed Media

Mixing acrylics with other materials like pastels, charcoal, or collage elements can create exciting textures and effects. Experiment with layering and applying various materials to create unique artwork.

8. Use Glazing Techniques

Glazing involves applying thin layers of transparent paint over dried layers. This can create luminous effects and depth. Use glazing mediums to thin your paint and achieve the desired transparency.

9. Try Impasto for Textures

Impasto is a technique where paint is applied thickly, creating texture on the canvas. Use palette knives or thick brushes to build up layers of paint that retain brush or knife strokes.

10. Keep Your Work Area Organized

A cluttered workspace can hamper creativity. Ensure that all your tools, paints, and canvases are organized and within reach to keep your focus on painting.

Frequently Asked Questions (FAQ)

Q1: How do I clean my brushes after using acrylic paint?

A: Rinse your brushes in water immediately after use. If the paint has dried, try soaking them in warm water for a short while before gently washing.

Q2: Can I use acrylic paint on paper?

A: Yes! Acrylic paint is great on paper, but choosing a heavier paper or canvas paper designed specifically for acrylic use is advisable to prevent warping.

Q3: What should I do if my paint dries too quickly?

A: Consider using a stay-wet palette, which helps keep your paint moist for longer periods. You can also add a slow-drying medium to your paint to extend its working time.

Q4: How do I store my acrylic paintings?

A: Always store your paintings in a dry, flat place. If they need to be stacked, place a protective layer (like a cloth or paper) between them to avoid any potential damage.

Q5: Where can I find additional resources on acrylic painting techniques?

A: Many online platforms provide helpful tutorials. A few recommended websites for further exploration are:

In Summary

Acrylic painting offers infinite possibilities for expression and creativity. By applying these acrylic painting tips, experimenting with different Techniques, and practicing regularly, you’ll develop your unique style, making the journey more enjoyable and fulfilling. Embrace your art, and let each stroke on the canvas tell your story!

Exit mobile version