Discover the Mastery of Rembrandt Oil Paint: A Comprehensive Guide to Artists’ Choice

Rembrandt oil paint is a high-quality product designed specifically for professional artists, offering an unparalleled range of 120 colors. This series is known for its maximum fineness, lightfastness, and durability, ensuring that artists can achieve stunning results in their work.

The Essence of Rembrandt Oil Paint

Rembrandt oil paints are crafted from the finest raw materials, utilizing Techniques that lead to vibrant colors and smooth textures. The brand is produced in Holland, and it is synonymous with quality craftsmanship. Each hue is carefully developed to meet the demands of artists who seek to bring their visions to life. With a buttery consistency and a unique ability to hold brush strokes, these paints enhance any artist’s palette.

Key Features of Rembrandt Oil Paint

  • Color Range: 120 distinct colors, including both opaque and transparent hues.
  • Lightfastness: Most colors boast a high degree of lightfastness, ensuring that artworks remain vibrant over time.
  • Ease of Use: Smooth texture allows for easy blending and manipulation on the canvas.
  • Professional Quality: Specifically designed for professional results, making it a favorite among artists worldwide.

Fact Table: Rembrandt Oil Paint Specifications

Feature Description
Color Range 120 colors
Packaging Sizes 40ml, 60ml, 150ml tubes with various sets available
Lightfastness High (meets professional standards)
Consistency Buttery texture, ideal for smooth brush strokes
Pigment Quality Pure, extra fine pigments for rich color intensity

Why Choose Rembrandt Oil Paint?

Many artists prefer Rembrandt oil paints due to their versatility and reliability. Whether creating fine art, illustrations, or elaborate canvases, the paints deliver excellent coverage and sophistication. An artist can trust that the colors will blend well and retain their vibrancy over time.

List of Advantages

  1. Versatile Application: Ideal for both direct painting and Plein Air techniques.
  2. Color Intensity: High pigmentation ensures that colors remain vivid and true.
  3. Compatibility: Works well with various mediums, allowing for mixed media projects.
  4. Value for Money: Though premium, the quality justifies the investment, as artists often find that a little paint goes a long way.

Reference Video

Popular Colors in the Rembrandt Range

For anyone venturing into the world of Rembrandt oil paint, here are some of the most popular colors that artists frequently choose:

Color Name Description
Cadmium Red A rich and warm red tone
Cobalt Blue Intense, vibrant blue with excellent lightfastness
Titanium White A brilliant white, perfect for mixing
Yellow Ochre Earthy, warm yellow ideal for landscapes
Lamp Black Deep, rich black perfect for strong contrasts

Notable Characteristics of Popular Colors

Most colors in the Rembrandt line showcase a smooth, buttery application that makes them especially user-friendly:

  • Cadmium Colors: Known for their durability and vibrant finishes.
  • Earth Tones: Versatile colors suitable for varied painting styles, including impressionism and realism.

User Guidance

Tips for Using Rembrandt Oil Paint

  1. Proper Mixing: For complex color blends, use a palette knife to properly mix oil paints for smooth application.
  2. Layering Techniques: Start with thin layers of paint and gradually build up for depth.
  3. Mediums: Experiment with different mediums to change the texture and drying times of the paints.
  4. Cleaning: Use odorless mineral spirits for cleaning brushes and palettes to preserve the quality of the paint.

Best Practices for Care and Storage

  • Storage: Keep tubes tightly closed and store them in a cool, dark place to extend the life of the pigments.
  • Shelf Life: Although oils have a longer shelf life compared to acrylics, it’s advisable to use them within a couple of years of opening.

Frequently Asked Questions

What makes Rembrandt oil colors different from other brands?

Rembrandt paints stand out due to their specific focus on professional-grade quality, offering pure pigments and a high degree of lightfastness that many brands may lack.

Are Rembrandt oil paints suitable for beginners?

While Rembrandt oils are often favored by professionals, their ease of use and high-quality results mean that beginners can also benefit from using them.

Where can I purchase Rembrandt oil paint?

Rembrandt oil paints can be found at several art supply retailers such as Blick Art Materials or directly from Royal Talens.

Do Rembrandt oil paints have a strong odor?

Most Rembrandt oil paints are low-odor, but it’s advisable to work in a well-ventilated area to minimize any scent and ensure a comfortable painting experience.

Conclusion: Embracing Creativity with Rembrandt Oil Paint

While illustrations and colors are essential for producing striking artwork, the choice of paint is equally important. Rembrandt oil paint is a testament to quality and craftsmanship, making it the go-to choice for artists dedicated to their craft. Whether you’re an emerging artist or a seasoned professional, Rembrandt paints promise to enrich your artistic endeavors.

With its harmonious blend of classic techniques and modern applications, Rembrandt oil paint lives up to its reputation by offering a premium experience for artists looking to create masterpieces.
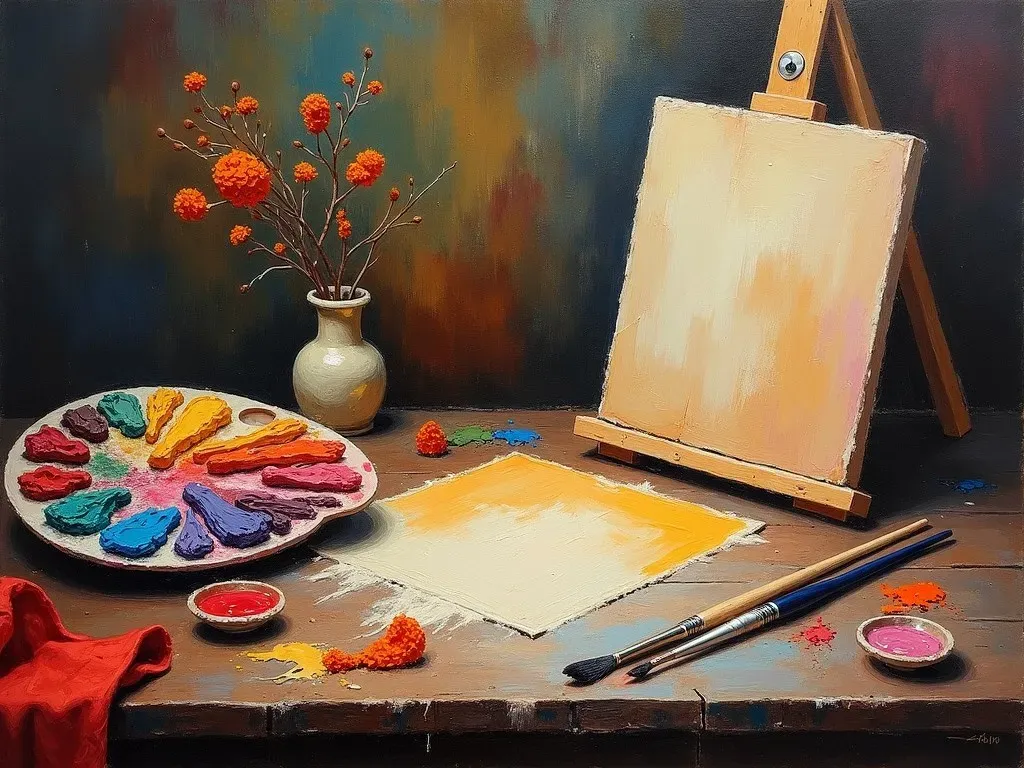
Which is the Best Surface for Oil Paints? Discover the Top Choices for Your Masterpiece!

When it comes to oil painting, choosing the right surface is crucial for achieving the desired artistic effect. So, which is the best surface for oil paints? The answer varies depending on your painting style, budget, and personal preferences. Here’s a comprehensive guide that explores the different options available for oil painting surfaces, highlighting their pros and cons to help you find the perfect foundation for your artwork.

Understanding Oil Painting Surfaces

Oil paints adhere well to various surfaces, including canvas, wood panels, and paper. The choice of surface affects not just the final look but also how the paint interacts with the medium. Common surfaces used for oil painting include:

  1. Canvas (stretched and primed)
  2. Wood panels
  3. MDF (medium density fiberboard)
  4. Paper
  5. Canvas boards
  6. Metal
  7. Glass and plastic

Each of these surfaces offers a unique texture and feel, making them suitable for different painting styles and Techniques.

Pros and Cons of Popular Oil Painting Surfaces

Surface Type Pros Cons
Canvas Lightweight, flexible, widely available Can warp over time, may require priming
Wood Panels Rigid, less prone to warping, absorbs less paint Heavier, typically more expensive
MDF Affordable, smooth surface, doesn’t warp More absorbent, may require sealing before use
Paper Convenient, budget-friendly, portable Less durable, can buckle with heavy paint applications
Canvas Boards Convenient, affordable, easy to store May lack the flexibility of stretched canvas
Metal Unique texture, durable, enhances certain styles Requires special preparation, can be costly
Glass/Plastic Extremely smooth, great for specific techniques Requires careful handling, can be slippery

Popular Options: Exploring Each Surface Type

1. Canvas

Canvas is perhaps the most popular surface for oil painters. Both cotton and linen canvases are available, with linen often preferred for its durability and texture.

  • Cotton Canvas: Generally more affordable and readily available, making it ideal for beginners.
  • Linen Canvas: A high-quality option that’s more durable and has a finer texture, preferred by professional artists.

Prep Tip: Always ensure your canvas is properly primed to prevent oil from seeping into the fibers, which can lead to deterioration over time.

2. Wood Panels

Wood panels offer a rigid surface that can handle heavy layers of paint. They are particularly favored for detailed work.

Advantages:

  • Less warping compared to canvas.
  • Suitable for both traditional oil painting and mixed media.

Preparation: It’s important to sand and seal your wooden surface with a primer suitable for oils to prevent absorption.

3. MDF (Medium Density Fiberboard)

MDF provides an affordable and smooth surface for painting.

Usage:

  • Good for beginners who want to experiment.
  • Supports a range of techniques due to its smooth texture.

Caution: MDF can absorb moisture, so always seal it before applying paint.

4. Paper

Specially designed oil painting paper is an emerging option that offers portability and convenience, especially for studies and quick sketches.

Benefits:

  • Lightweight and cost-effective.
  • Available in various textures.

Limitation: Not as durable as other surfaces; heavy applications might cause buckling.

5. Metal

Metal surfaces can create striking artworks with their reflective quality. However, they often require additional preparation.

Surface Preparation:

  • Must be sanded and primed properly to ensure adherence.

Factors to Consider When Choosing an Oil Painting Surface

When selecting the best surface for your oil paintings, consider the following factors:

  • Painting Techniques: Certain techniques may work better with specific textures (e.g., thick impasto works well on canvas, while smooth glazes benefit from wood panels).
  • Budget: Your budget will influence the materials you can purchase. For instance, canvas is typically more affordable than a high-quality wood panel.
  • Portability: If you are a plein air painter, lightweight options like canvas boards or paper may be preferable.
  • Durability: Consider how long you want your artwork to last; wood panels can offer longevity compared to paper.

FAQs About Oil Painting Surfaces

Q1: Can I paint oil on any surface?
A1: While oil paints adhere to various surfaces, not every surface is recommended. It’s best to use primed materials specifically designed for oil paint.

Q2: What is the best budget option for beginners?
A2: Cotton canvas or oil painting paper is a great choice for beginners due to their affordability and accessibility.

Q3: How do I prepare my surface for oil painting?
A3: Ensure the surface is clean and dry. Use a primer (for wood and canvas) to prevent oil absorption, and let it dry before beginning your painting.

Q4: Is there a preferred surface for detailed work?
A4: Wood panels are often preferred for detailed work because of their rigidity and smooth texture.

Q5: How does the surface affect drying time?
A5: The drying time can be influenced by the surface type, with absorbent surfaces like paper slowing down the drying process compared to less absorbent ones like primed canvas.

Conclusion

Choosing the best surface for oil paints is essential for achieving the desired outcome in your artwork. As you delve deeper into the world of oil painting, consider experimenting with various surfaces to discover what resonates with your artistic style. Each option offers unique possibilities that can enhance your creative expression. For more information on oil painting surfaces, visit ArtWeb.

Ultimate Guide: How to Prepare Canvas for Oil Painting and Achieve Stunning Results

When it comes to oil painting, the preparation of your canvas is a crucial step that lays the groundwork for a successful artwork. Understanding how to prepare canvas for oil painting ensures you create a smooth surface for your paint and helps prevent issues like cracking and peeling later on.

Understanding Canvas Types

Before diving into the priming process, it’s essential to know the types of canvases available for oil painting. The two most popular materials are:

  • Cotton Canvas: This is a cost-effective option that is readily available. It absorbs paint well but has less durability compared to linen.
  • Linen Canvas: More expensive, but it offers superior durability and a smoother finish, which is particularly loved by professional artists.
Canvas Type Cost Durability Texture
Cotton Low Moderate Slightly rough
Linen High High Smoother

Sizing vs. Priming: What’s the Difference?

It’s vital to differentiate between sizing and priming, as both serve different purposes:

  • Sizing: This involves applying a liquid layer (usually rabbit skin glue or acrylic medium) to the canvas to prevent the oil from leaching into the fibers.
  • Priming: This layer serves to prepare the surface for painting, providing a smooth finish and preventing paint absorption.

Reference Video

How Do You Prime a Canvas for Oil Painting?

1. Gather Your Materials

To properly prime your canvas, you will need:

  • Raw Canvas: Choose either cotton or linen
  • Rabbit Skin Glue or Acrylic Size: For the sizing process
  • Gesso or Oil Primer: For priming
  • Sandpaper: For smoothing the surface
  • Natural Hair Brushes: For applying the size and primer
  • Palette Knife: For mixing
  • Water: For dissolving glue

2. Sizing the Canvas

  1. Prepare the Size: If using rabbit skin glue, dissolve it in warm water according to manufacturer instructions (usually about 1 part glue to 8 parts water).

  2. Apply the Size: Using a brush, apply a thin layer to the raw canvas. Brush continuously to soak in the size evenly.

  3. Let It Dry: Allow it to dry completely before moving to the next step, which may take several hours.

3. Priming the Canvas

  1. Choose Your Primer: While gesso is often used, a traditional oil primer offers a more suitable surface for oil paints. Mix your primer thoroughly with a palette knife.

  2. First Coat of Primer: Apply the primer using a brush. It’s preferable to use a flat brush for an even application.

  3. Drying Time: Let the first coat dry for at least 24 hours.

  4. Sanding: Once dry, lightly sand the surface with fine-grit sandpaper. This creates a smooth finish and prepares the canvas for the second coat.

  5. Second Coat: Apply a second coat of primer in the same manner, followed by another drying and sanding phase.

  6. Final Smoothing: Depending on the surface you desire, you may choose to sand again lightly.

4. Toning the Canvas (Optional)

Once priming is complete, you can tone the canvas using a thin oil wash of color. This adds a subtle hue for your painting backdrop.

  • Choose a warm or neutral tone.
  • Apply it with a clean brush or cloth and allow to dry before painting.

Important Priming Techniques

  • Thin Layers: Always apply thin layers of both size and primer. This method ensures better adhesion and a smoother surface.
  • Brush Technique: Use straight, even strokes and avoid over-brushing.
  • Ventilation: Ensure good ventilation during the drying process to expedite drying and remove any odors related to the materials used.

Common Mistakes to Avoid

  • Skipping Sizing: Always size your canvas before priming to prevent oil absorption.
  • Too Much Primer: Over-application can lead to cracking.
  • Inadequate Drying: Never rush the drying process; ensure each layer dries completely.

Additional Tips for Success

  1. Use Quality Materials: Investing in quality canvas, size, and primer will yield the best results.
  2. Experiment: Try different Techniques and surfaces to find what works best for your style.
  3. Plan Your Painting: Consider the color palette you’ll use; toning can significantly affect the final outcome of your work.

Frequently Asked Questions

How long does it take to prepare a canvas for oil painting?

Typically, preparing a canvas can take anywhere from a few hours to a few days, depending on the drying times between layers.

What is the best type of primer for oil painting?

Oil primer is often recommended for oil painting, as it offers better adhesion and a smoother finish compared to acrylic gesso.

Can I paint directly on raw canvas?

While it’s technically possible, painting directly on a raw canvas can lead to problems such as paint absorption and degradation of the canvas over time.

Is it necessary to tone a canvas?

Toning is optional; however, it can enhance the vibrancy of colors and provide a harmonious foundation for your painting.

Recommended Resources

For further reading on the topic, you might want to check out this detailed guide on preparing your canvas for oil painting which dives deeper into techniques and products available.

Armed with this comprehensive guide, you are now ready to accurately prepare your canvas for oil painting. Enjoy the creative process, and remember that the preparation phase is just as important as the painting itself!

Exit mobile version