Mastering the Art of Mixing Oil Paints: Unlock Vibrant Colors Like a Pro!

Mixing oil paints is a fundamental skill for any aspiring artist. This technique allows you to create a diverse palette that can enhance your paintings. Understanding how to blend oil colors not only improves your artistic expression but also helps you mimic various tones, shades, and textures with precision.

The Basics of Mixing Oil Paints

When beginning your journey in mixing oil paints, it’s essential to grasp a few foundational concepts. The process involves not just the blending of colors but also understanding the properties of the mediums involved.

The basic color theory comprises primary, secondary, and tertiary colors:

  • Primary Colors: Red, Blue, Yellow
  • Secondary Colors: Green, Orange, Purple (formed by mixing two primary colors)
  • Tertiary Colors: Combinations of primary and secondary colors.

Here’s a simple table to illustrate the relationships:

Color Type Colors Included
Primary Red, Blue, Yellow
Secondary Green (Blue + Yellow), Orange (Red + Yellow), Purple (Red + Blue)
Tertiary Yellow-Green, Blue-Green, Red-Orange, etc.

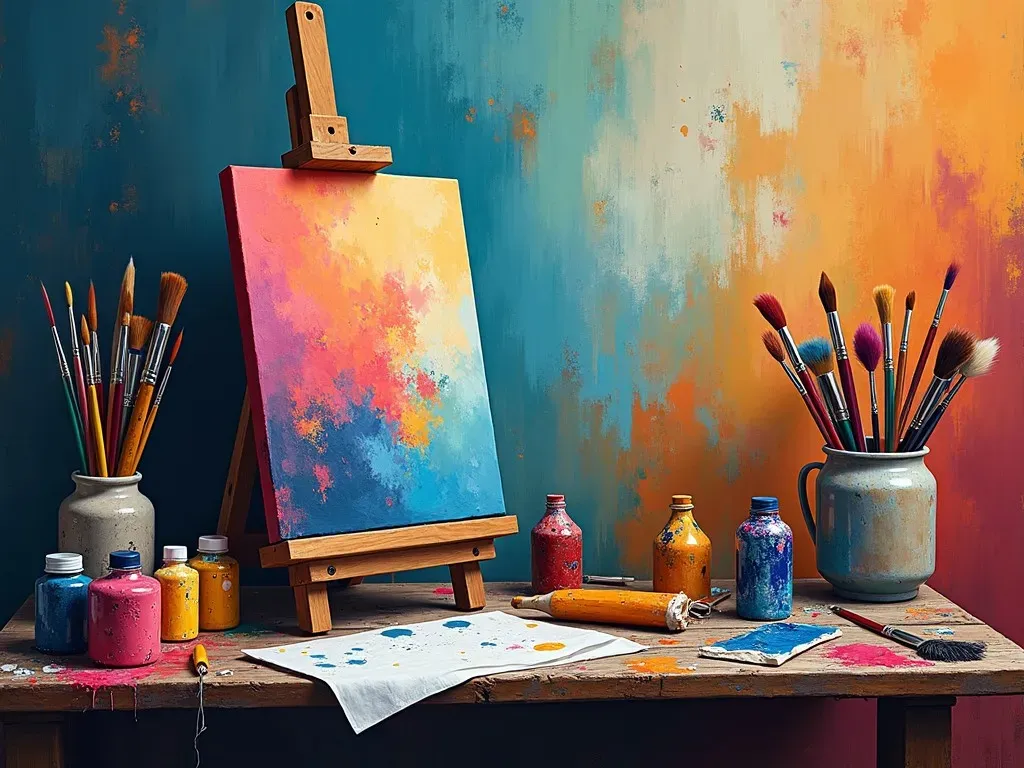
Essential Tools for Mixing

Before you start mixing oil paints, make sure you have the right tools:

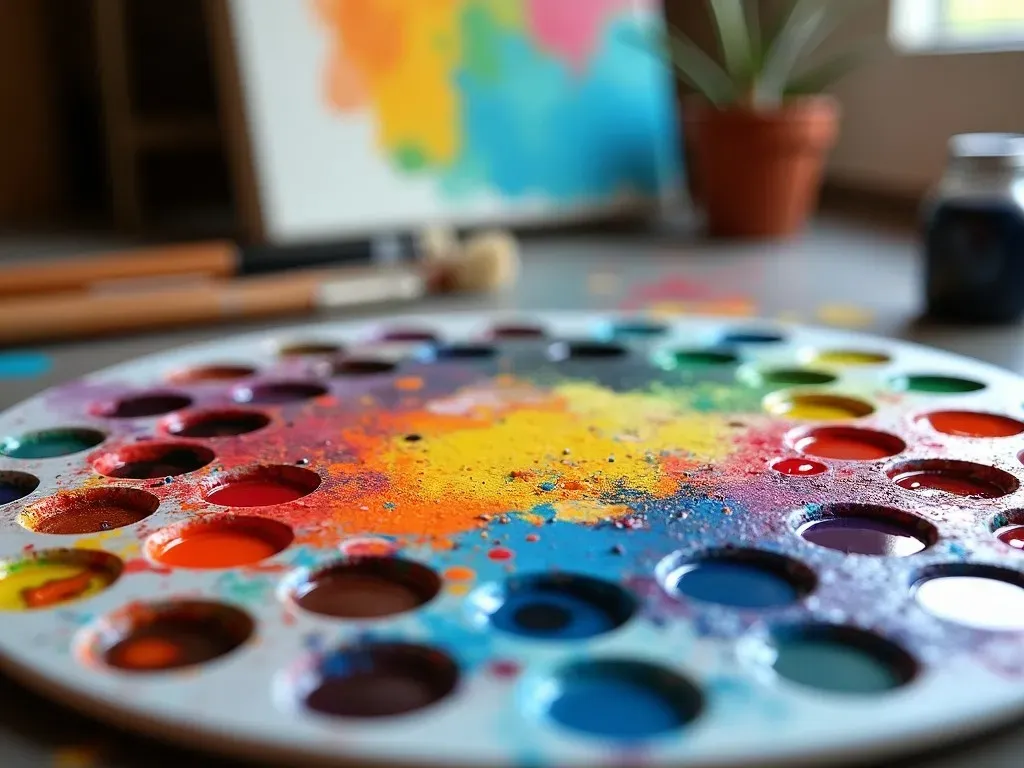
  1. Palette: A flat surface for mixing colors. Wooden or glass palettes work well.
  2. Palette Knife: Ideal for mixing paint and can create unique textures.
  3. Brushes: Various sizes help in achieving different strokes and Techniques.
  4. Mediums: Linseed oil, turpentine, and other mediums modify the paint’s consistency and drying time.

Popular Mediums for Mixing

Medium Purpose
Linseed Oil Gives a glossy finish and slows drying time.
Poppy Oil Ideal for bright colors as it won’t yellow over time.
Turpentine Thins paint and speeds drying time without altering color.

For a more detailed guide on the mixture and quality of oil paints, you can refer to the article on Cowling & Wilcox.

Techniques for Mixing Oil Paint Colors

1. Direct Mixing

This straightforward method involves combining colors directly on your palette. It’s often the easiest way to achieve the desired shades. Remember to start with a small amount of each color; you can always add more!

2. Layering

Layering involves painting one color on top of another, allowing each layer to dry before adding the next. This technique can create depth and richness in your work.

3. Glazing

Glazing consists of applying thin, transparent layers of color over dried paint. This method enhances tonal variation and can produce luminous effects in your artwork.

4. Scumbling

This involves applying a thin, opaque layer of lighter color over a darker base. The technique can soften hard edges and create interesting textures.

5. Wet-on-Wet

Also known as alla prima, wet-on-wet painting involves applying wet paint onto wet paint. This technique allows for blending colors on the canvas, which can produce softer transitions.

Mixing for Specific Effects

Color Temperature

When mixing oil paints, be mindful of color temperature:

  • Warm Colors: Red, Orange, Yellow — these advance in a painting.
  • Cool Colors: Blue, Green, Purple — these recede.

Understanding color temperature helps create a sense of depth and distance in your artwork.

Saturation

Saturation refers to the intensity or purity of a color. Mixing colors can dilute saturation; thus, understanding how to create vibrant mixes is key.

A simple list of tips for maintaining saturation:

  • Use pure colors directly from the tube.
  • Limit the number of colors you mix to prevent dulling.
  • Use a small amount of neutral color to slightly tone down without losing intensity.

Troubleshooting Common Mixing Mistakes

  1. Mud: This is when colors become muddy or dull. This usually happens when too many colors are mixed or when mixing complementary colors.

  2. Over-thinning: Using too much medium can weaken the pigment. Always aim for a balanced mixture.

  3. Dried Layers: If previous paint layers dry too hard, avoiding the wet-on-wet technique might be necessary, as new paint won’t adhere properly.

Quick Fixes

Problem Solution
Muddy colors Limit color blends and clean your palette.
Over-thinned paint Add more pigment to bring back color strength.
Dried paint layers Use a soft brush to gently rework or scrape the top layer.

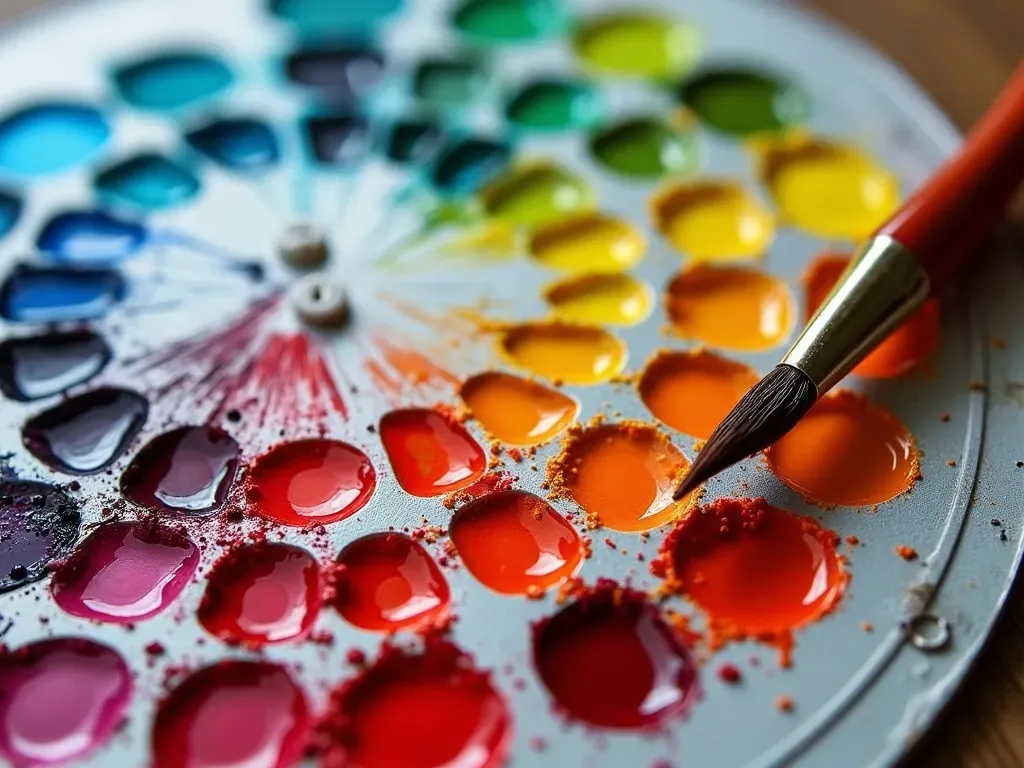
Advanced Techniques and Resources

For artists looking to go deeper into the science of mixing oil paints, consider exploring advanced techniques, such as using the color wheel for better color harmony or experimenting with various textures using the right mediums. Videos on platforms like YouTube provide excellent tutorials, such as Color Mixing with Oil Paints: All You Need to Know or Oil Paint Mixing Guide – Understanding The Process.

Frequently Asked Questions

Q1: What’s the best oil medium for beginners?

A: Linseed oil is often recommended as it is versatile and easy to work with for most painting techniques.

Q2: How do I achieve pastel colors with oil paints?

A: To get pastel colors, mix white with your chosen colors to lighten them while maintaining their hue.

Q3: Can I mix oil paint with acrylics?

A: Generally, it’s not recommended to mix oil and acrylic paints directly as they have different drying properties and compositions.

Q4: How should I store mixed oil paints?

A: Store mixed paints in airtight containers to prevent them from drying out. Even saran wrap over your palette can help!

By mastering the art of mixing oil paints, not only will you enhance your palette and artistic expression, but you will also develop a deeper understanding of color interactions, leading to more dynamic and compelling artworks. Happy painting!

Unlock the Palette: What Kind of Paint Does Bob Ross Use?

Bob Ross primarily used oil paints during his iconic television series The Joy of Painting. Known for his wet-on-wet technique, he relied on high quality oil paints that allowed him to blend and layer effortlessly. This technique facilitated the magic of creating mesmerizing landscapes and serene vistas right before the viewer’s eyes.


The Essence of Bob Ross’ Paints

Bob Ross’ oil paints were specially formulated to enhance the wet-on-wet painting method. This process requires a specific kind of paint that remains workable for longer periods. Here’s a breakdown of the essential products he used, including his preferred color palette.

Bob Ross Paint Components

  1. Type of Paint: Oil Paints
  2. Texture: Smooth and firm consistency
  3. Mediums Used:
    • Liquid White
    • Liquid Black
    • Liquid Clear
    • Paint Thinner

Table: Bob Ross Painting Mediums

Medium Purpose
Liquid White Base layer enabling other colors to blend easily
Liquid Black For deep shades and shadows
Liquid Clear Provides a smoother application and transparency
Paint Thinner Thins paint for a more fluid application

Bob Ross Color Palette

Bob Ross introduced viewers to a wide spectrum of colors, specifically designed to capture nature’s beauty. Here are some of the notable hues from his collection:

List of Common Bob Ross Colors

  • Titanium White
  • Phthalo Blue
  • Alizarin Crimson
  • Sap Green
  • Van Dyke Brown
  • Bright Red
  • Cadmium Yellow
  • Yellow Ochre
  • Midnight Black
  • Indian Yellow
  • Burnt Umber

FAQ: Common Questions about Bob Ross Paints

What kind of paint did Bob Ross use on his show?
Bob Ross used oil paints exclusively throughout his episodes.

Did Bob Ross ever use acrylic paint?
While Bob Ross is best known for his oil paintings, artists can adapt the wet-on-wet technique to acrylics, although using a retarder is recommended to slow down drying.

What brands of oil paint did Bob Ross recommend?
Bob Ross endorsed his line of paints, but you can also use brands like Winsor & Newton and Grumbacher which offer high-quality oil paints.

What is Liquid White and how is it used?
Liquid White is a medium that Bob Ross used to create a wet base on the canvas, allowing other colors to blend smoothly.

Tools of the Trade

In addition to oils, Bob Ross utilized a variety of tools that complemented his painting Techniques. Below are some key Supplies:

Essential Bob Ross Painting Supplies

  • Brushes: Bob primarily used fan brushes, large and small round brushes, and 1-inch oil brushes.
  • Palette Knives: Crafted for applying paint in a variety of styles, particularly for creating texture.
  • Canvas: Typically, Bob used a standard 18” x 24” stretched canvas, specifically designed for wet-on-wet oil painting.

Table: Bob Ross Brush Types

Brush Type Function
Fan Brush Great for trees and foliage
Round Brush Versatile, used for details and blending
Palette Knife Ideal for creating sharp lines and textures
1-inch Brush Used for large areas and blending backgrounds

The Science Behind Bob Ross’ Techniques

Bob Ross’ approach to oil painting is grounded in both art and science. The wet-on-wet technique allows for unique blending capabilities that are hard to achieve with dry paint applications. The oil paint remains workable, which means colors can be smoothly transitioned without mudding them up.

The Importance of Oil Paints

Unlike acrylics, oil paints have a slow drying time, allowing the artist to work on a painting over a longer period. This is especially crucial for Bob Ross’s style where blending multiple colors seamlessly creates the soothing landscapes he is known for.

Comparisons: Oil Paint vs. Acrylic

Feature Oil Paint Acrylic Paint
Drying Time Slower (days to weeks) Faster (minutes to hours)
Blending Ability Superior for wet-on-wet Limited unless mixed with retarders
Color Depth Richer, more vibrant tones Can appear flat without glazing
Cleanup Requires solvents Soap and water

Resources for Bob Ross Products

To replicate Bob Ross’s artistry, it helps to source the right products. Many online retailers provide authentic Bob Ross art supplies. Here are a couple of recommendations:

Painting Techniques to Consider

Mastering Bob Ross’ techniques involves not just choosing the right supplies but also practicing specific methods. Here are popular techniques he used:

  1. Wet-on-Wet Technique: Applying wet paint onto wet paint for smoother transitions.
  2. Algebra of Light: Understanding how to create the illusion of light through color and strokes.
  3. Palette Knife Applications: For creating textures like mountains and tree bark.

Final Thoughts

Whether you’re a beginner looking to start your painting journey or an experienced artist wanting to delve into Bob Ross’ world of oil painting, understanding the tools and techniques he employed is fundamental. With the right materials and a little practice, you might just find yourself painting alongside the man who taught countless viewers to "let everything happen to you."

Unlock Your Creativity with the Best Good Oil Paints: A Comprehensive Guide for Artists

Good oil paints are an artist’s essential tool, impacting every aspect of the painting process from color vibrancy to texture. Whether you’re a beginner or a professional, the quality of your oil paints can significantly influence the final outcome of your artwork. In this article, we explore the best oil paints available, how to choose them, and other important considerations for both novice and seasoned artists.

Understanding Good Oil Paints

When we talk about good oil paints, we refer to paints that offer excellent pigment quality, durability, and ease of use. Good oil color paints are composed of pigments suspended in a binder, typically linseed oil, which gives the paint its smooth texture and allows for blending. The best oil colors showcase high pigmentation, allowing artists to achieve vibrant hues and richness in tonal depth.

Key Features of Quality Oil Paints

  • Pigment Quality: Look for good oil paint brands that use high-quality pigments, which enhance the longevity and vibrancy of colors.
  • Lightfastness: This indicates how resistant the paint is to fading when exposed to light. Quality oil paints generally have excellent lightfastness ratings.
  • Consistency: Good oil paints should have a smooth, buttery consistency that spreads easily and dries uniformly.
  • Color Range: The best oil paint brands often provide a wide range of colors to choose from, catering to various artistic needs.

Popular Oil Paint Brands and Their Features

Here is a comparative table of some popular oil paint brands based on quality, pricing, and features.

Brand Quality Level Price Range Best For Lightfastness
Gamblin High $4 – $15/tube Beginners & Professionals Excellent
Winsor & Newton (Winton) Moderate $7 – $12/tube Students & Casual Artists Good
Sennelier High $10 – $20/tube Professional Artists Excellent
Michael Harding High $10 – $30/tube Advanced Artists Excellent
Van Gogh Moderate to High $5 – $10/tube Beginners Good
Old Holland Classic Very High $20 – $40/tube Professional Artists Excellent

Criteria for Selecting Good Oil Paints

  1. Budget: Determine how much you’re willing to invest. There are affordable oil paint options that don’t compromise quality. Brands like Gamblin and Winsor & Newton offer a good balance of cost and quality.

  2. Skill Level: As a beginner, a set of student-grade paints may suffice. More experienced artists might prefer professional-grade options that provide deeper pigmentation and richness.

  3. Desired Project Outcome: For works intended for exhibitions or sales, invest in the best quality oil paints you can afford to ensure lasting quality.

  4. Color Availability: Check if the brand provides colors you regularly use or specific shades you require for your projects. Some brands may offer unique pigments that others may not.

Tips for Using Oil Paints Effectively

  • Mixing Colors: Master the basic principles of color theory to enhance your palette and create new shades.
  • Layering Techniques: Utilize glaze and impasto techniques for dynamic textures and depth.
  • Drying Times: Be aware that oil paints can take a long time to dry. Plan your workflow accordingly.

FAQs

Q1: What are the best oil paints for beginners?

A1: The best oil paints for beginners include brands like Gamblin, Van Gogh, and Winton by Winsor & Newton. These options are affordable, offer good pigmentation, and have user-friendly textures.

Q2: Can I use oil paints to create detailed paintings?

A2: Yes, good oil paints allow for detailed work when used properly. They can dry slowly, which provides artists with ample time to refine their details.

Q3: How do I store oil paints properly?

A3: Store oil paints in a cool, dry place, away from direct sunlight. Ensure that the tubes are tightly sealed to prevent the paint from drying out.

Q4: Is it necessary to buy professional-grade oil paints as a beginner?

A4: It’s not necessary for beginners to invest in professional-grade paints. Student-grade options offer excellent quality for practice and learning without overspending.

Q5: What are some tips for maintaining oil paint brushes?

A5: Clean brushes with solvent or soap and warm water immediately after use. Consider conditioning the bristles with a little bit of oil to maintain their shape.

Recommended Oil Paint Sets

Here are some top-rated oil paint sets for both beginners and professionals:

oil paint set Price Type Good For
Winsor & Newton Winton $30 – $45 Student Quality Beginners
Gamblin 1980 $50 – $70 Artist Quality Beginners & Intermediate
Sennelier Artists Oil $100+ Professional Quality Serious Artists
Old Holland Classic Oil $200+ Premium Quality Professional Artists

Conclusion

Selecting good oil paints involves understanding your artistic needs and preferences. By considering factors such as pigment quality, price, and the intended use of your artwork, you can find the right oil paints tailored to your style. The right choice of oil paints can significantly elevate your artwork, making it essential for any artist—whether a beginner or a professional—to invest wisely in their materials.

For further reading and reviews on the best oil paints, you can visit My Modern Met.

Remember, the journey to mastering oil painting begins with choosing the right tools—so choose wisely, and let your artistic talent shine through!

Exit mobile version