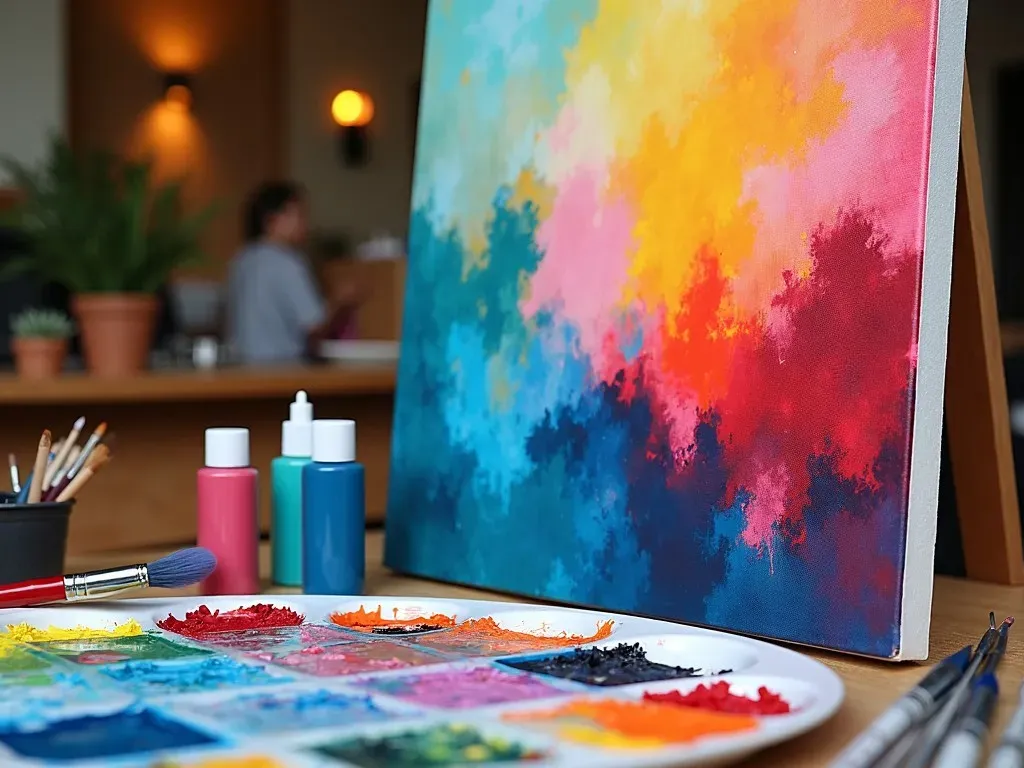
Unleash Your Inner Artist: Oil Painting for Beginners Step by Step

Oil painting for beginners step by step is your ultimate guide to mastering the art of oil painting. This article aims to break down the entire process into manageable steps, ensuring you feel confident as you embark on this creative journey.

Understanding Oil Painting

Before you pick up your brush, it’s vital to understand what oil painting is. Oil painting involves using pigments suspended in oil, typically linseed oil, to create beautiful works of art. One of its major appeals is the rich depth of color and the ability to manipulate texture, allowing artists to explore various Techniques.

Why Choose Oil Painting?

  • Versatile Medium: Suitable for many styles—realism, impressionism, and abstraction.
  • Slow Drying Time: Allows for blending and working on details over an extended period.
  • Rich Colors: Produces vibrant hues and allows for unique textures.

Essential Supplies for Beginners

Before diving into your first piece, gather the essential Supplies. Here’s a quick list:

Item Purpose
Oil Paints The primary medium for your artwork.
Brushes Use different shapes and sizes for varying effects.
Canvas or Panel The surface where you will create your art.
Palette For mixing colors.
Palette Knife Useful for mixing colors and applying textures.
Solvent Helps clean brushes and thin paint.
Cloth or Paper Towels For cleaning your brushes and wiping excess paint.
Varnish A protective layer for finished paintings.

oil painting supplies">

Step-by-Step Process of Oil Painting

Step 1: Preparing Your Workspace

Create a comfortable, well-lit workspace. Natural light is best, but ensure you have adequate artificial lighting as well. Cover surfaces with protective materials to guard against spills.

Step 2: Setting Up Your Canvas

When starting, consider buying pre-stretched canvases. If you prefer to work on wooden panels, ensure they are primed. This can affect the paint’s adherence and your final appearance.

Step 3: Sketching Your Design

Use a light pencil or charcoal to outline your composition on the canvas. Focus on the major shapes and forms to establish your layout before applying paint.

Step 4: Mixing Colors

Start by learning the color wheel. Basic colors include:

Primary Colors Secondary Colors Tertiary Colors
Red Orange Red-Orange
Blue Green Blue-Green
Yellow Purple Yellow-Green

Understanding complementary colors can enhance your palette. For instance, mixing a little complementary color into your primary one can produce shades and tints.

Step 5: Understanding oil painting techniques

  1. Glazing: Applying a transparent layer over dried paint.
  2. Impasto: Thick application for texture.
  3. Wet-on-Wet: Applying paint onto wet paint for blending.

Step 6: Beginning with the Underpainting

Start with a thin layer of paint to lay down your basic colors and forms. This will serve as your foundation. Use a quick-drying medium if needed, since oil paint dries slowly.

Step 7: Building Layers

Oil painting is primarily a layering process. Once the underpainting is dry, add subsequent layers using your preferred techniques.

  • Work from dark to light colors.
  • Be patient; allow each layer to dry before adding new ones.

Step 8: Fine Tuning

After laying down the colors, use softer brushes to blend transitions and create shadows, highlights, and depth. This is the time to refine the details and make necessary adjustments.

Step 9: Finishing Touches

Add final details and highlights. You can use a small brush for precision.

Step 10: Varnishing Your Painting

Once your painting is completely dry, apply a varnish to protect it from dust and UV light. This step is crucial as it enhances the vibrancy and longevity of your artwork.

Reference Video

FAQs About Oil Painting for Beginners

Q1: Can I use water-based oil paints?
Yes, water-miscible oil paints allow for easier cleanup and quicker drying.

Q2: How do I clean my brushes?
Use a solvent such as turpentine or mineral spirits. Make sure to wipe off excess paint before cleaning thoroughly.

Q3: How long does it normally take for an oil painting to dry?
Typically, oil paintings can take anywhere from several days to months to dry, depending on the thickness of the paint layers and environmental conditions.

Q4: What if I make a mistake?
Mistakes can often be painted over! Oil paint is forgiving, so don’t hesitate to experiment.

Q5: Where can I find online tutorials?
There are various trusted websites with tutorials, such as Art Ignition and Concept Art Empire.

Tips for Success in Oil Painting

  1. Practice Regularly: Like any skill, practice is key!
  2. Be Patient: Accept that oil painting takes time. Allow your work to evolve.
  3. Keep Experimenting: Don’t hesitate to try new colors and techniques.
  4. Use Quality Supplies: Good materials can make a significant difference in your results.

By following these step-by-step guidelines on oil painting for beginners, you can confidently begin your journey into the vibrant world of oil art. Each stroke will denote your unique touch and creativity. Remember, the more you practice, the more confident you’ll become in your skills!

Unleash Your Creativity with the Best Outdoor Painting Easel: A Comprehensive Guide

Outdoor painting easel: The perfect tool for artists who wish to capture the beauty of the great outdoors! Whether you are a seasoned professional or a hobbyist, having the right easel is essential for creating stunning artwork en plein air.

Types of Outdoor Painting Easels

When it comes to outdoor painting easels, there are various types to choose from, each designed to cater to specific needs and preferences. Here’s a closer look at some popular options:

  1. French Easels: Known for their portability and built-in storage compartments, French easels are a favorite among plein air artists. Their design allows for easy transportation and quick setup.

  2. Pochade Boxes: These compact easels are perfect for painters who prefer a lightweight solution. They often come with a palette and can be mounted on a tripod, making them ideal for fieldwork.

  3. Lightweight Easels: Made from materials like aluminum, these easels are lightweight and easy to carry. They are excellent for artists who travel frequently.

  4. Tabletop Easels: If you prefer to set up on a flat surface, tabletop easels are an excellent option. They are compact and can easily fit into your bag.

  5. Tripod Easels: Providing stability and versatility, tripod easels are adjustable for both sitting and standing positions. They are a great option for those who like to change angles while painting.

Key Features to Consider

When selecting the best outdoor painting easel, consider the following features:

Feature Importance
Portability The ease of carrying your easel is crucial for outdoor work.
Stability A stable easel allows for precise painting, even in windy conditions.
Adjustability Look for adjustable height options to suit standing or sitting positions.
Storage Integrated storage can help keep your materials organized and accessible.
Materials Lightweight aluminum or durable wood options can influence weight and stability.

Popular Outdoor Painting Easels

Here is a list of some of the best outdoor painting easels available on the market:

  1. MEEDEN French Easel
    Link to product

    • Features: Lightweight design, integrated storage for Supplies, and easy-to-assemble.
    • Price: Approximately $119.95
  2. Soltek Easel
    Link to product

    • Features: Unique design that offers mobility and stability; created for serious plein air artists.
    • Price: Around $399.00
  3. Jack Richeson Sienna Plein Air Easel
    Link to product

    • Features: A balance of aesthetics and functionality with tripod legs for stability.
    • Price: $179.99
  4. Guerilla Painter Cigar Box

    • Features: Compact and perfect for pastels and smaller works; designed for artists on the go.
    • Price: $99.95
  5. En Plein Air Pro
    Link to product

    • Features: All-in-one systems that are functional, durable, and easy to use in the field.
    • Price: Varies based on configuration.

Choosing the Right Outdoor Painting Easel

To ensure you select the right outdoor painting easel for your needs, consider the following:

  • Your Painting Style: If you prefer detailed work, a more stable and larger easel may be suitable. For quick, spontaneous sketches, a lightweight or pochade box might be ideal.

  • Transport Needs: If you often hike to scenic locations, prioritize portability and weight.

  • Storage Solutions: If you carry a lot of supplies, select an easel with ample storage options.

Tips for Painting Outdoors

Here are some handy tips for creating art in outdoor settings:

  • Scout Locations: Visit potential painting spots in advance to find the best lighting and scenery.

  • Bring Essential Supplies: Always take essentials, including water containers, brushes, paints, canvas, and any extra tools.

  • Watch the Weather: Be aware of the weather conditions. Overcast days can provide even lighting, but too much wind can be problematic.

  • Keep It Light: Use lightweight materials and structures to enhance mobility and avoid fatigue.

Frequently Asked Questions

What is a plein air easel?
A plein air easel is specifically designed for outdoor painting, allowing artists to set up their painting supplies easily in natural settings.

How do I set up my outdoor painting easel?
Start by finding a level surface. Deploy the legs and ensure they are securely locked. Adjust the canvas holder to the desired height and angle before attaching your canvas.

Are portable easels durable enough for outdoor use?
Yes, high-quality portable easels are engineered to withstand outdoor conditions. Look for models with stable bases and durable materials for the best performance.

Can I paint with watercolor using an outdoor easel?
Absolutely! Many outdoor easels, particularly pochade boxes, are suitable for watercolor painting. Just ensure you bring the right materials.

What is the best easel for beginners in outdoor painting?
A lightweight French easel or a simple pochade box is ideal for beginners. They are easy to set up and transport, making them perfect for learning in the field.

By carefully evaluating your needs and preferences, you can enhance your outdoor painting experience with the perfect easel. Whether you’re capturing serene landscapes or dynamic urban scenes, an outdoor painting easel can be an invaluable tool in your artistic journey.

Reference Video

Unlock the Palette: What Kind of Paint Does Bob Ross Use?

Bob Ross primarily used oil paints during his iconic television series The Joy of Painting. Known for his wet-on-wet technique, he relied on high quality oil paints that allowed him to blend and layer effortlessly. This technique facilitated the magic of creating mesmerizing landscapes and serene vistas right before the viewer’s eyes.


The Essence of Bob Ross’ Paints

Bob Ross’ oil paints were specially formulated to enhance the wet-on-wet painting method. This process requires a specific kind of paint that remains workable for longer periods. Here’s a breakdown of the essential products he used, including his preferred color palette.

Bob Ross Paint Components

  1. Type of Paint: Oil Paints
  2. Texture: Smooth and firm consistency
  3. Mediums Used:
    • Liquid White
    • Liquid Black
    • Liquid Clear
    • Paint Thinner

Table: Bob Ross Painting Mediums

Medium Purpose
Liquid White Base layer enabling other colors to blend easily
Liquid Black For deep shades and shadows
Liquid Clear Provides a smoother application and transparency
Paint Thinner Thins paint for a more fluid application

Bob Ross Color Palette

Bob Ross introduced viewers to a wide spectrum of colors, specifically designed to capture nature’s beauty. Here are some of the notable hues from his collection:

List of Common Bob Ross Colors

  • Titanium White
  • Phthalo Blue
  • Alizarin Crimson
  • Sap Green
  • Van Dyke Brown
  • Bright Red
  • Cadmium Yellow
  • Yellow Ochre
  • Midnight Black
  • Indian Yellow
  • Burnt Umber

FAQ: Common Questions about Bob Ross Paints

What kind of paint did Bob Ross use on his show?
Bob Ross used oil paints exclusively throughout his episodes.

Did Bob Ross ever use acrylic paint?
While Bob Ross is best known for his oil paintings, artists can adapt the wet-on-wet technique to acrylics, although using a retarder is recommended to slow down drying.

What brands of oil paint did Bob Ross recommend?
Bob Ross endorsed his line of paints, but you can also use brands like Winsor & Newton and Grumbacher which offer high-quality oil paints.

What is Liquid White and how is it used?
Liquid White is a medium that Bob Ross used to create a wet base on the canvas, allowing other colors to blend smoothly.

Tools of the Trade

In addition to oils, Bob Ross utilized a variety of tools that complemented his painting Techniques. Below are some key Supplies:

Essential Bob Ross Painting Supplies

  • Brushes: Bob primarily used fan brushes, large and small round brushes, and 1-inch oil brushes.
  • Palette Knives: Crafted for applying paint in a variety of styles, particularly for creating texture.
  • Canvas: Typically, Bob used a standard 18” x 24” stretched canvas, specifically designed for wet-on-wet oil painting.

Table: Bob Ross Brush Types

Brush Type Function
Fan Brush Great for trees and foliage
Round Brush Versatile, used for details and blending
Palette Knife Ideal for creating sharp lines and textures
1-inch Brush Used for large areas and blending backgrounds

The Science Behind Bob Ross’ Techniques

Bob Ross’ approach to oil painting is grounded in both art and science. The wet-on-wet technique allows for unique blending capabilities that are hard to achieve with dry paint applications. The oil paint remains workable, which means colors can be smoothly transitioned without mudding them up.

The Importance of Oil Paints

Unlike acrylics, oil paints have a slow drying time, allowing the artist to work on a painting over a longer period. This is especially crucial for Bob Ross’s style where blending multiple colors seamlessly creates the soothing landscapes he is known for.

Comparisons: Oil Paint vs. Acrylic

Feature Oil Paint Acrylic Paint
Drying Time Slower (days to weeks) Faster (minutes to hours)
Blending Ability Superior for wet-on-wet Limited unless mixed with retarders
Color Depth Richer, more vibrant tones Can appear flat without glazing
Cleanup Requires solvents Soap and water

Resources for Bob Ross Products

To replicate Bob Ross’s artistry, it helps to source the right products. Many online retailers provide authentic Bob Ross art supplies. Here are a couple of recommendations:

Painting Techniques to Consider

Mastering Bob Ross’ techniques involves not just choosing the right supplies but also practicing specific methods. Here are popular techniques he used:

  1. Wet-on-Wet Technique: Applying wet paint onto wet paint for smoother transitions.
  2. Algebra of Light: Understanding how to create the illusion of light through color and strokes.
  3. Palette Knife Applications: For creating textures like mountains and tree bark.

Final Thoughts

Whether you’re a beginner looking to start your painting journey or an experienced artist wanting to delve into Bob Ross’ world of oil painting, understanding the tools and techniques he employed is fundamental. With the right materials and a little practice, you might just find yourself painting alongside the man who taught countless viewers to "let everything happen to you."

Exit mobile version