Unleashing Your Creativity: A Complete Guide to Painting on Landscape

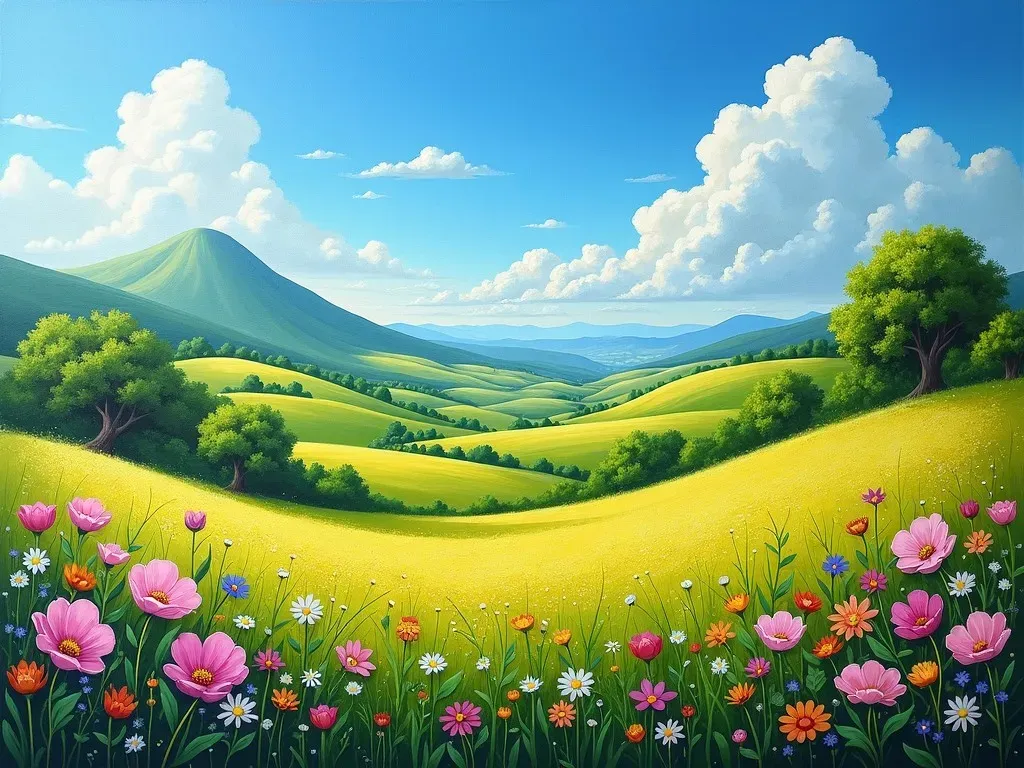
Keyword: Painting on landscape

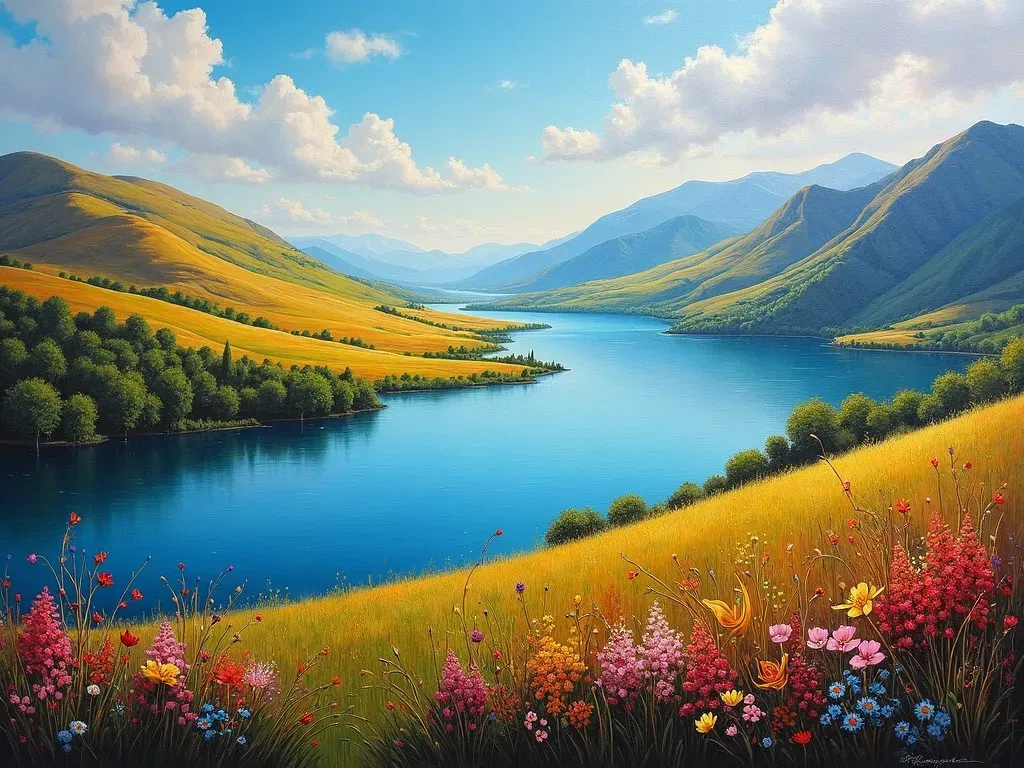
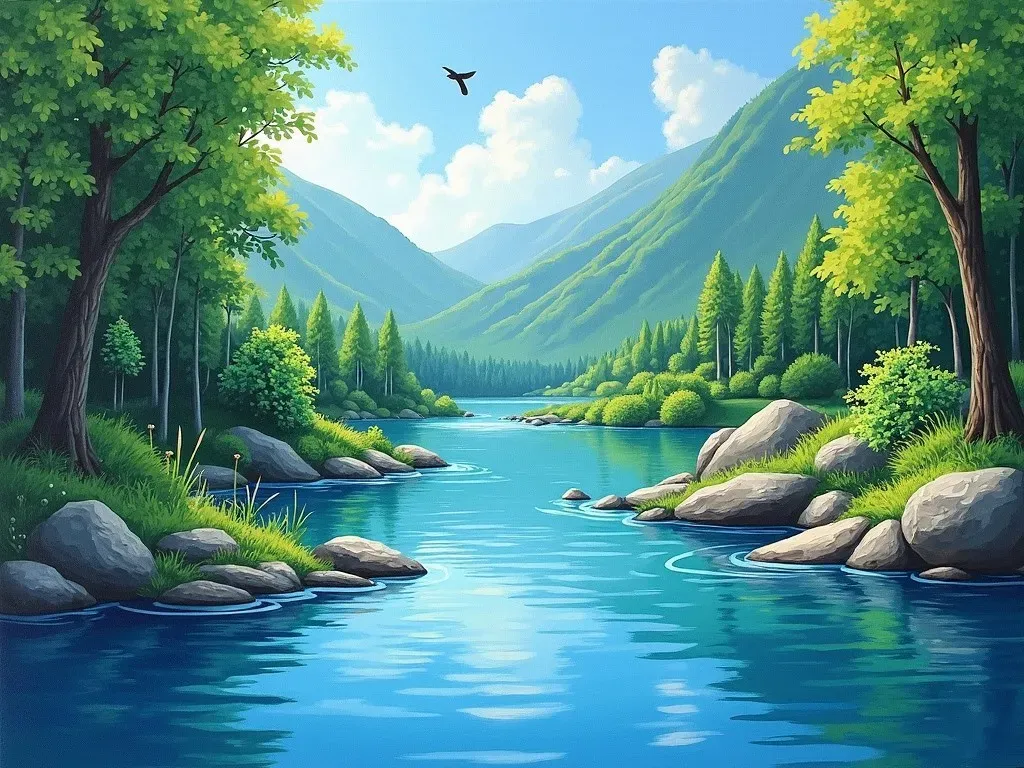
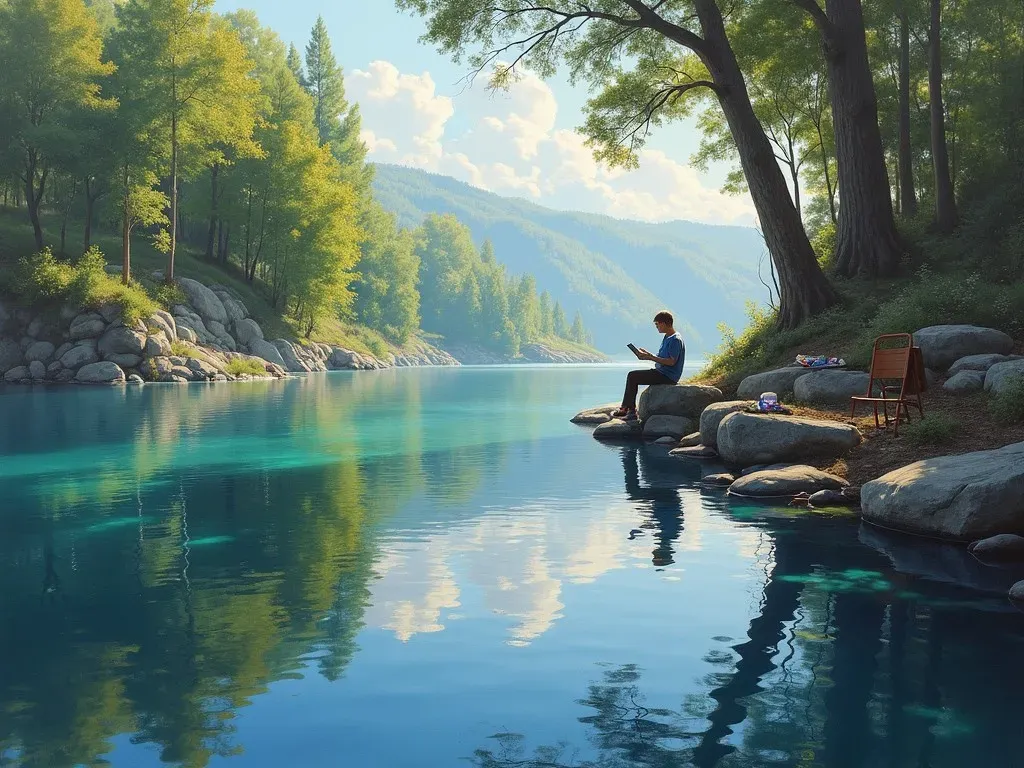
Painting on landscapes combines elements of artistry and nature, inviting artists of all levels to capture the breathtaking beauty of their surroundings. This genre of art encompasses a variety of Techniques and media, ranging from oil to acrylic paints, allowing for personal expression and exploration of color landscapes.

The Essentials of Landscape Painting

Creating stunning landscape paintings begins with understanding the foundational elements of art. Here’s a concise breakdown of the essentials:

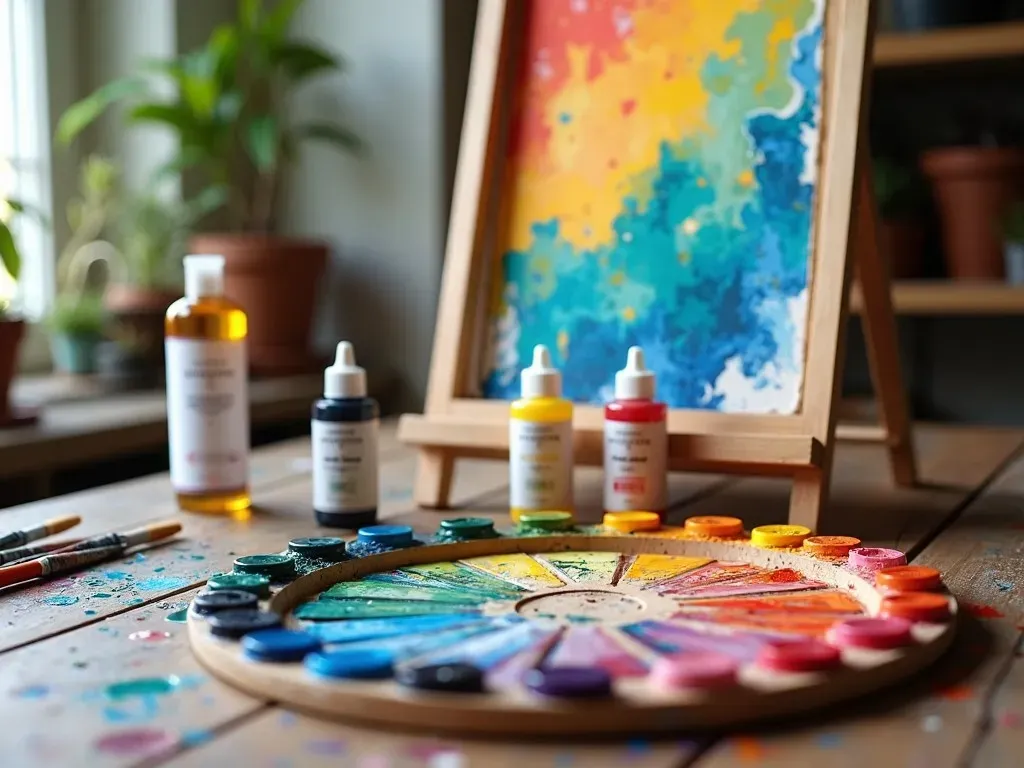
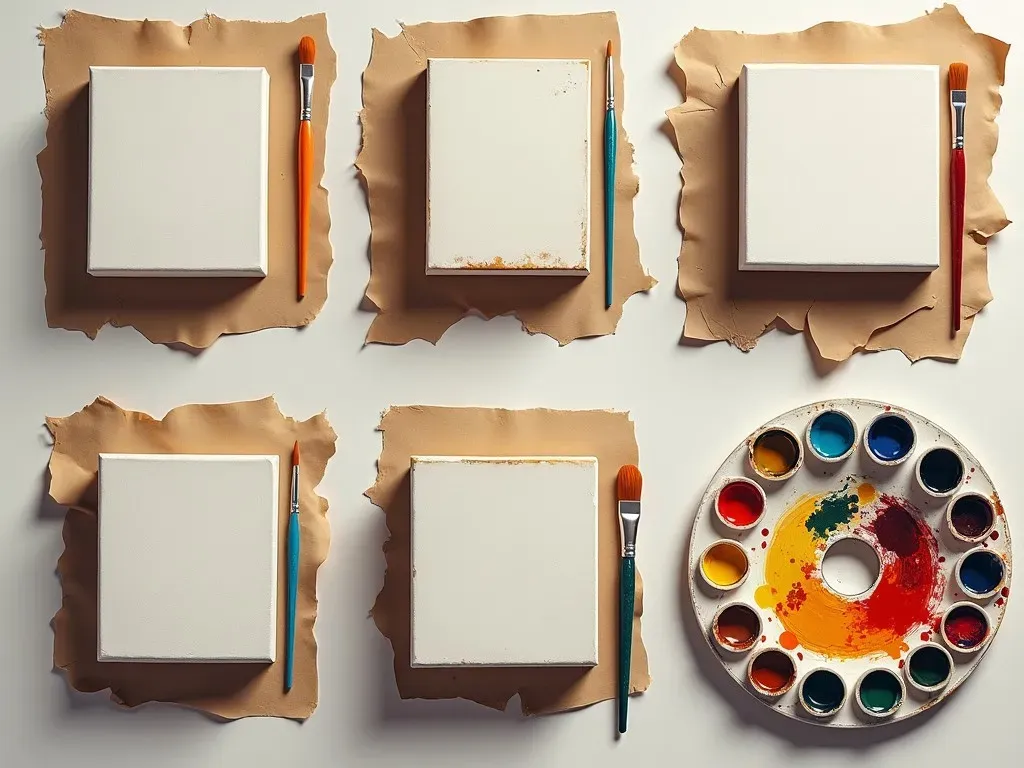
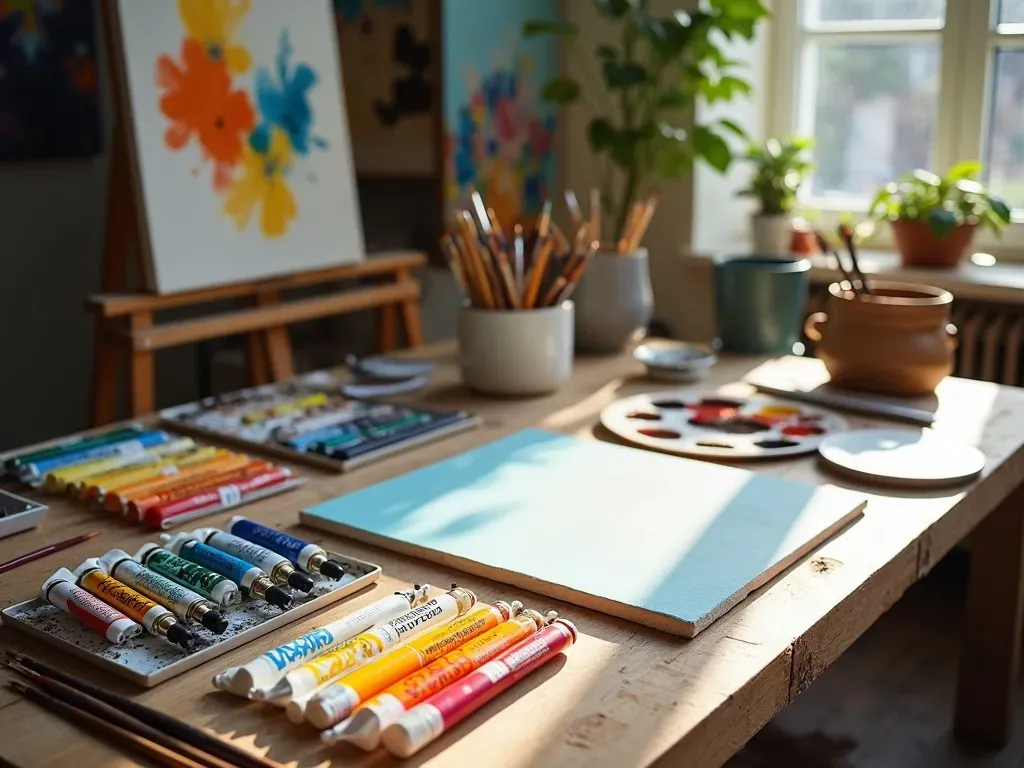
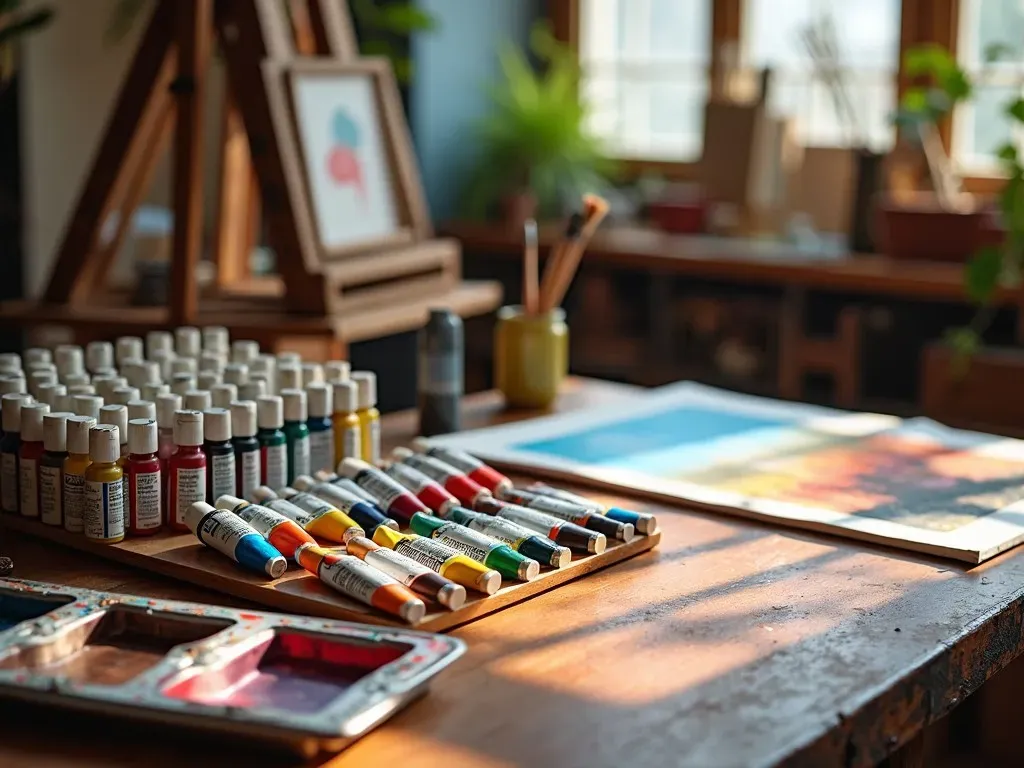
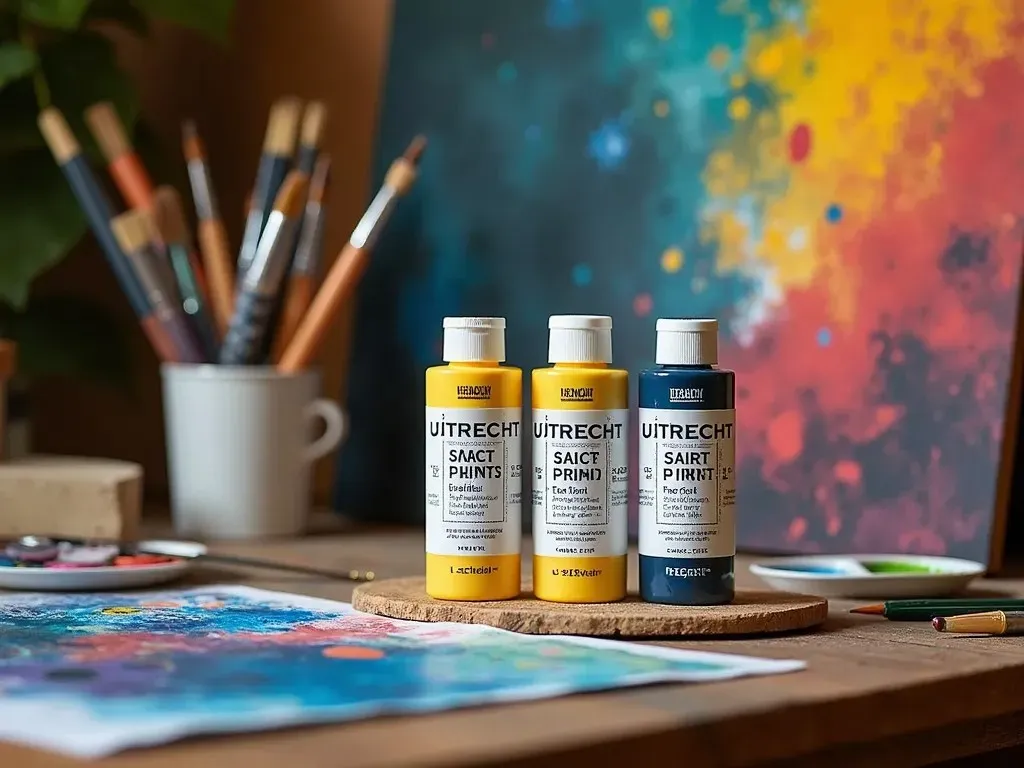
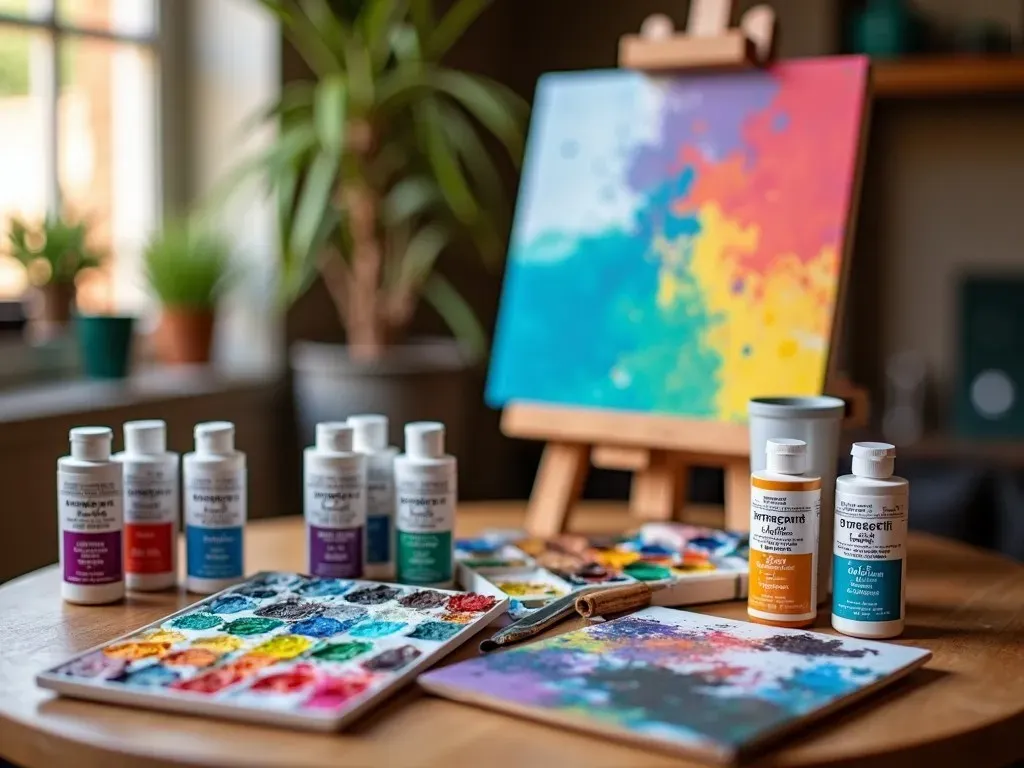
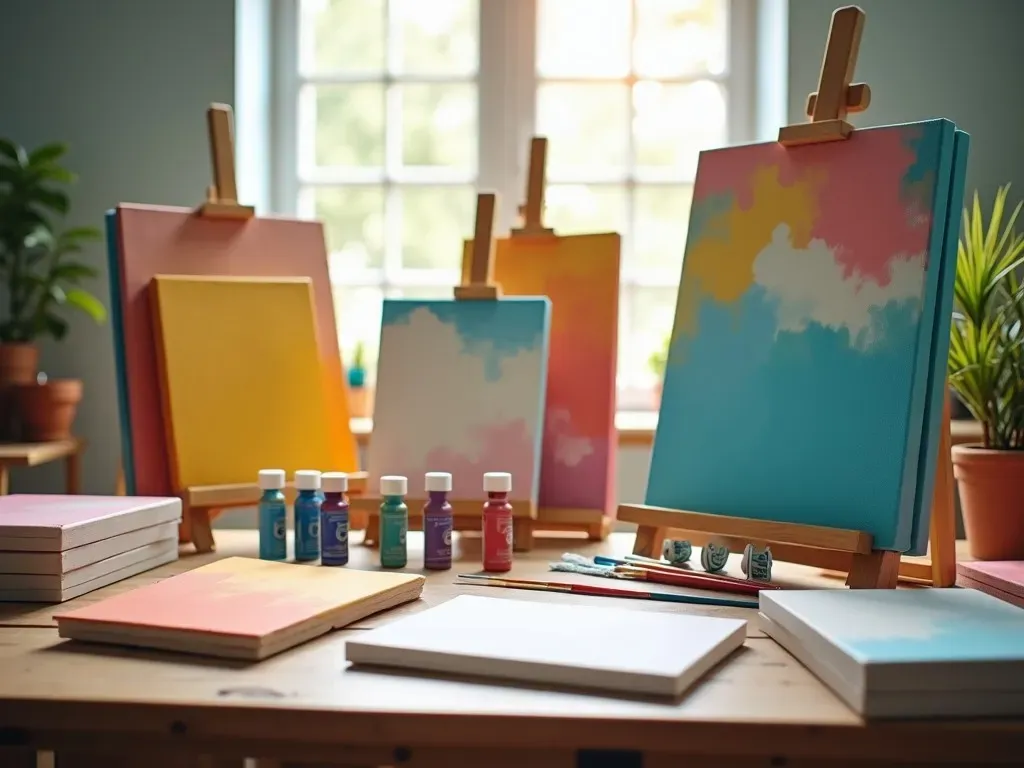
Supplies You’ll Need

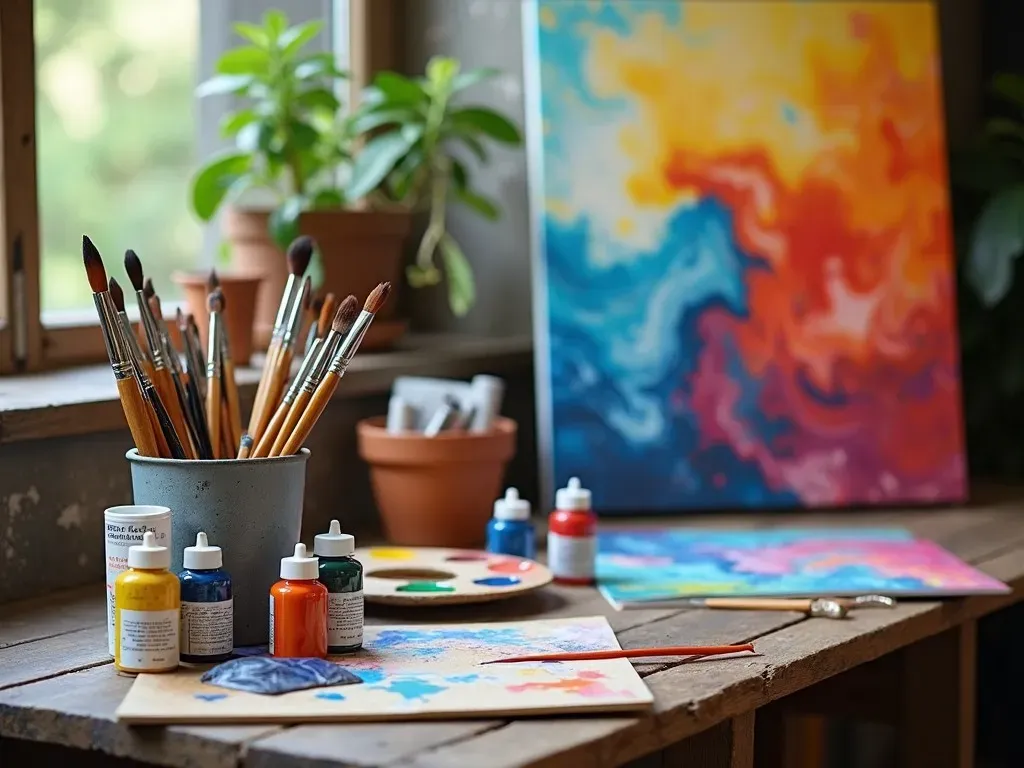
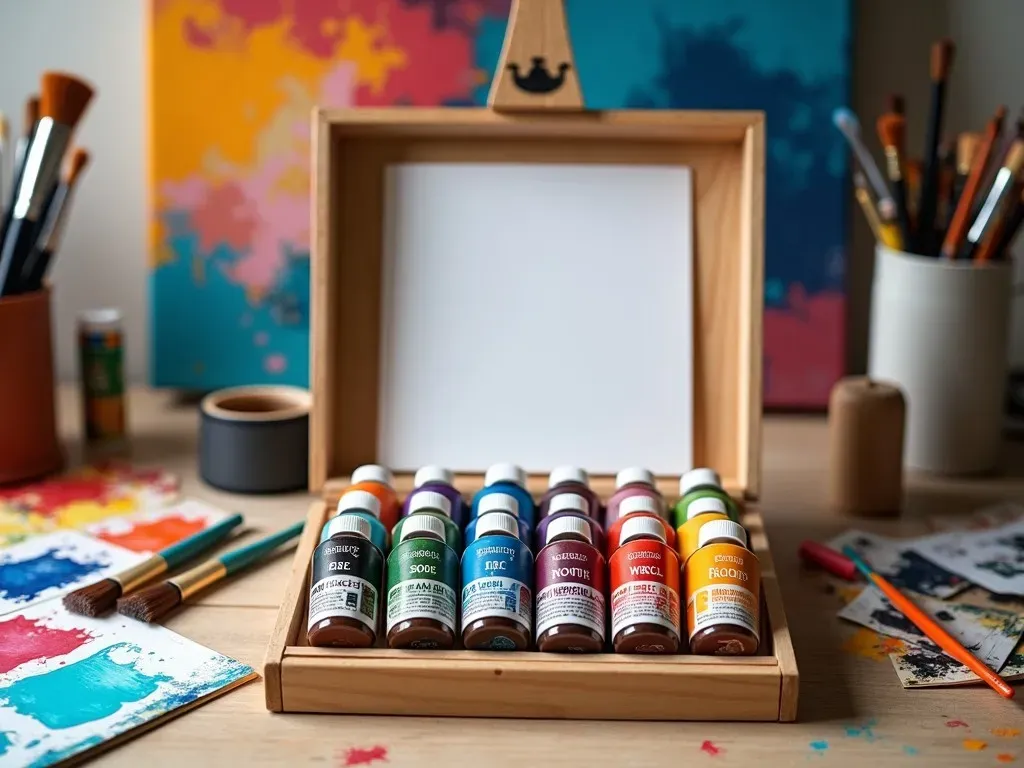
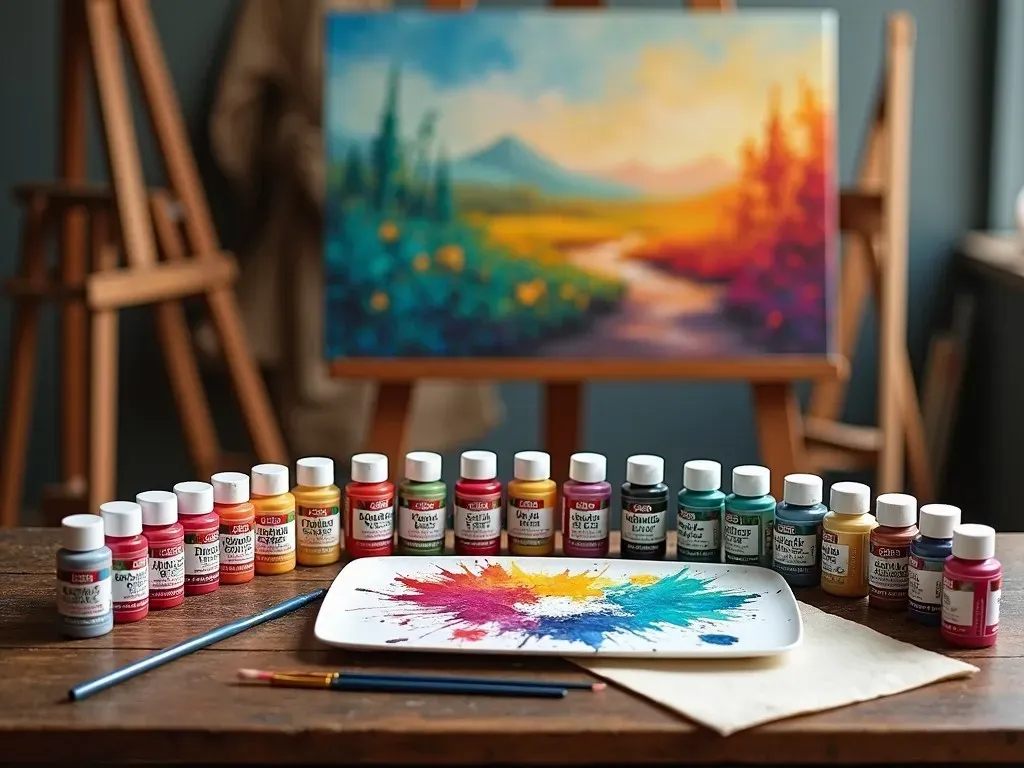
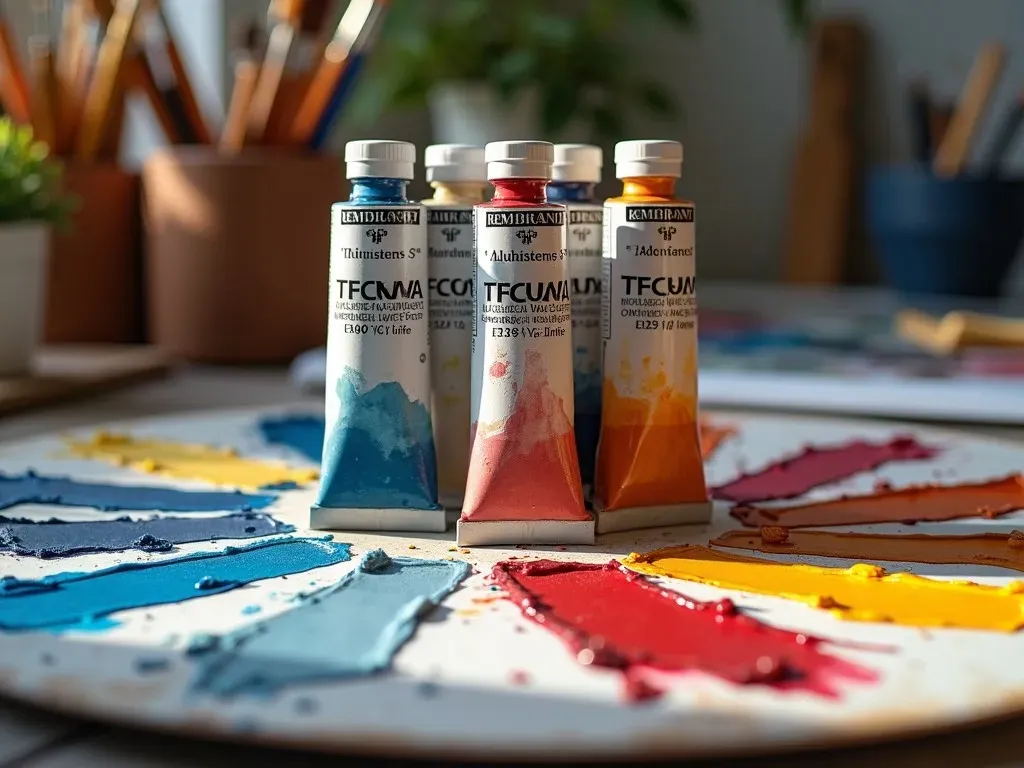
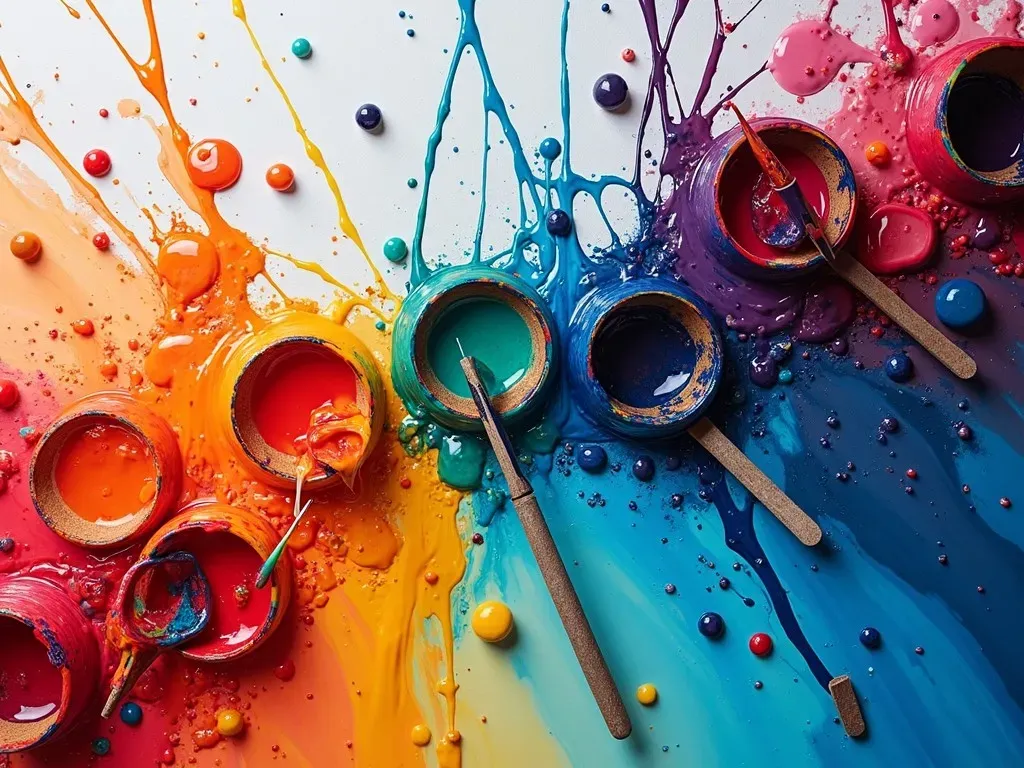
  • Paints: Oil or acrylic paints are popular choices for landscape painting.
  • Brushes: A variety of sizes, including flat and round brushes.
  • Canvas or Paper: Choose a size that suits your vision.
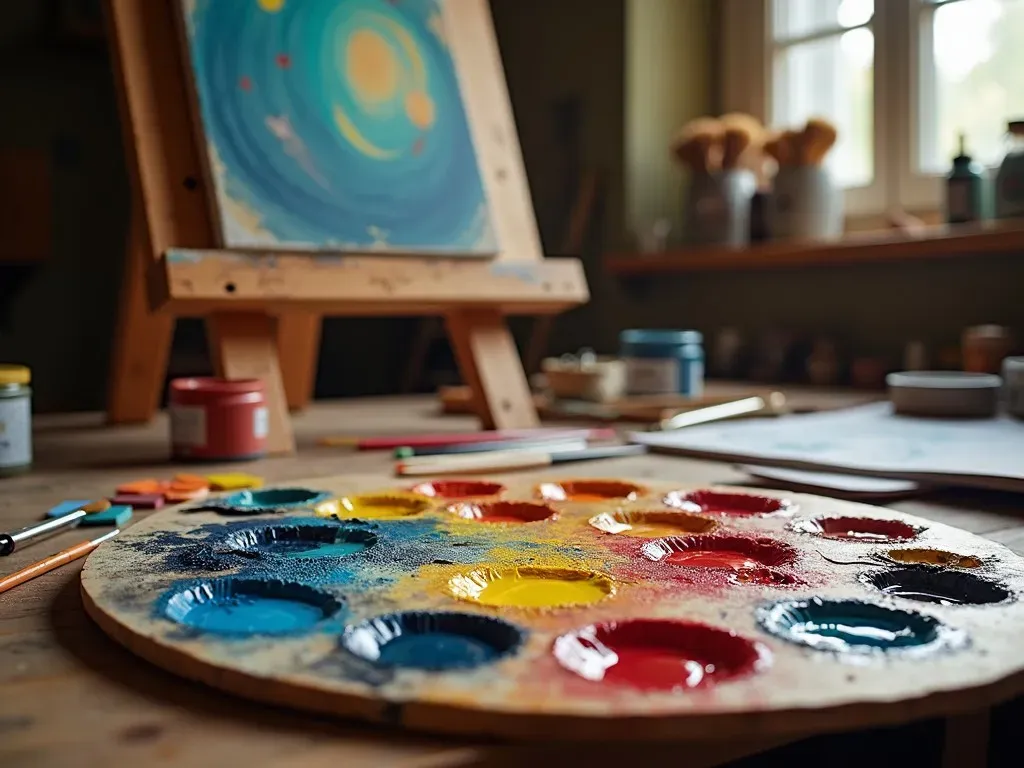
  • Palette: For mixing colors.
  • Easels: To hold your canvas steady while you work.
  • Palette Knives: Useful for mixing paints or applying thick layers.
Material Purpose
Oil Paints Rich colors and blending capabilities
Acrylic Paints Fast-drying and versatile
Brushes For application and detail work
Palette Mixing colors for desired hues
Canvas/Paper The surface for creating your artwork
Easels Provides stability while painting

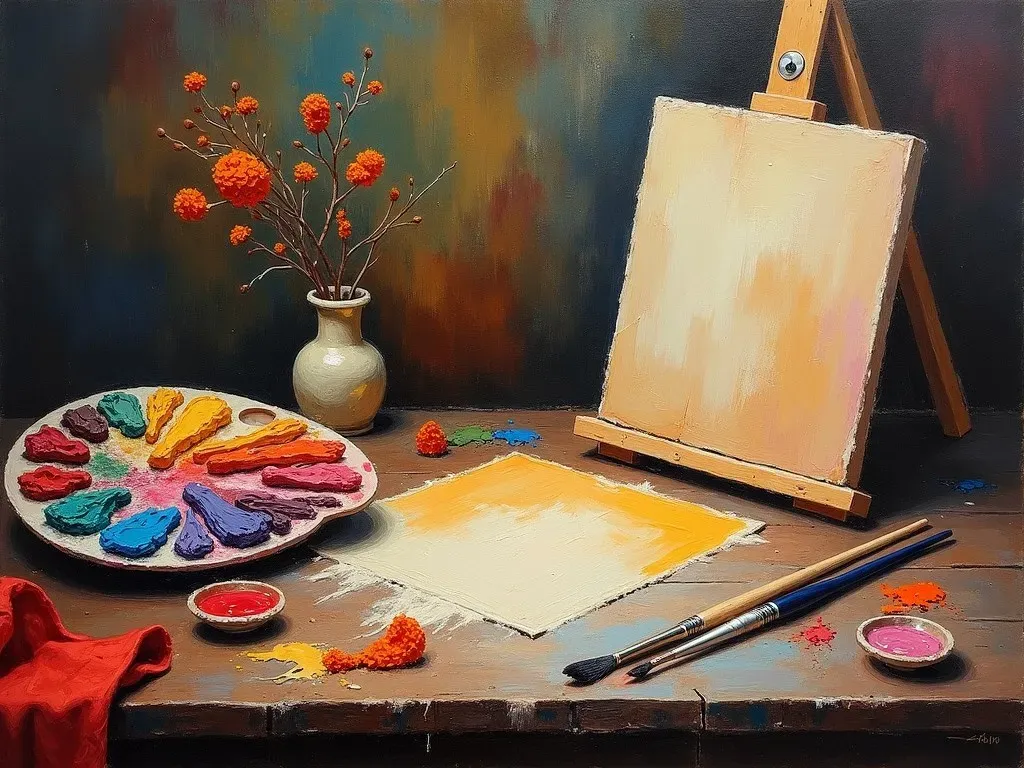
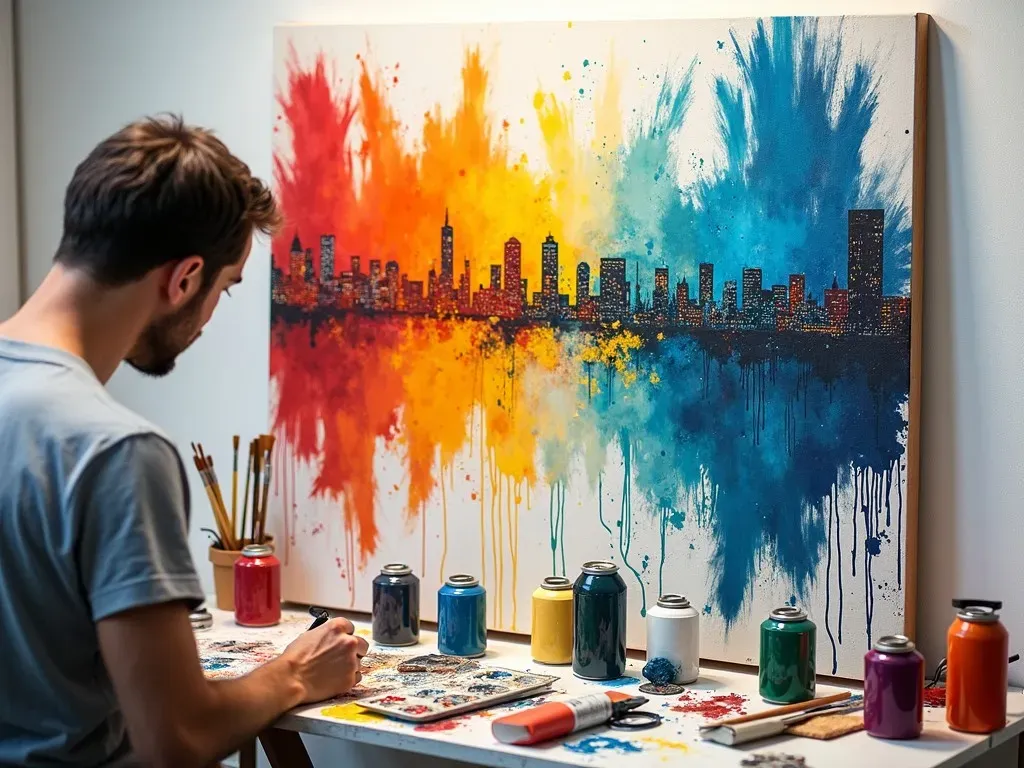
Techniques for Painting Landscapes

1. Underpainting

Begin with an underpainting to establish a base tone and help you visualize your composition better. This aids in reducing the starkness of the white canvas.

2. Sketching the Composition

Before applying paint, sketch your landscape lightly with a pencil to outline the main elements. Pay attention to perspective and proportions.

3. Blocking in Colors

Use broad strokes to apply the main colors of your landscape. This stage focuses on the light and dark areas to create depth. Remember to start with the background, typically the sky or distant mountains.

4. Adding Details

Once the base layer is dry, you can introduce more details with smaller brushes. This is where textures come to life, imbuing your painting with realism or abstract qualities, depending on your style preferences.
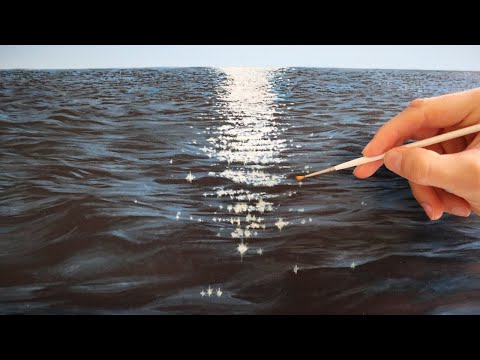
Reference Video

Tips for Color Landscape Painting

Utilize Color Harmony

Color harmony creates a cohesive look. Use complementary colors to make your focal points stand out. Experiment with warm and cool colors to evoke different moods.

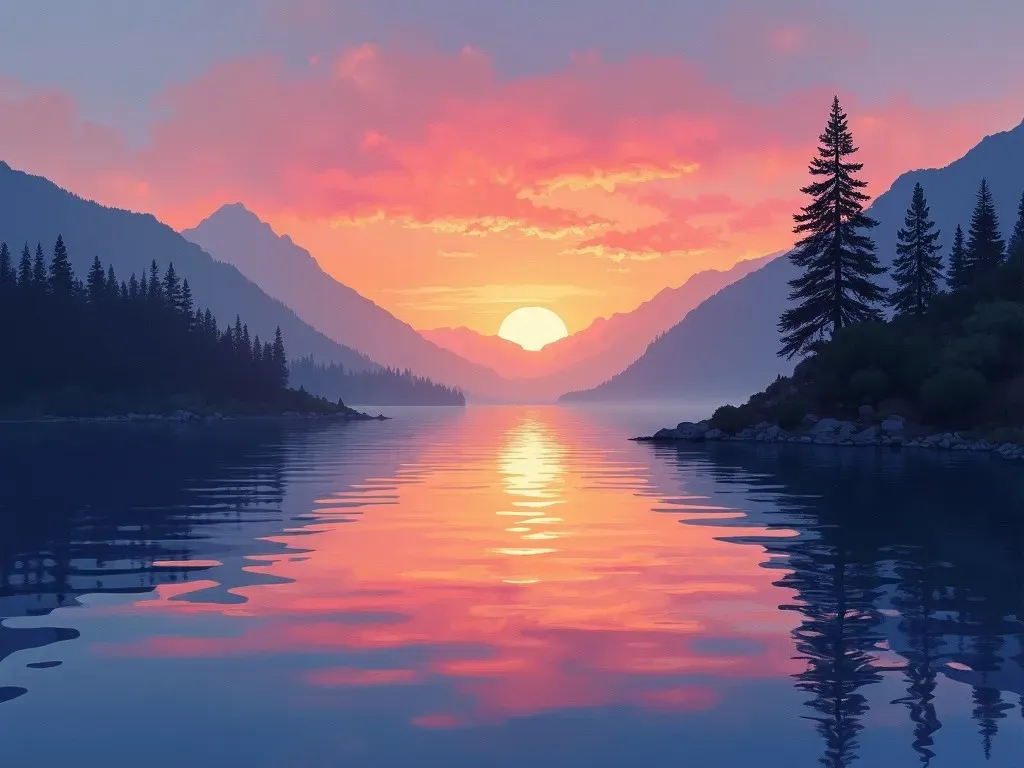
Creating Depth with Atmospheric Perspective

In landscape painting, the technique of atmospheric perspective helps convey distance. Invoking lighter, desaturated colors for distant elements simulates the effect of haze.
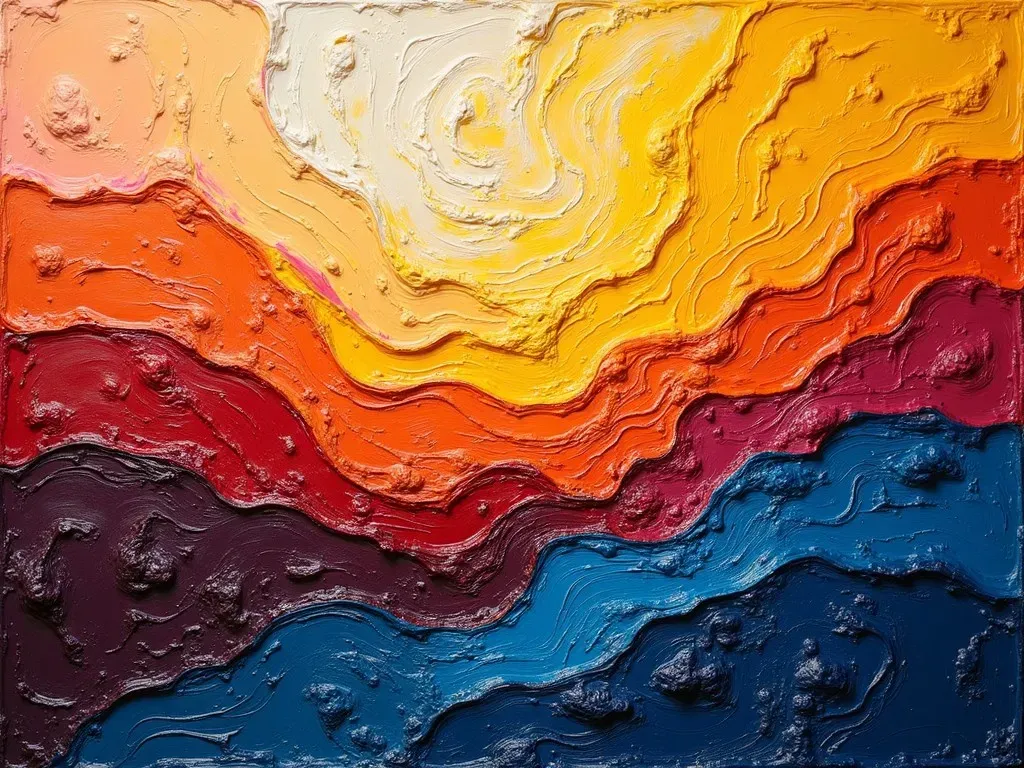
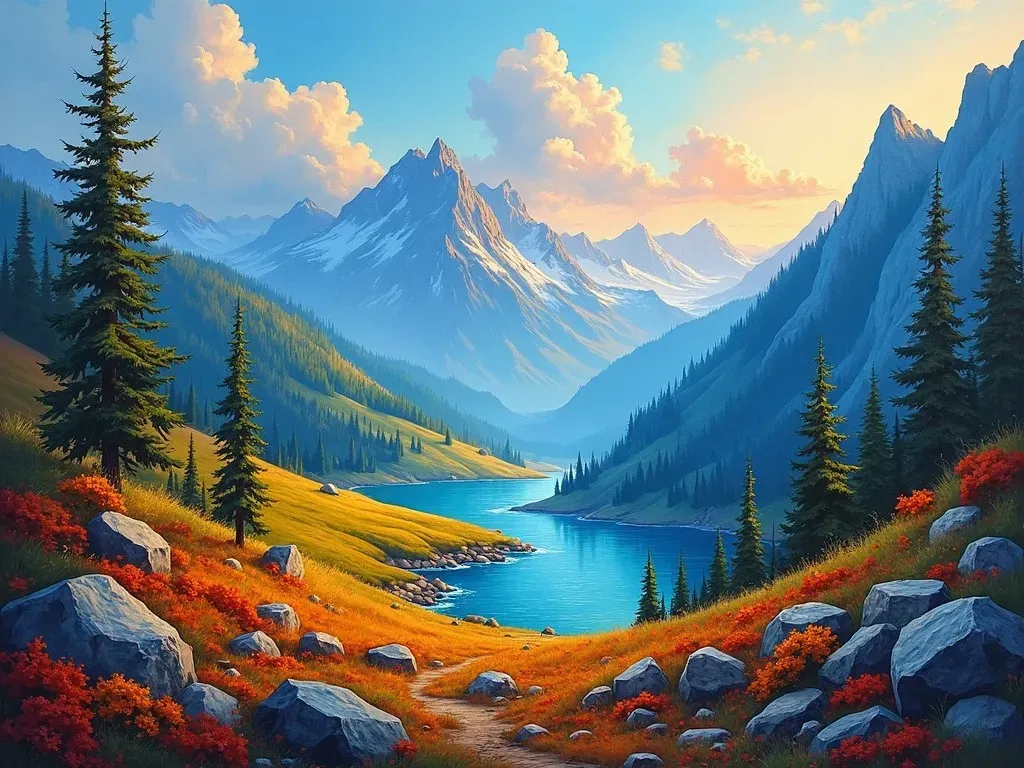
Capturing Textures

Using a palette knife or thick brush strokes, you can portray natural textures like rocky mountains or smooth water surfaces. This tactile approach adds dimension to your piece.

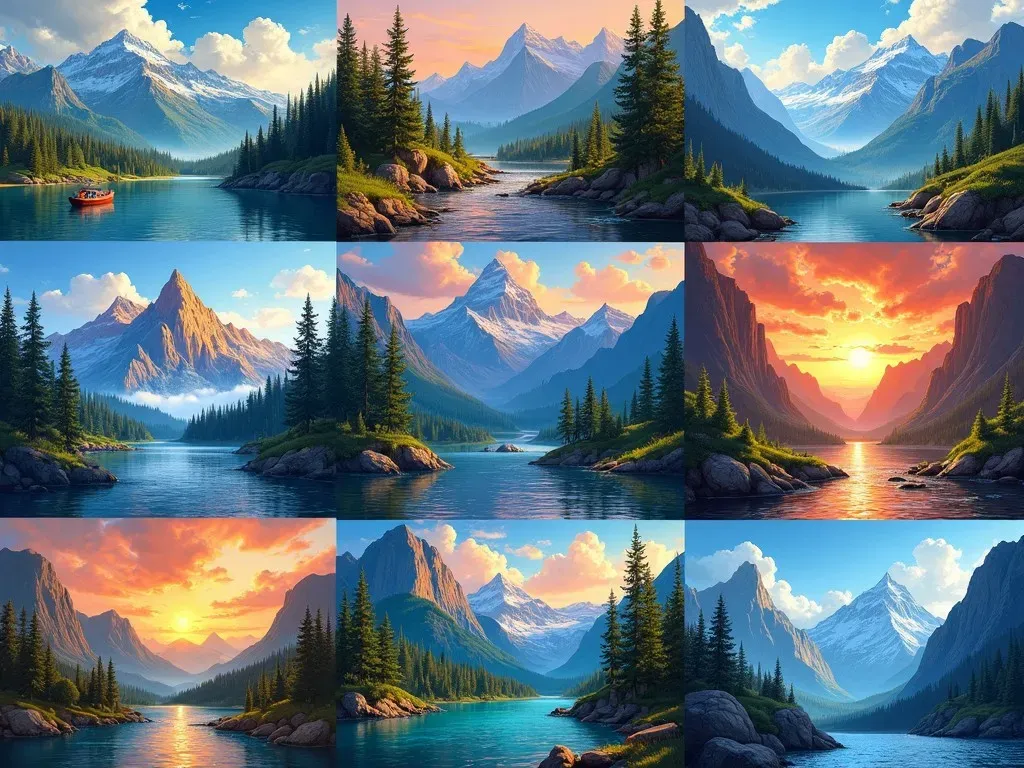
Popular Landscape Painting Techniques

Wet-On-Wet

This technique involves applying wet paint onto wet paint, allowing colors to blend beautifully, perfect for capturing skies and water reflections.

Glazing

Glazing refers to applying a thin, transparent layer of paint over a dried layer. This method enhances depth and luminosity in the landscape.
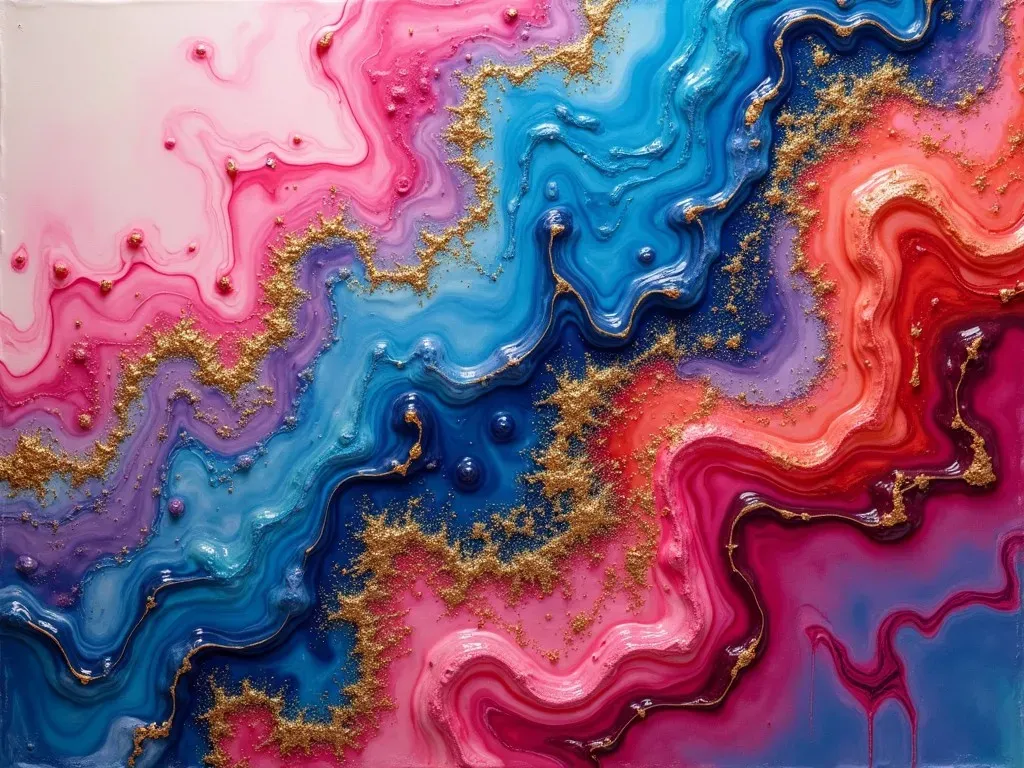
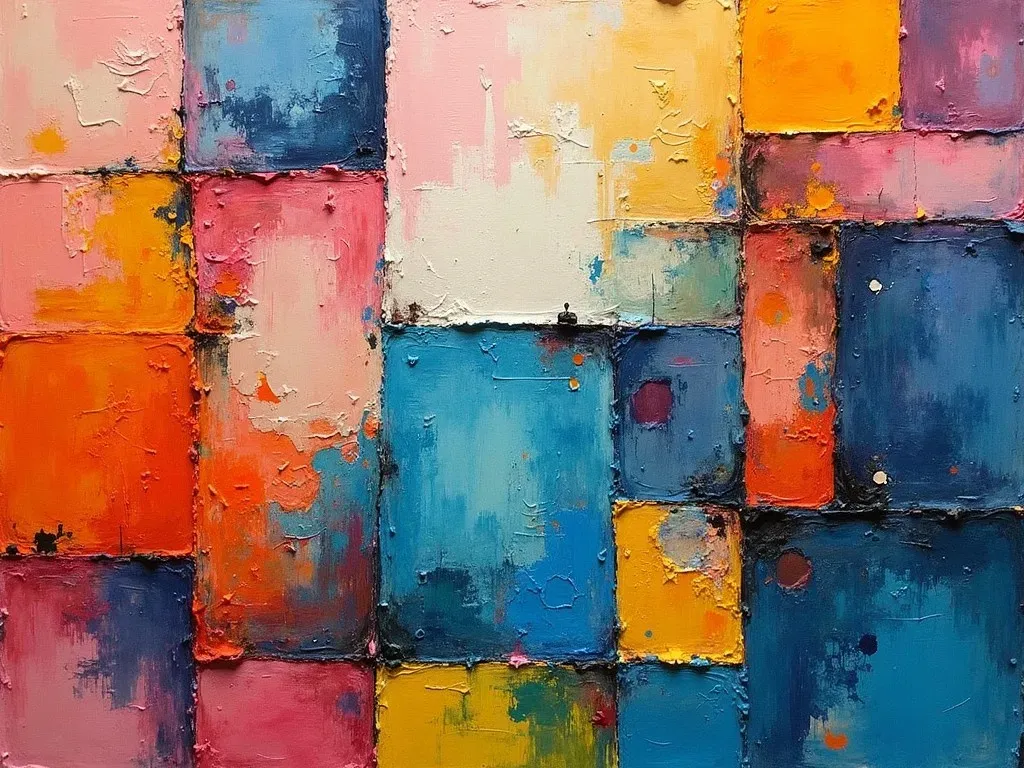
Impasto

In this technique, paint is laid on the canvas very thickly, often creating a three-dimensional effect. Ideal for creating dramatic landscapes featuring foliage or rocky surfaces.

Technique Description
Wet-On-Wet Blending wet paint for soft transitions
Glazing Transparent layers for enhanced depth
Impasto Thick application of paint for texture

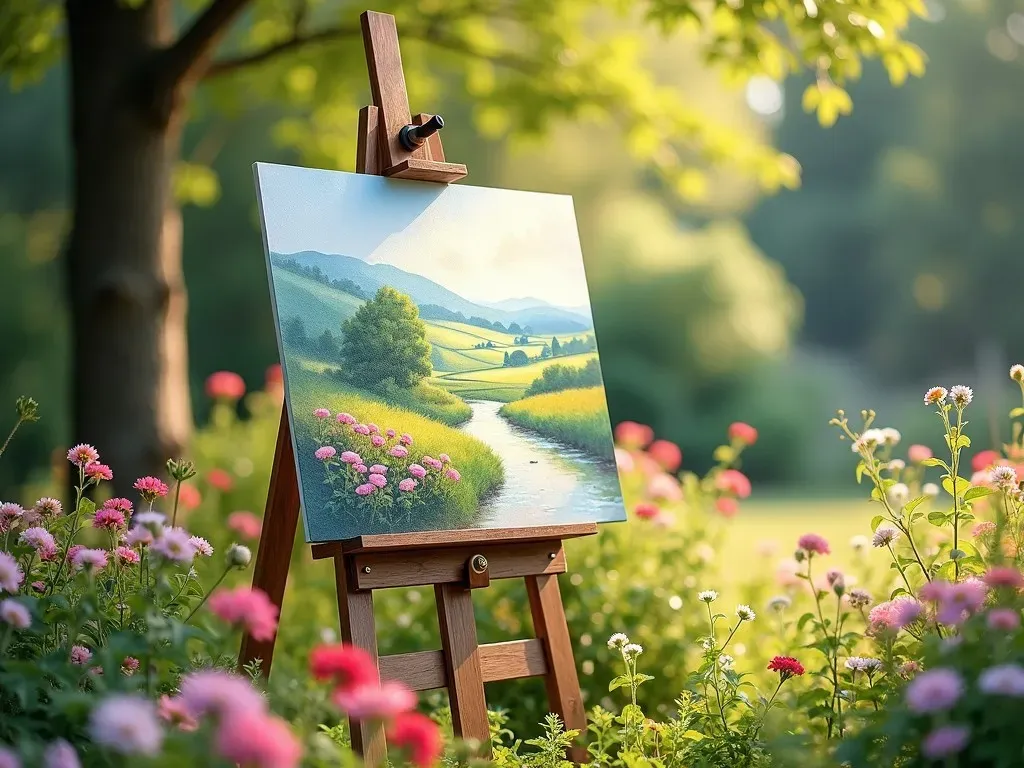
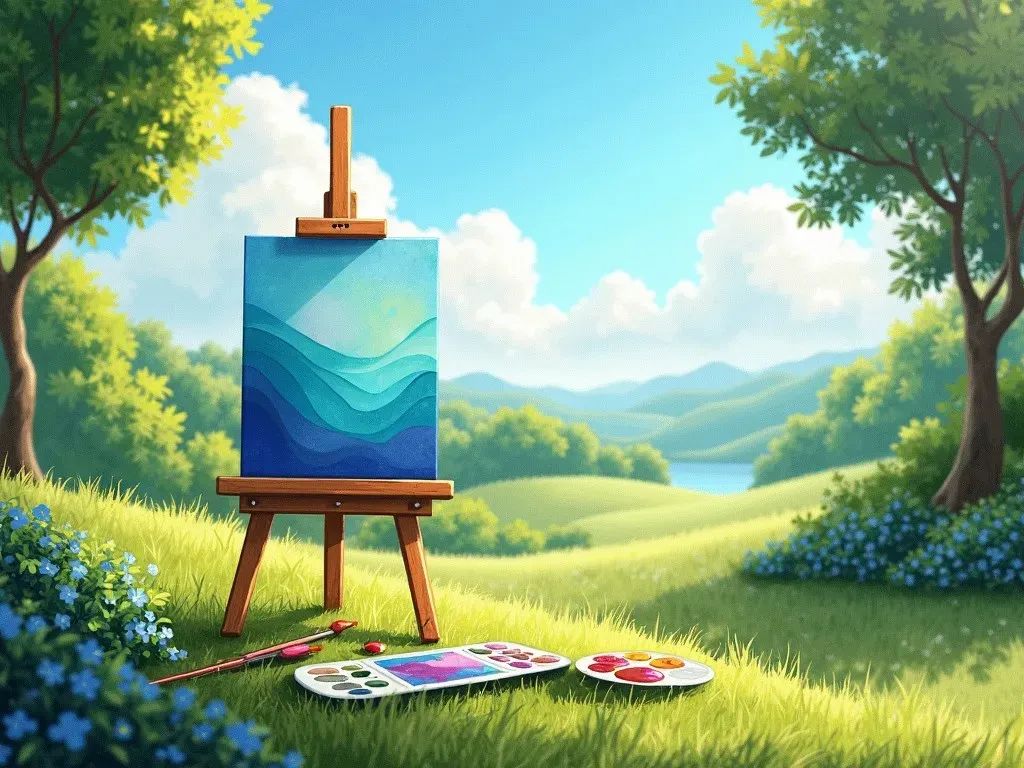
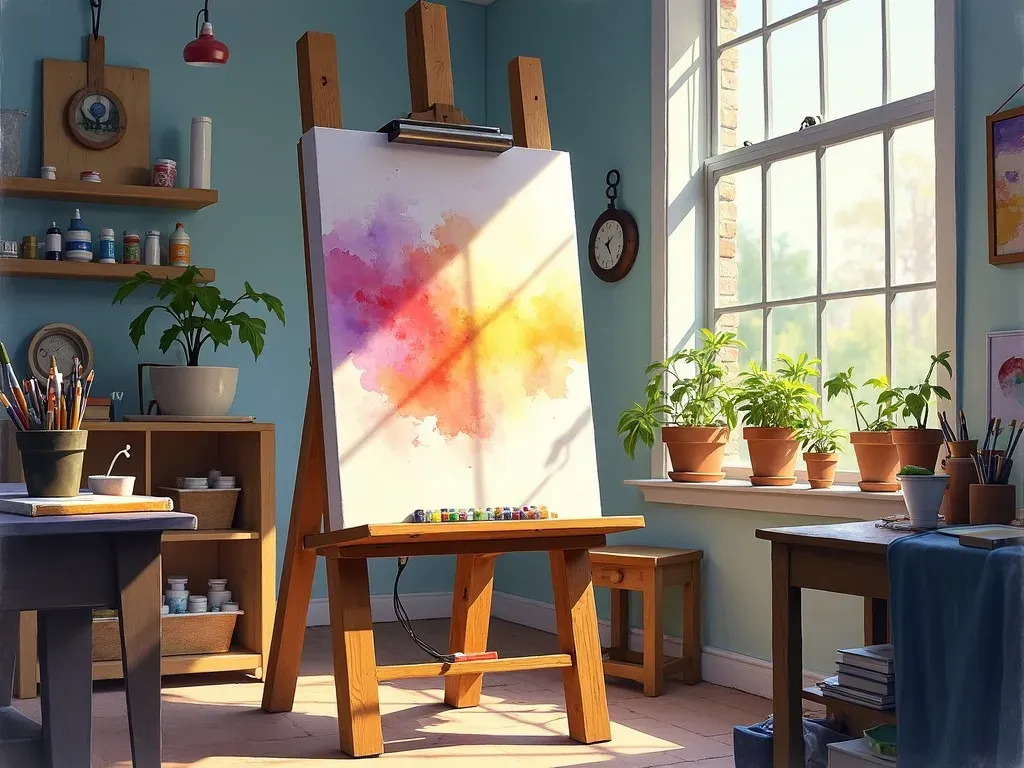
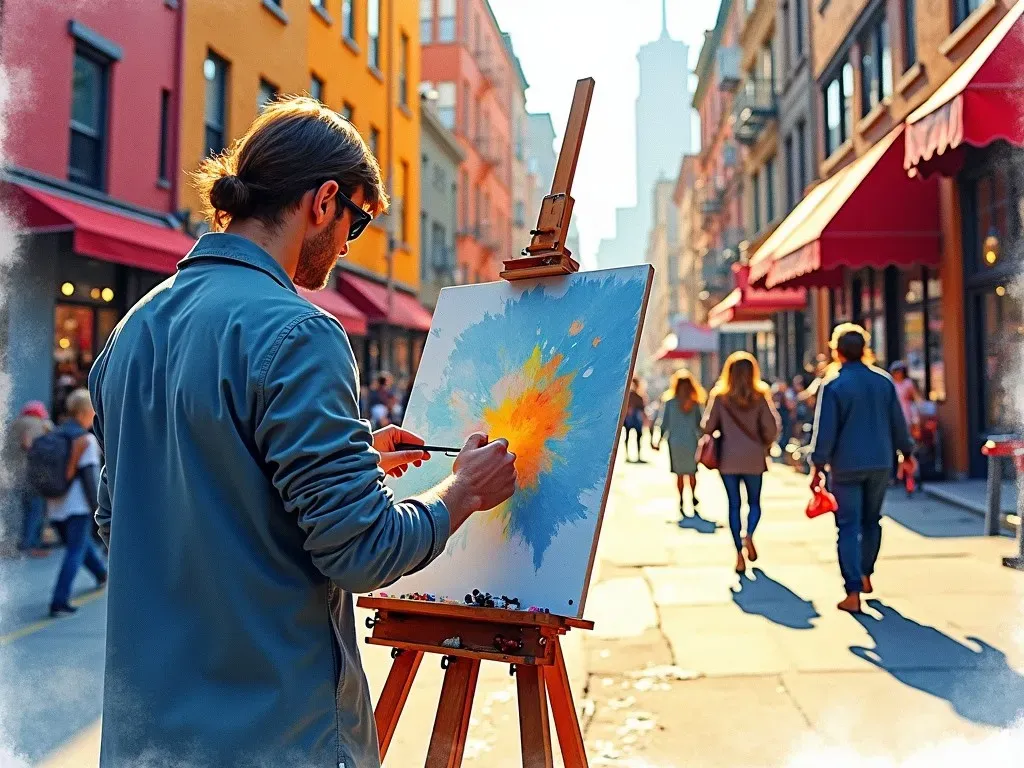
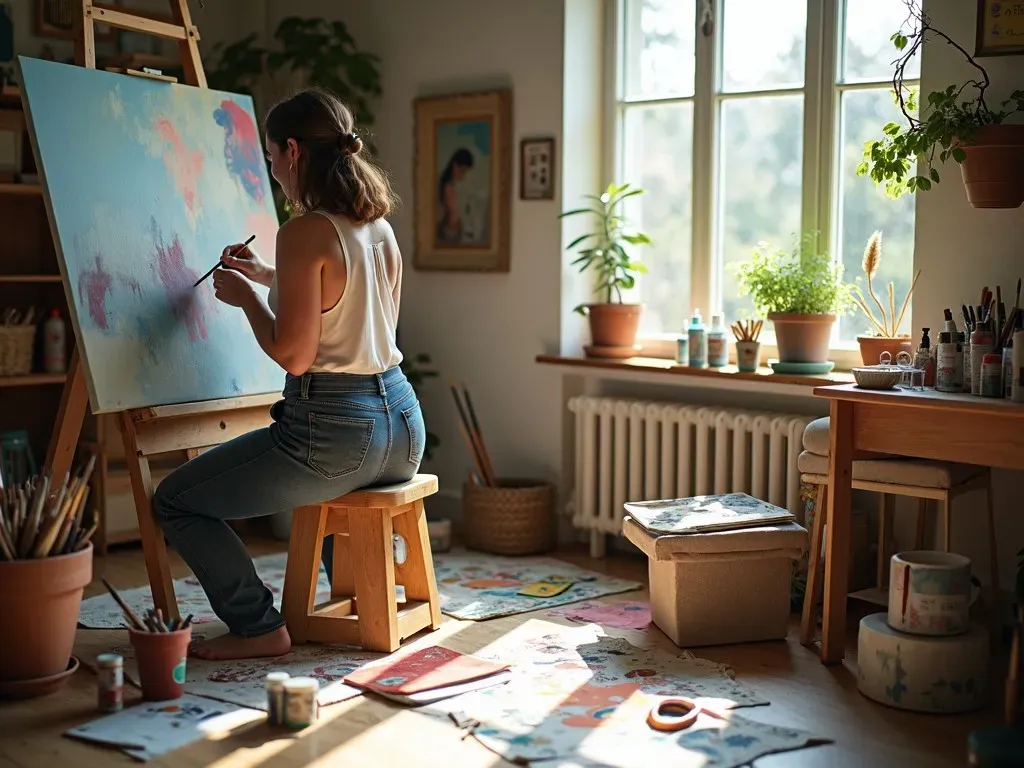
Painting on Location vs. Studio

Plein Air Painting

Painting on location, known as plein air painting, allows artists to capture the true essence of a landscape directly from nature. The experience of observing the changing light and atmosphere can significantly influence your work.

Studio Painting

Conversely, studio painting provides the freedom to experiment without environmental interruptions. Artists can work from photos or sketches, merging Inspiration with their creativity over time.

Noteworthy Landscape Artists

Many artists have made significant contributions to landscape painting:

Artist Contribution
claude monet Known for his Impressionist landscapes
Vincent van Gogh Blended colors to enhance emotional expression
John Constable Captured the English countryside beautifully
Georgia O’Keeffe Famous for her stylized, vibrant landscapes

FAQ

Q: What are the best colors to use for landscape painting?
A: Earth tones often work well, including greens, blues, and neutrals. Experimenting with a limited palette can yield harmonious results.

Q: Do I need to paint outdoors to create landscapes?
A: Not necessarily. Many artists create beautiful landscapes using reference photos taken outdoors, allowing for flexibility and creativity in a studio setting.

Q: What beginners’ tips can help me in landscape painting?
A: Start with a simple composition, use a limited color palette, and practice using different brush techniques for creating texture and depth.

Q: Where can I find video tutorials for landscape painting?
A: Websites like Canvasy provide step-by-step tutorials for beginners looking to improve their skills. You can explore various methods and techniques to enhance your landscape paintings.

For reference and further guidance, you can visit Draw Paint Academy for a comprehensive collection of landscape painting tips.

Final Thoughts

Creating captivating landscape paintings is a journey of technique, observation, and personal expression. By understanding the basics, experimenting with various methods, and utilizing the advice of masters, artists can transform their visions into breathtaking works of art. Dive into the world of landscape painting, and let nature inspire your creativity!

Unlock Your Creativity with the Perfect Oil Paint Set: A Complete Guide!

An oil paint set is a comprehensive collection of oil painting supplies designed for artists at every skill level—from beginners to seasoned professionals. This essential toolkit not only includes high-quality oil paints but often comes with brushes, palettes, and even canvases, tailored to suit various painting styles and preferences.

Let’s dive deeper into the world of oil paint sets and find the perfect one for your artistic journey.

What to Look for in an Oil Paint Set

When selecting an oil paint set, consider the following elements that might influence your painting experience:

Quality of Paint

  • Pigment Strength: High-quality sets contain pigments that provide better color saturation and luminosity. Look for oil paints that are labeled as “professional” or “artist-grade” for superior performance.
  • Consistency: The texture of the paint should allow for smooth application. Creamy or buttery oil paints usually spread better, allowing for smoother blends and layering.

Composition

Oil paints are derived from various oils, the most common being linseed oil. Non-toxic formulations are also available, especially important if the paint is intended for use by children.

Set Size

Choosing the right size is crucial. Here’s a simple breakdown:

Set Size Ideal For
3-6 colors Beginners or hobbyists, experimenting with color mixing.
12-24 colors Intermediate artists who want a broader palette.
30+ colors Professionals who need a vast array of options.

Accessories Included

Many oil paint sets come with useful accessories such as brushes, palettes, or canvas boards. Here’s a sample list of common inclusions:

  • Brushes of various sizes
  • Mixing palette
  • Canvas or canvas boards
  • Palette knives
  • Mediums (like linseed oil or turpentine)

Best Oil Paint Sets for Beginners

Oil painting can seem intimidating at first, but the right oil paint set can ease the entry into this rewarding art form. Here are a few recommendations:

  1. Ohuhu Oil Paint Set

    • Contents: 24 oil-based colors, 12ml tubes
    • Price: Approximately $16.99
    • Ideal for: Beginners, students, and kids

  2. Paul Rubens Oil Painting Set

    • Contents: 20 premium colors, 50ml tubes
    • Price: Approximately $51.99
    • Ideal for: Beginners to intermediate artists

  3. MyArtscape Oil Paint Set

    • Contents: 24 colors, 12ml tubes
    • Price: Approximately $29.99
    • Ideal for: Artists of all levels looking for archival quality.

Specialty Oil Paint Sets

For those interested in specific themes or effects in their art, consider these specialized oil paint sets:

  • Water Mixable Oil Paints: These allow for easy clean-up with water instead of solvents. Options like Winsor & Newton Artisan are popular.

  • Metallic Oil Paint Sets: Ideal for adding a shimmer effect to artwork, these are designed for artists interested in adding a unique touch.

Reference Video

Essential Painting Techniques with Oil Paint

Once you have your oil paint set, understanding a few Techniques can elevate your paintings:

Glazing

This involves applying thin layers of transparent paint over a dry base layer to create depth and luminosity.

Impasto

Thick layers of paint create textured effects. This technique requires heavy-bodied paints that retain their form.

Blending

Oil paints blend well when wet, permitting a smoother color transition. Exploring this technique can lead to stunning gradients in your artwork.

Care and Maintenance of Your Oil Paint Set

Maintaining your oil paint setup ensures longevity and quality performance. Here are some care tips:

Brushes

  • Clean brushes thoroughly with solvents like mineral spirits.
  • Reshape the bristles after cleaning to avoid damage.

Paint Storage

  • Keep tubes capped and in a cool, dry place.
  • Avoid direct sunlight, which can alter the color of the pigments.

Palette

  • Using a glass or acrylic palette makes cleaning easier.
  • Scrape off dried paint but avoid using metal tools that can scratch the surface.

Frequently Asked Questions (FAQ)

Q: How long do oil paints take to dry?

A: Oil paints can take anywhere from several days to weeks to fully dry, depending on the thickness of the application and environmental conditions.

Q: What is the difference between student-grade and artist-grade oil paints?

A: Artist-grade oil paints contain higher concentrations of pigment and offer better color performance, while student-grade paints are less expensive and often have fillers.

Q: Can oil paints be mixed with acrylics?

A: It is generally advisable to avoid mixing oil and acrylic paints as they have different drying processes, which can lead to undesirable results.

Q: What is the best way to thin oil paint?

A: Linseed oil or turpentine can be used to thin oil paint. They allow for easier application and improved flow.

Q: Are there any non-toxic oil paint options?

A: Yes, many brands offer non-toxic oil paint sets, making them safer for children and those with sensitivities.

For further exploration and options, you can check out BLICK Art Materials for a wide range of oil paint sets and Supplies.

By understanding and selecting the right oil paint set tailored to your needs, you’re well on your way to developing your skills and exploring the fabulous world of oil painting!

Unlock Your Creative Potential: The Ultimate Guide to Oil Painting Supplies

Oil painting Supplies are essential tools that every artist, from beginners to seasoned professionals, needs to bring their artistic visions to life. A comprehensive understanding of these materials is key to being successful in the world of oil painting. With the right oil painting supplies, anyone can embark on an artistic journey filled with color, creativity, and self-expression.

The Essential Oil Painting Supplies List

  1. Oil Paints

    • Student-grade vs. professional-grade
    • Color palette basics
    • Common brands: Winsor & Newton, Gamblin, and Grumbacher
  2. Brushes

    • Types (Filbert, Round, Flat, etc.)
    • Materials (Synthetic vs. Natural)
    • Recommended sizes for different Techniques
  3. Palettes

    • Types (Wood, Glass, Disposable)
    • Importance of color mixing
    • Tips for maintaining your palette
  4. Canvases and Surfaces

    • Pre-stretched vs. canvas boards
    • Linen vs. cotton
    • Choosing the right texture
  5. Solvents and Mediums

    • Thinners (like turpentine or odorless mineral spirits)
    • Mediums (Linseed oil, Liquin)
    • Importance of ventilation when using solvents
  6. Easels

    • Different types (Tabletop, Studio, Field)
    • Importance of stability and height adjustability
  7. Other Accessories

    • Palette knives for mixing and scraping
    • Rags and paper towels for cleaning
    • Varnishes for finished artworks

Breakdown of Oil Painting Supplies

Item Description Price Range
Oil Paints Tubes of varying colors $5 – $100
Brushes Various sizes and shapes $5 – $50
Palettes Mixing surfaces $3 – $30
Canvases Pre-stretched and boards $10 – $200
Solvents/Mediums Thinners and additives $5 – $35
Easels Supports for canvases $20 – $200
Accessories Tools like knives and cleaning $5 – $50

What Do You Need for Oil Painting?

Starting oil painting could feel overwhelming at times, especially with numerous supplies available. However, a basic set of items is all you need to get started. For beginners, a starter kit may be the best way to go. The following is a short checklist of beginner oil painting supplies that you should consider:

  • A basic oil painting starter kit with paints, brushes, and a palette
  • A few pre-stretched canvases or a canvas pad
  • A medium and a solvent
  • High-quality brushes in multiple shapes and sizes
  • An adjustable easel and mixing tools like palette knives
  • Clean rags for wiping brushes and hands

Beginner Oil Painting Supplies: Essential Considerations

When selecting oil painting supplies, consider quality over quantity. Here are tips to help you make informed choices:

  1. Invest in Quality Paints: While it’s tempting to buy the cheapest paint, high-quality oil paints yield better colors and longevity.

  2. Get a Variety of Brushes: A range of brush shapes will offer versatility for different techniques.

  3. Keep Your Workspace Organized: An orderly area simplifies the painting process and enhances creativity.

  4. Practice Color Mixing: Understanding how to mix colors will expand your creative possibilities significantly.

Common Questions About Oil Painting Supplies

What are the basic supplies needed for oil painting?

Basic supplies include oil paints, brushes (various shapes and sizes), a palette for mixing colors, canvases or canvas boards, a medium (like linseed oil), a solvent, and an easel.

Can I use acrylic brushes for oil painting?

While acrylic brushes can technically be used for oil painting, it’s recommended to use brushes designed for oil paints, as they are sturdier and have the right bristle type and texture.

How do I maintain my oil painting supplies?

To maintain brushes, clean them thoroughly with soap and water right after use. Store your paints in a cool, dry place, and regularly check and clean your palette.

Where can I buy oil painting supplies?

Many art supply stores, both online and in-person, offer a wide range of oil painting supplies. Some popular options include Dick Blick and Amazon.

Popular Oil Painting Supplies Brands

Brand Specialization
Winsor & Newton Professional artist oil paints
Gamblin High-quality oil mediums and paints
Grumbacher Reliable for beginners and professionals
Holbein Vibrant colors and unique color sets
Sennelier Classic French oil paints

Tips to Enhance Your Oil Painting Experience

  • Create a Color Mixing Guide: As you start to mix colors, keep track by creating a color mixing guide that records what combinations yield specific shades.

  • Experiment with Mediums: Different mediums can alter the consistency and drying time of your paint. Experimentation can lead to unique textures and layering effects.

  • Set Up a Dedicated Space: A personal workspace with all your oil painting supplies organized can boost your creativity.

Conclusion

Arming yourself with the right oil painting supplies can significantly enhance your artistic journey. Whether you’re just starting or looking to upgrade your current materials, understanding what each tool does and how it contributes to your process is crucial for creating stunning artwork. Choose quality products and develop your own preferences as you evolve in your oil painting journey.

Frequently Asked Questions

  1. Is oil painting difficult to learn?
    Oil painting can be challenging due to the unique techniques required, but with practice and the right supplies, anyone can learn.

  2. What is the best way to start oil painting?
    Begin by gathering essential supplies and taking beginner classes or following online tutorials to learn basic techniques.

  3. How long does it take for oil paint to dry?
    Oil paint has a longer drying time than other mediums, typically taking days to weeks depending on the thickness of application and type of medium used.

  4. Can I use oil paints over acrylics?
    Yes, oil paints can be applied over dried acrylics. However, you should ensure that the acrylic layer is completely dry before applying oil paint on top.

By equipping yourself with quality oil painting supplies and refining your techniques, your artistic potential is limitless. Happy painting!

Reference Video

Unleash Your Creativity: Explore the Best Watercolor Easels for Enthusiastic Artists!

Watercolor easels are essential tools for watercolor artists, providing the perfect support for your creative expression. Whether you’re a novice or a seasoned professional, having the right easel can significantly enhance your painting experience and output. From portable designs ideal for plein air painting to sturdy studio easels, these versatile tools cater to various artistic needs and environments.


Understanding Watercolor Easels

Watercolor easels come in various styles and sizes, each serving specific purposes. Here are some common types:

  1. Tabletop Easels: Compact and perfect for small workspaces, these easels are ideal for studio use and offer multiple adjustable angles for comfortable painting.
  2. Field Easels: Lightweight and foldable, field easels are designed for artists on the go. They can be easily transported and set up in outdoor locations.
  3. Studio Easels: Sturdy and often larger, studio easels are designed for serious work and provide excellent support for larger canvases or watercolor paper.
  4. Hybrid Easels: These versatile easels combine features of both field and studio easels, making them suitable for various environments.

Key Benefits of Using Watercolor Easels

Using a watercolor easel offers several advantages, including:

  • Improved Posture: Easels elevate your canvas or paper, allowing you to adopt a more comfortable posture while painting, reducing strain on your back and neck.
  • Enhanced Visibility: The elevated position provides a better perspective and visibility of your artwork, enabling you to create with greater precision.
  • Versatile Techniques: Depending on the easel type, you can easily adjust angles to suit different painting techniques, from flat washes to angled strokes.

Popular Watercolor Easels on the Market

1. MEEDEN Plein Air Easel

  • Features: Adjustable height (17 to 65 inches), foldable, sturdy rubber sole for grip.
  • Ideal Use: Perfect for artists who want to paint outdoors or travel.
  • Price: Approximately $79.99

2. Jullian Rexy Watercolor Easel

  • Material: Oiled beechwood with brass fittings.
  • Functionality: Supports canvases up to 34 inches high with adjustable angles.

3. SoHo Urban Artist Watercolor Field Easel

  • Specifications: Lightweight and adjustable height; ideal for traveling artists.
  • Transport: Comes with a carry case for easy mobility.

4. Solo Easel

  • Components: Includes a tripod, PVC board, and clips for added convenience.
  • Portability: Lightweight and compact, easily fits in a backpack.


Comparison Table of Top Watercolor Easels

Easel Name Height Adjustability Material Portability Price Range
MEEDEN Plein Air Easel 17 to 65 inches Metal Yes $79.99
Jullian Rexy Watercolor Easel Up to 34 inches Oiled Beechwood Yes $160.00
SoHo Urban Artist Watercolor Easel Adjustable height Aluminum Yes $63.99
Solo Easel Compact & adjustable Mixed materials Yes $89.99

Reference Video

Choosing the Best Watercolor Easel

When selecting the best easel for watercolor painting, consider the following factors:

1. Portability

If you enjoy painting outdoors, look for lightweight and foldable easels that are easy to transport.

2. Stability

Ensure that the easel is sturdy enough to hold your materials securely, especially during windy conditions when painting en plein air.

3. Adjustability

Opt for easels that offer multiple height and angle adjustments, allowing you to find the perfect working position.

4. Material

Choose easels made from durable materials like beechwood or aluminum for longevity and reliability.


FAQs about Watercolor Easels

Q1: What is the difference between tabletop and field easels for watercolor painting?
A1: Tabletop easels are designed to be used on flat surfaces and provide a stable base for small projects, while field easels are portable, lightweight, and often adjustable for outdoor settings.

Q2: Do I need a special easel for watercolor painting?
A2: While you can use any easel, a design specifically made for watercolor can offer better support and adjustability based on your painting style.

Q3: How much should I expect to spend on a good watercolor easel?
A3: Prices vary significantly, ranging from as low as $40 for basic models to over $200 for professional-grade easels.

Q4: Where can I purchase watercolor easels online?
A4: Many art supply stores and online retailers such as Amazon, Blick Art Materials, and Art Ltd offer a wide selection of watercolor easels.


Understanding the variety of watercolor easels available can significantly influence your painting journey. By selecting the right easel that fits your needs, style, and environment, you’ll not only enhance your artistic process but also enjoy the experience of creating beautiful watercolor artworks.

To explore a comprehensive list of top watercolor easels, check out Art Ltd for additional insights and recommendations.

Unlock Your Creative Potential with Utrecht Oil Paint: The Affordable Artist’s Secret

Utrecht Oil Paint is renowned for its high quality and affordability, making it a favored choice among artists globally. Since its inception in 1949, Utrecht has been a benchmark in the realm of art supplies, particularly in the domain of oil colors. Whether you’re a budding painter or a seasoned professional, Utrecht oil colors promise an exceptional painting experience without breaking the bank.

Why Choose Utrecht Oil Colors?

Utrecht produces a remarkably diverse range of oil paints that are cherished for their vibrant hues, high pigment concentrations, and exceptional lightfastness. This quality allows artists to create stunning works that can withstand the test of time. Here’s a snapshot of what sets Utrecht oil paints apart:

  • High Pigment Concentration: Utrecht ensures that each tube of paint is packed with pigments, giving artists brilliant and saturated colors.
  • Affordable Pricing: Compared to other premium brands, Utrecht oil paints are priced more affordably, making them accessible for artists at any stage of their career.
  • Exceptional Lightfastness: Many Utrecht colors boast a lightfastness rating of 1, ensuring longevity and resistance to fading.

Comparing Quality and Pricing

Here’s a table illustrating some of the standout features, pricing, and lightfastness ratings of Utrecht Oil Colors compared to other popular brands:

Brand Price (per 37ml) Pigment Quality Lightfastness Rating
Utrecht Artists $6.52 High 1
Winsor & Newton $16.00 Professional 1-2
Gamblin $12.00 Professional 1
Sennelier $20.00 Premium 1

Product Lineup of Utrecht Oil Paint

Utrecht offers various lines of oil paint that cater to different artistic needs:

  1. Utrecht Artists’ Oil Colors: These are professional-grade colors with high pigment loads. Perfect for serious artists, they offer superior coverage and tinting strength.

  2. Utrecht Studio Series Oil Paints: Designed for students and hobbyists, this range provides excellent value without sacrificing quality. They are less expensive and great for learning Techniques and experimenting.

  3. Sets and Assortments: Utrecht provides various sets that include popular color combinations, which are perfect for those just starting or looking to expand their palette affordably.

Proper Usage and Techniques

When using Utrecht oil paints, there are several techniques that can enhance your painting experience:

  • Mixing and Blending: Utilize a palette knife or brush for mixing colors to achieve desired shades and tones. The creamy consistency of Utrecht paints makes blending straightforward.

  • Layering: Because of their high lightfastness, you can layer paints effectively without fear of losing vibrancy over time.

  • Medium Combinations: Experiment with oil mediums to modify drying times, gloss, and consistency. Utrecht also offers a selection of mediums designed to work seamlessly with their oil colors.

Where to Buy Utrecht Oil Paints

Utrecht oil paintings can be found through several retailers. Below are some recommended sources:

  • BLICK Art Materials: Offers a wide selection of Utrecht oil colors and sets along with competitive pricing.

  • Utrecht Art Supplies: Their official site provides access to the entire product line, including exclusive deals and special offers.

  • Amazon: A variety of Utrecht oil paints are available with competitive pricing and quick shipping options.

FAQ

Q: Are Utrecht oil paints non-toxic?
A: While many of Utrecht’s colors are non-toxic, some pigments may contain cadmium or cobalt, which can be hazardous. It’s important to check individual paint labels for safety information.

Q: How do Utrecht oil paints compare to other brands?
A: Utrecht oil paints are often regarded as affordable yet high-quality, making them a go-to for many artists who value performance over price. Their vibrant colors and high pigment concentration set them apart.

Q: Can I use Utrecht oil colors for outdoor painting?
A: Yes, Utrecht oil paints can be used for outdoor painting; however, it’s crucial to ensure that they are properly sealed and protected once dry, especially in extreme weather conditions.

Q: What is the drying time for Utrecht oil paint?
A: The drying time for Utrecht oil paint varies depending on the thickness of the application and environmental conditions, but generally, they dry to the touch within 1-2 days.

Q: Do Utrecht oil paints work well with other brands?
A: Yes, Utrecht oil colors can be mixed and used alongside other brands. However, it is advisable to conduct a small test to ensure compatibility, especially when mixing different mediums.

Conclusion

Utrecht Oil Paints stand out as a reliable and affordable option for artists searching for high-performance oil colors. With their broad selection and exceptional quality, Utrecht continues to inspire creativity and artistic expression across the globe. Whether you’re a novice or a professional, adding Utrecht oil colors to your toolkit can undoubtedly elevate your painting practice.

Reference Video

Unleash Your Creativity with Essential Art Supplies for Canvas Painting

art supplies for canvas painting are fundamental tools and materials that artists of all levels need to create stunning artwork. Whether you’re a beginner starting your first canvas or a professional artist working on your next masterpiece, having the right Supplies is crucial to achieving the desired results.

The Essential Supplies

1. Canvas Options

Choosing the right canvas is the first step in canvas painting, and it can significantly influence your artwork’s overall appearance. There are several types of canvases available:

Canvas Type Description
Stretched Canvas Pre-stretched over a wooden frame, ready to paint. Ideal for oils and acrylics.
Canvas Panels Flat boards covered with canvas, easier to transport. Suitable for smaller works.
Canvas Rolls Unlimited size and shape possibilities, great for larger works. Cut to your dimensions.
Wood Panels Solid support for mixed media, high absorbency.

2. Paints

The type of paint you use can profoundly affect your technique and the final look of your piece. Common types include:

  • Acrylics: Quick-drying and versatile; can mimic other media.
  • Oil Paints: Slow drying, allowing for blending and layering. Great for detailed work.
  • Watercolors: Transparent and fluid; ideal for soft color washes.
Paint Type Features
Acrylic Fast-drying, flexible, water-based
Oil Slow drying, rich color, blendable
Watercolor Transparent, fluid, ideal for layering

3. Brushes

Brush selection is key for achieving different effects. Different shapes and sizes can help create various textures and strokes:

Brush Type Best Use
Round Detail work, fine lines
Flat Bold strokes, washes
Filbert Blending edges, soft strokes
Fan Texture effects, foliage

4. Additional Tools

In addition to the primary supplies, consider these items to enhance your painting experience:

  • Palettes: For mixing colors.
  • Easels: To hold your canvas securely while you paint.
  • Varnishes: To protect finished artwork from dust and UV damage.
  • Rags and Paper Towels: For cleaning brushes and wiping excess paint.

5. Gesso

An essential step before starting to paint, applying gesso prepares your canvas. It creates a suitable surface for paint adhesion and helps to prevent the paint from soaking into the fibers.

6. Sealants and Varnishes

Once your artwork is complete, applying a sealant or varnish not only protects your creation but also enhances its vibrancy and texture.

Popular Brands and Where to Buy

Several trusted brands provide quality materials for canvas painting:

  • Blick Art Materials: A go-to for a broad selection of art supplies, including canvases and paints.
  • Jerry’s Artarama: Great for discounts and a wide range of professional materials.
  • Michaels: Ideal for finding beginner-friendly kits and supplies locally.
  • Amazon: A convenient option for a vast selection delivered to your door.

Tips for Finding Local Art Supplies

When searching for art supplies for canvas painting locally, consider these strategies:

  1. Explore Local Art Stores: Many cities have local art supply stores that offer a range of products and can provide expert advice.
  2. Attend Art Workshops: Community centers often provide information on where to buy quality supplies and may even have partnerships with local stores.
  3. Search Online Directories: Websites like Yelp and Google Maps can help locate nearby art supplies stores by searching "art supplies near me."

Frequently Asked Questions (FAQ)

Q1: What is the best type of canvas for beginners?

Answer: Stretched canvases or canvas panels are recommended for beginners as they are readily available and easy to work with.

Q2: Is gesso necessary before painting?

Answer: Yes, gesso prepares the canvas surface, ensuring better paint adhesion and durability.

Q3: Can I use acrylic paints on an oil-based surface?

Answer: It’s not advisable; oil paints shouldn’t be used on acrylic surfaces, but acrylics can be used on oil surfaces if allowed to dry properly.

Q4: How do I clean my brushes properly after painting?

Answer: Clean your brushes with water and mild soap for acrylics, and use solvents like turpentine or mineral spirits for oil paints.

Q5: Where can I find inexpensive art supplies?

Answer: Check local thrift stores, dollar stores, or online marketplaces like Amazon for budget-friendly supplies.

By utilizing the right art supplies for canvas painting, you can unlock your creative potential and bring your artistic vision to life. Having the best materials ensures that your artwork stands the test of time, both in terms of quality and expression.

Discover the Allure of Beautiful Landscape Art: Painting the World’s Wonders in Colorful Detail

Beautiful landscape art captures the essence of nature, melding colors, textures, and emotions into vivid portrayals of the world around us. Landscape paintings evoke a sense of peace, adventure, and nostalgia, transporting viewers to the serene hills, roaring seas, or majestic mountains depicted in each piece. Whether through oil painting landscapes, pretty and cool landscape paintings, or other artistic styles, these artworks enable us to appreciate the beauty of our planet in different forms.

The Evolution of Landscape Painting

The history of landscape painting dates back to ancient times, where natural vistas were oftentimes depicted in the background of religious works. However, the genre truly flourished during the Renaissance and progressed through various art movements such as Romanticism, Impressionism, and Modernism. Notable Artists such as claude monet, Vincent van Gogh, and J.M.W. Turner have contributed timeless pieces that showcase breathtaking views of their surroundings.

Key Historical Periods of Landscape Art

Period Description Notable Artists
Renaissance Inclusion of natural elements in religious works Leonardo da Vinci, Raphael
Romanticism Emphasized emotion and the sublime power of nature Caspar David Friedrich, Turner
Impressionism Focus on light and color, capturing fleeting moments Claude Monet, Edouard Manet
Modernism Abstraction and experimentation in style Georgia O’Keeffe, Jackson Pollock

The Techniques Behind Beautiful Landscape Art

Creating beautiful landscape art requires a variety of Techniques that enhance the representation of landscapes. Artists often employ methods such as layering, glazing, and the use of complementary colors.

Popular Techniques in Landscape Painting

  1. Oil Painting Landscapes: Utilizing oil paints allows for rich textures and depth.
  2. Watercolor: Creates soft, ethereal views perfect for capturing tranquil scenes.
  3. Acrylics: Provides versatility and vibrant colors, allowing for a range of styles from realistic to abstract.

Modern Landscape Artists to Watch

The art world continuously evolves with emerging talents who contribute fresh perspectives on landscape art. Below are a few contemporary artists renowned for their exceptional landscape paintings.

Artist Style Notable Works
Michael Vincent Manalo Contemporary & Abstract Chasing the Horizon
Hailey E Herrera Impressionistic Enchanted Forest
Narinart Armgallery Mixed Media Serenity in the Mountains

Noteworthy Landscape Paintings from the Past

From classic to contemporary, numerous landscape paintings stand as iconic pieces that reflect human emotion and nature’s grandeur. Here’s a brief list of must-know artworks:

Artwork Artist Year
The Hunters in the Snow Pieter Bruegel the Elder 1565
The Hay Wain John Constable 1821
Starry Night Over the Rhone Vincent van Gogh 1888
Water Lilies Claude Monet 1916

The Impact of Landscape Art on Society

Beautiful landscape art not only provides aesthetic pleasure but also plays a significant role in raising environmental awareness. As nature becomes more threatened, many artists choose to depict landscapes as a reminder of what is at stake. This infusion of ecological consciousness into art has led to various movements, such as Eco-Art, which uses artistic expression as a form of activism.

The Intersection of Art and Environment

  • Conservation: Artists often depict vulnerable landscapes to inspire action.
  • Cultural Reflection: Landscape art serves as a historical document, offering insight into natural changes over time.
  • Wellness: Studies have shown that viewing landscape art can reduce stress and promote mental health.

FAQs about Beautiful Landscape Art

What makes a landscape painting beautiful?

Beauty in landscape art typically results from the use of vibrant colors, composition, and the ability to evoke emotion or a sense of place.

How can I start collecting landscape paintings?

Begin by researching different art styles and artists. Attend local art fairs or galleries, and consider purchasing prints or original works that resonate with you.

Are there digital landscapes as well?

Yes, digital art has opened a new frontier for landscape painting, allowing artists to create stunning scenery through graphic design software.

Where can I find beautiful landscape art for sale?

Reliable sources include online art marketplaces like Fine Art America or Saatchi Art, which feature an extensive range of landscape paintings by emerging and established artists.

How has landscape art changed over the years?

Landscape art has transitioned from realistic portrayals to abstract interpretations and multimedia works, influenced by cultural shifts and technological advancements.

Conclusion – The Timeless Appeal of Landscape Art

Through centuries, beautiful landscape art has captured the hearts and minds of viewers. It serves not only as a reflection of nature’s beauty but also as an influence on culture, style, and awareness about environmental issues. The creativity and vision poured into each piece offer a transcendental experience that resonates with us all.

By embracing both historic and modern approaches, the world of landscape painting promises to continue enchanting audiences for generations to come.

Discover the Mastery of Rembrandt Oil Paint: A Comprehensive Guide to Artists’ Choice

Rembrandt oil paint is a high-quality product designed specifically for professional artists, offering an unparalleled range of 120 colors. This series is known for its maximum fineness, lightfastness, and durability, ensuring that artists can achieve stunning results in their work.

The Essence of Rembrandt Oil Paint

Rembrandt oil paints are crafted from the finest raw materials, utilizing Techniques that lead to vibrant colors and smooth textures. The brand is produced in Holland, and it is synonymous with quality craftsmanship. Each hue is carefully developed to meet the demands of artists who seek to bring their visions to life. With a buttery consistency and a unique ability to hold brush strokes, these paints enhance any artist’s palette.

Key Features of Rembrandt Oil Paint

  • Color Range: 120 distinct colors, including both opaque and transparent hues.
  • Lightfastness: Most colors boast a high degree of lightfastness, ensuring that artworks remain vibrant over time.
  • Ease of Use: Smooth texture allows for easy blending and manipulation on the canvas.
  • Professional Quality: Specifically designed for professional results, making it a favorite among artists worldwide.

Fact Table: Rembrandt Oil Paint Specifications

Feature Description
Color Range 120 colors
Packaging Sizes 40ml, 60ml, 150ml tubes with various sets available
Lightfastness High (meets professional standards)
Consistency Buttery texture, ideal for smooth brush strokes
Pigment Quality Pure, extra fine pigments for rich color intensity

Why Choose Rembrandt Oil Paint?

Many artists prefer Rembrandt oil paints due to their versatility and reliability. Whether creating fine art, illustrations, or elaborate canvases, the paints deliver excellent coverage and sophistication. An artist can trust that the colors will blend well and retain their vibrancy over time.

List of Advantages

  1. Versatile Application: Ideal for both direct painting and Plein Air techniques.
  2. Color Intensity: High pigmentation ensures that colors remain vivid and true.
  3. Compatibility: Works well with various mediums, allowing for mixed media projects.
  4. Value for Money: Though premium, the quality justifies the investment, as artists often find that a little paint goes a long way.

Reference Video

Popular Colors in the Rembrandt Range

For anyone venturing into the world of Rembrandt oil paint, here are some of the most popular colors that artists frequently choose:

Color Name Description
Cadmium Red A rich and warm red tone
Cobalt Blue Intense, vibrant blue with excellent lightfastness
Titanium White A brilliant white, perfect for mixing
Yellow Ochre Earthy, warm yellow ideal for landscapes
Lamp Black Deep, rich black perfect for strong contrasts

Notable Characteristics of Popular Colors

Most colors in the Rembrandt line showcase a smooth, buttery application that makes them especially user-friendly:

  • Cadmium Colors: Known for their durability and vibrant finishes.
  • Earth Tones: Versatile colors suitable for varied painting styles, including impressionism and realism.

User Guidance

Tips for Using Rembrandt Oil Paint

  1. Proper Mixing: For complex color blends, use a palette knife to properly mix oil paints for smooth application.
  2. Layering Techniques: Start with thin layers of paint and gradually build up for depth.
  3. Mediums: Experiment with different mediums to change the texture and drying times of the paints.
  4. Cleaning: Use odorless mineral spirits for cleaning brushes and palettes to preserve the quality of the paint.

Best Practices for Care and Storage

  • Storage: Keep tubes tightly closed and store them in a cool, dark place to extend the life of the pigments.
  • Shelf Life: Although oils have a longer shelf life compared to acrylics, it’s advisable to use them within a couple of years of opening.

Frequently Asked Questions

What makes Rembrandt oil colors different from other brands?

Rembrandt paints stand out due to their specific focus on professional-grade quality, offering pure pigments and a high degree of lightfastness that many brands may lack.

Are Rembrandt oil paints suitable for beginners?

While Rembrandt oils are often favored by professionals, their ease of use and high-quality results mean that beginners can also benefit from using them.

Where can I purchase Rembrandt oil paint?

Rembrandt oil paints can be found at several art supply retailers such as Blick Art Materials or directly from Royal Talens.

Do Rembrandt oil paints have a strong odor?

Most Rembrandt oil paints are low-odor, but it’s advisable to work in a well-ventilated area to minimize any scent and ensure a comfortable painting experience.

Conclusion: Embracing Creativity with Rembrandt Oil Paint

While illustrations and colors are essential for producing striking artwork, the choice of paint is equally important. Rembrandt oil paint is a testament to quality and craftsmanship, making it the go-to choice for artists dedicated to their craft. Whether you’re an emerging artist or a seasoned professional, Rembrandt paints promise to enrich your artistic endeavors.

With its harmonious blend of classic techniques and modern applications, Rembrandt oil paint lives up to its reputation by offering a premium experience for artists looking to create masterpieces.

Discover the Most Interesting Painting Techniques to Elevate Your Artwork!

In this article, we explore a variety of interesting painting Techniques that can transform your artistic creations. These methods range from traditional styles to modern innovations, ensuring that artists at all levels can find something inspiring.

Unique acrylic painting techniques

Acrylics are versatile and quick-drying paints that allow artists to explore a wide range of techniques. Here are some noteworthy methods to try:

1. Acrylic Pouring

Acrylic pouring involves mixing paint with a pouring medium and then allowing it to flow across the canvas. This technique can create stunning marbled effects and abstract designs.

Benefits of Acrylic Pouring

  • No brushes needed
  • Quick to achieve desired results
  • Completely unique patterns
Advantages Disadvantages
Easy to start Requires practice to master
Allows creativity Can be messy

2. Impasto

Impasto is a technique where thick layers of paint are applied to create textural effects. This can provide a three-dimensional look to your paintings.

Impasto Tips

  • Use a palette knife for textured strokes.
  • Experiment with different colors layered on top of each other.
  • Apply final glossy varnish for depth.

Unusual Painting Techniques

Some artists prefer to think outside the box, experimenting with unconventional methods that yield extraordinary results.

1. Squeegee Technique

Using a squeegee to apply paint can give artworks a distinct look, characterized by horizontal and vertical streaks.

How to Use This Technique

  • Apply paint directly onto the canvas.
  • Use a squeegee to pull across the paint.
  • Repeat to blend colors and create patterns.

2. Alcohol Inks

Alcohol inks are vibrant, fast-drying colorants that work best on non-porous surfaces like yupo paper. This method produces beautiful gradients and intricate blends.

Material Application
Yupo Paper Ideal for alcohol inks
Canvas Can be used with a base

Awe-Inspiring Techniques to Explore

1. Finger Painting

While often associated with childhood art, finger painting allows for a tactile experience that can result in stunningly raw and expressive pieces.

2. Collage Painting

Combine textures and materials—like paper cutouts, fabrics, and paint—to create a mixed media style.

3. Stencil Painting

Utilize stencils to achieve intricate shapes and patterns. A great technique for beginners, this can also be adapted for more complex mid-experiments!

4. Marbling

This technique involves creating swirling patterns on the surface of water using special paints and then transferring these designs onto paper or canvas.

Cool Painting Techniques for Modern Artists

1. Masking Fluid

Masking fluid allows you to block out areas of the canvas while painting. Once finished, it is removed to reveal the untouched substrate below, creating striking contrasts.

2. Sponging

Using a sponge to apply paint can create soft textures and lush landscapes. This technique is particularly effective in creating a cloud-like effect in sky paintings.

How to Do Sponging

  • Dap your sponge in paint.
  • Lightly dab onto the canvas for a blended effect.
  • Build layers gradually for depth.

3. Dry Brushing

Using a dry brush with a small amount of paint can create a scratchy, textured appearance, perfect for landscapes or adding details to figures.

Quick Tips for Dry Brushing

  • Use a stiff bristle brush.
  • Remove excess paint on a paper towel.
  • Apply with light, quick strokes.

Fascinating Facts and Techniques

Technique Definition Best For
Fluid Painting Using high fluidity to create flowing designs Abstract art
Pointillism Creating images with small dots Detailed shading
Blending Mixing colors on the canvas Soft transitions
Washes Diluting paint with water for a translucent effect Backgrounds

FAQ about Interesting Painting Techniques

Q1: What are the best materials to use for acrylic pouring?

A1: You will need acrylic paint, a pouring medium, a canvas, and optionally silicone oil for added effects.

Q2: How can I clean up after using alcohol inks?

A2: Since alcohol inks are highly concentrated, clean your brushes and tools immediately with isopropyl alcohol.

Q3: Can I combine multiple painting techniques in one artwork?

A3: Absolutely! Many artists experiment with layering various techniques and mediums to achieve unique results.

Q4: Where can I learn more about these techniques?

A4: For further learning, consider visiting Milan Art Institute for additional insights and techniques tailored to all skill levels.

Q5: Are there any tools I need for stencil painting?

A5: You’ll need stencils, a sponge brush or spray paint, and a surface to apply it on.

By experimenting with these interesting painting techniques, you can expand your skill set and discover a deeper sense of creativity within your art.

Mastering Realistic Water Painting: A Step-by-Step Guide to Capturing Nature’s Fluid Beauty

Seed Keyword: oil painting water
Keywords: realistic water painting, painting in the water, painting ripples in water, how to paint water step by step

Realistic water painting is an art form that involves replicating the subtle nuances of water, including the play of light, movement, and texture. This painting genre is not just about using blue tones; it’s about understanding the connection between water and its surroundings. Whether you’re a beginner or an experienced artist, learning how to paint water effectively can greatly elevate your artistic skills.

Understanding the Basics of Water

Water is a complex subject due to its reflective properties and ever-changing nature. Here are key aspects artists must consider:

Aspect Details
Reflection Water reflects its surroundings, altering colors and shapes.
Movement Calm water looks different from turbulent waves.
Transparency Varying depths create different tones and colors.
Light The interaction of light with water creates highlights and shadows.

Techniques for Painting Realistic Water

1. Start with Still Water

For beginners, painting still water is an ideal starting point. This helps you practice capturing reflections and color gradations without the added complexity of waves. Here’s a quick guide:

  • Choose a Reference Image: Find a photograph of a calm body of water.
  • Select Your Colors: Use a limited palette featuring blues and greens, as well as whites for highlights.
  • Establish the Base: Lay down a solid base layer using broad strokes.
  • Layering: Gradually add depth by applying lighter colors and white highlights to suggest reflections.

2. Mastering Ripples and Waves

Once you’ve conquered still water, it’s time to tackle movement. Here’s how to paint ripples in water:

  • Observe Movement: Pay attention to how light interacts with the ripples.
  • Brush Techniques: Use a flat brush to create quick, horizontal strokes.
  • Color Variation: Utilize darker hues in the crests and lighter colors in the troughs.

Table: Essential Tools for Painting Ripples

Tool Purpose
Flat Brush For creating short strokes and texture.
Round Brush Ideal for detailing and blending.
Palette Knife Useful for adding texture and highlights.

Reference Video

Step-by-Step Guide to Painting Water

Step 1: Sketch the Composition

Begin by sketching the outline of your water body. Incorporate foreground elements such as rocks or foliage to create depth.

Step 2: Color Blocking

Choose your base colors. For a reflective pool, this may include multiple shades of blue and green.

Step 3: Focus on Reflections

This stage is crucial. Paint the reflections of elements like trees or clouds. Pay attention to symmetry.

Step 4: Add Details

Utilize a smaller brush to add details to the water’s surface. Capture the highlights and shadows to create a sense of depth.

Step 5: Final Touches

Finally, take a step back and assess your painting. Adjust colors, enhance highlights, and refine details as needed.

FAQs About Realistic Water Painting

Q1: What brushes are best for painting water?
A1: Flat and round brushes are most effective for painting textures and subtle details in water. A palette knife can also be useful for highlights.

Q2: What mediums can I use for realistic water paintings?
A2: Various mediums can be used, including acrylics, oils, and watercolor. Each has its advantages depending on the desired effect.

Q3: How do I depict movement in water?
A3: To depict movement, focus on the use of varied brush strokes and a diverse color palette to represent light and shadow.

Resources for Further Learning

For those looking to delve deeper into the world of realistic water painting, check out the following resources:

Conclusion: Embrace the Challenge

Realistic water painting is incredibly rewarding yet challenging. The key lies in patience, observation, and practice. By mastering the techniques outlined above, you can unlock the captivating beauty of water in your artwork.

In conclusion, painting realistic water requires a blend of techniques, observation skills, and creativity. As you practice and refine your skills, you will find your own unique style and techniques for capturing the ever-fascinating nature of water in your paintings. Happy painting!

Exit mobile version