Unlock Your Creativity: Easy Painting Portraits You Can Master Today!

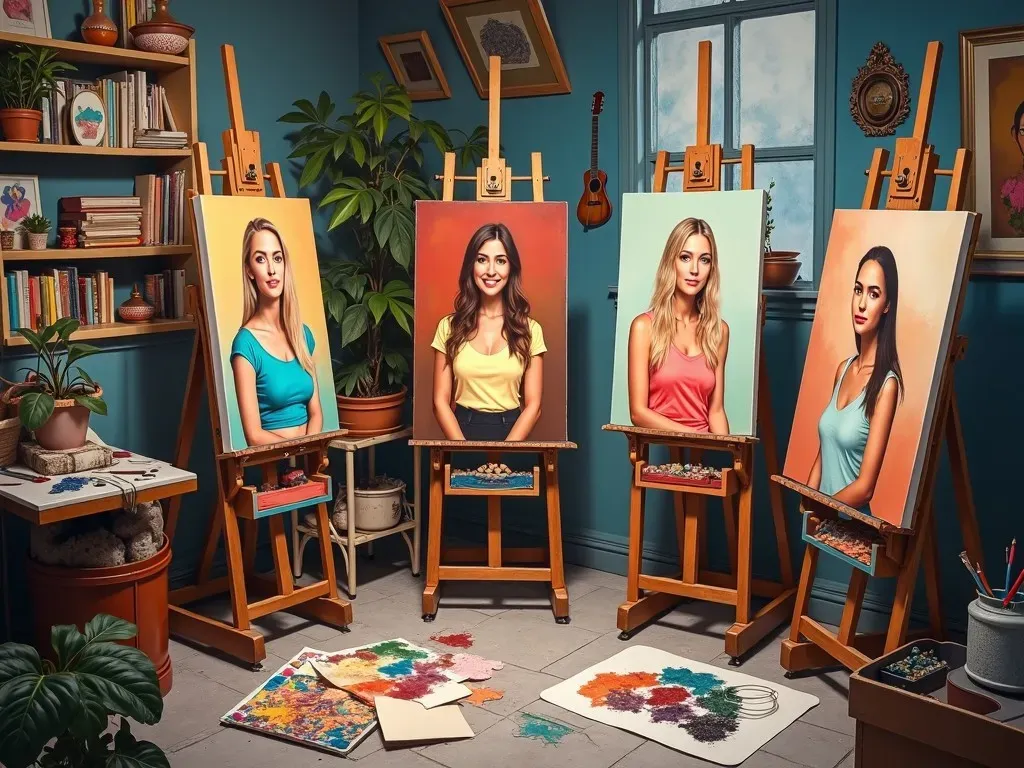
Easy Painting Portraits

Painting portraits can seem daunting, especially for beginners. However, with the right Techniques, materials, and a little practice, anyone can create beautiful and expressive portraits. This article focuses on various methods and strategies for easy painting portraits, catering to those starting their artistic journey or seasoned artists looking for tips to simplify their process.

The Basics of Portrait Painting

To begin with, understanding the fundamentals of portrait painting is crucial. A good portrait captures not just the likeness of the subject but also conveys their personality and emotion. Here are some essential elements to look out for:

  1. Composition: Positioning your subject effectively within the frame is vital. The composition should guide the viewer’s eye and provide balance.

  2. Proportions: Capturing the correct proportions of the face is essential to create a believable likeness. The average human face can be broken down into thirds:

    • The top third: Hairline to the eyebrows
    • The middle third: Eyebrows to the bottom of the nose
    • The bottom third: Bottom of the nose to the chin
    Facial Features Average Proportions
    Hairline to Eyebrows 1/3 of total face height
    Eyebrows to Nose 1/3 of total face height
    Nose to Chin 1/3 of total face height
  3. Color Theory: Understanding how different colors interact can enhance the mood and impact of your portrait. For skin tones, it’s important to mix colors carefully, often achieving a natural look by blending warm and cool tones.

Essential Tools for Easy Painting Portraits

Having the right materials on hand can make painting portraits easier and more enjoyable. Here’s a curated list of essential tools:

  • Paints: Acrylic paints are a great starting point as they dry fast and are easy to work with. Oil paints can also be used for more depth and richness in color.
  • Brushes: A variety of brushes will allow for different effects. Flat brushes are ideal for broad strokes, while round brushes work well for detailing.
  • Canvas or Paper: Choose a surface that aligns with your painting medium. Canvas is great for oils, while acrylics can be used effectively on both canvas and thick paper.
  • Palette: A palette for mixing colors is crucial. You can use a disposable palette pad or a traditional glass palette.
  • Easel: While not mandatory, having an easel helps with a comfortable working position and better control.

Techniques for Easy Painting Portraits

Here are some techniques that simplify the portrait painting process:

1. Block-In Method

Start by blocking in the basic shapes and colors of the face. Use a large brush and thin paint to quickly cover the canvas, which allows you to establish composition and overall colors without getting caught up in details.

2. Layering

Building up layers of paint not only adds depth but also helps adjust your colors and shapes as you progress. Begin with an underpainting, which is often a monochrome or neutral color, and then layer on skin tones and details.

3. Glazing

This technique involves applying a thin, transparent layer of paint over a dried layer to achieve luminosity. Mix a small amount of paint with a glazing medium to create the desired effect.

4. Use of Reference Images

Utilizing reference photos can greatly aide in capturing likeness. Ensure you select high-quality images with good lighting. Multiple angles can help you understand the form and structure of the subject’s face.

Portrait Painting Techniques for Beginners

Step-by-Step Guide:

  1. Select Your Subject: Choose someone comfortable in front of the camera or a photograph that inspires you.
  2. Set Up Your Workspace: Ensure good lighting and organization of your materials to avoid distractions.
  3. Sketch the Outline: Lightly sketch the figure’s features on your canvas. Use guidelines to help maintain proportions.
  4. Start Painting: Use a larger brush to block in the main colors first before moving on to smaller brushes for details.
  5. Refine and Detail: Gradually add more details and refine the features and texture of the face.

Helpful Resources: For a comprehensive guide on how to paint portraits from photographs, check out this helpful article on Empty Easel.

Quick Portrait Painting Tips

  • Practice regularly: As with any skill, continuous practice is key to improvement.
  • Study real faces: Spend time observing faces in different lights and positions to enhance your understanding of proportions and colors.
  • Keep it simple: Don’t overwhelm yourself—start with basic portraits and gradually incorporate more complexity.

FAQ

Q: Do I need to have prior painting experience to create easy painting portraits?
A: No prior experience is required! The tutorial is designed for beginners, and practice will help you improve.

Q: What are the best colors to use for skin tones?
A: A mix of warm and cool colors such as yellow ochre, cadmium red, titanium white, and burnt sienna typically yield pleasing skin tones.

Q: Can I paint portraits using digital tools?
A: Yes! Digital painting software offers a versatile platform for portrait creation, allowing for easy adjustments and layers.

Q: How long does it take to learn portrait painting?
A: This varies by individual. Regular practice and study can lead to significant improvement within months.

Q: Can I paint over a failed portrait?
A: Absolutely! Painting over old canvases is common and can help you learn from previous attempts.

Further Learning Resources

If you’re eager to continue your learning journey, consider the following articles:

Remember, every artist starts somewhere. Embrace your unique style and enjoy the process of creating easy painting portraits!
Unlock Your Creativity: A Comprehensive Guide to Beginner Acrylic Canvas Painting

Keyword: Beginner acrylic canvas painting

Acrylic canvas painting is an exciting entry point for aspiring artists. With its vibrant colors and versatility, acrylic paint allows for the exploration of various Techniques, making it ideal for beginners. It dries quickly, offers easy clean-up, and can be applied in different styles ranging from realism to abstract art.

Why Choose Acrylics?

Acrylic paint is often recommended for beginners due to several compelling features:

  1. Quick Drying Time: Unlike oil paints, which can take days or even weeks to dry, acrylic paints dry within minutes. This allows artists to work quickly and build layers without much wait time.

  2. Water Soluble: Acrylics are water-soluble when wet, but once dry, they become water-resistant. This property eases the clean-up process and presents a lower entry cost since you only need water to thin out the paint or clean your brushes.

  3. Vibrant Colors: The pigment in acrylics is rich and vibrant, allowing for vivid artwork that stands out.

  4. Versatility: Acrylics can be used in various techniques, whether you prefer to work thin like watercolor or thick like oil paint.

  5. Affordability: Acrylic paints and Supplies are generally cost-effective compared to other mediums, making it easier for beginners to stock up.

Essential Supplies for Beginner Acrylic Canvas Painting

To start your journey into acrylic canvas painting, you’ll need some basic supplies. Here’s a list of essential items:

Item Description
Acrylic Paint Set Look for a beginner set with primary colors and additional hues.
Canvas Stretched canvases or canvas boards in various sizes.
Brushes A variety of brushes (flat, round, and filbert) in different sizes.
Palette For mixing colors. A disposable palette or a flat surface works.
Water Container For rinsing brushes.
Paper Towels For cleaning brushes and sponges.
Easel Optional, but it makes painting more comfortable.

Basic Painting Techniques for Beginners

There are several painting techniques that beginners should try in acrylic canvas painting. Here are some of the most useful to get started:

1. Blending

Blending involves mixing colors directly on the canvas to create gradients. This technique is great for backgrounds or skin tones.

2. Dry Brush Technique

Using a dry brush to apply paint can create a textured appearance. This technique is perfect for foliage or rough surfaces.

3. Washing

A wash is a diluted layer of paint applied to the canvas. This technique can set the tone of your artwork and is ideal for sky backgrounds.

4. Layering

Building up layers of paint allows for more depth and texture in your artwork. Allow each layer to dry before applying the next.

5. Stippling

This technique involves using the tip of the brush to create dots of color. It’s effective for adding detail and texture, especially in nature scenes.

6. Sgraffito

By scratching through a layer of wet paint to reveal the color underneath, you can create unique textures and designs.

Steps to Create Your First Painting

  1. Select Your Subject: Choose a simple subject matter, such as a fruit bowl, landscape, or abstract design.

  2. Sketch: Lightly sketch your subject on the canvas. This provides a roadmap for your painting.

  3. Background First: Start with the background using a broad brush. Use a wash technique to achieve seamless color transitions.

  4. Add Main Elements: Paint the main subjects with layers, starting from the background moving to the foreground.

  5. Details: Once the main areas are fully painted, add finer details. Use smaller brushes for this step.

  6. Final Touches: Once your painting is dry, evaluate it for any adjustments or additional details.

Tips for Successful Beginner Acrylic Painting

  • Experiment: Don’t be afraid to try different techniques and color combinations. Mistakes are part of the learning process.

  • Use Quality Materials: While it’s okay to start with budget supplies, investing in better-quality paint and brushes will greatly influence your experience and results.

  • Stay Organized: Keep your workspace tidy to enhance focus and creativity.

  • Practice Regularly: The more you paint, the more skilled you will become.

  • Seek Inspiration: Browse beginner painting tutorials online or join local painting groups for support and inspiration.

Fascinating Facts About Acrylic Painting

  • Acrylic paint was first developed in the 1940s and has since surged in popularity among artists across various genres.

  • Many famous artists, including David Hockney and Mark Rothko, have utilized acrylics in their works.

  • Acrylics can mimic both watercolor and oil painting techniques, making them incredibly versatile.

  • Acrylic paints can be used on a variety of surfaces beyond canvas, including paper, wood, and even fabric.

Frequently Asked Questions (FAQ)

Q1: How do I mix acrylic paint?
A1: Use a palette and a palette knife to mix colors. Start with small amounts and gradually blend in more pigments until you reach the desired shade.

Q2: Can I use acrylic paint on other surfaces?
A2: Yes, acrylics can be used on paper, wood, fabric, and even some plastics, depending on the type of acrylic paint.

Q3: How do I store leftover paint?
A3: Seal the paint in airtight containers to prevent it from drying out. Adding a bit of water can help extend its lifespan.

Q4: What if I accidentally mix the wrong colors?
A4: Experimentation is key! Sometimes unintentional mixes can lead to unique colors and effects.

Q5: How long does it take for acrylic paint to dry?
A5: Acrylic paint can dry within minutes, but full curing can take up to 24 hours.

For more tips and tutorials, you may visit Acrylic Painting School for comprehensive resources tailored for beginner acrylic canvas painting.

acrylic painting techniques">

With this guide in hand, any beginner can start their journey through the vibrant world of acrylic canvas painting. Whether you’re painting a serene landscape or an abstract masterpiece, the only limit is your imagination.

Ultimate Guide: How to Prepare Canvas for Oil Painting and Achieve Stunning Results

When it comes to oil painting, the preparation of your canvas is a crucial step that lays the groundwork for a successful artwork. Understanding how to prepare canvas for oil painting ensures you create a smooth surface for your paint and helps prevent issues like cracking and peeling later on.

Understanding Canvas Types

Before diving into the priming process, it’s essential to know the types of canvases available for oil painting. The two most popular materials are:

  • Cotton Canvas: This is a cost-effective option that is readily available. It absorbs paint well but has less durability compared to linen.
  • Linen Canvas: More expensive, but it offers superior durability and a smoother finish, which is particularly loved by professional artists.
Canvas Type Cost Durability Texture
Cotton Low Moderate Slightly rough
Linen High High Smoother

Sizing vs. Priming: What’s the Difference?

It’s vital to differentiate between sizing and priming, as both serve different purposes:

  • Sizing: This involves applying a liquid layer (usually rabbit skin glue or acrylic medium) to the canvas to prevent the oil from leaching into the fibers.
  • Priming: This layer serves to prepare the surface for painting, providing a smooth finish and preventing paint absorption.

Reference Video

How Do You Prime a Canvas for Oil Painting?

1. Gather Your Materials

To properly prime your canvas, you will need:

  • Raw Canvas: Choose either cotton or linen
  • Rabbit Skin Glue or Acrylic Size: For the sizing process
  • Gesso or Oil Primer: For priming
  • Sandpaper: For smoothing the surface
  • Natural Hair Brushes: For applying the size and primer
  • Palette Knife: For mixing
  • Water: For dissolving glue

2. Sizing the Canvas

  1. Prepare the Size: If using rabbit skin glue, dissolve it in warm water according to manufacturer instructions (usually about 1 part glue to 8 parts water).

  2. Apply the Size: Using a brush, apply a thin layer to the raw canvas. Brush continuously to soak in the size evenly.

  3. Let It Dry: Allow it to dry completely before moving to the next step, which may take several hours.

3. Priming the Canvas

  1. Choose Your Primer: While gesso is often used, a traditional oil primer offers a more suitable surface for oil paints. Mix your primer thoroughly with a palette knife.

  2. First Coat of Primer: Apply the primer using a brush. It’s preferable to use a flat brush for an even application.

  3. Drying Time: Let the first coat dry for at least 24 hours.

  4. Sanding: Once dry, lightly sand the surface with fine-grit sandpaper. This creates a smooth finish and prepares the canvas for the second coat.

  5. Second Coat: Apply a second coat of primer in the same manner, followed by another drying and sanding phase.

  6. Final Smoothing: Depending on the surface you desire, you may choose to sand again lightly.

4. Toning the Canvas (Optional)

Once priming is complete, you can tone the canvas using a thin oil wash of color. This adds a subtle hue for your painting backdrop.

  • Choose a warm or neutral tone.
  • Apply it with a clean brush or cloth and allow to dry before painting.

Important Priming Techniques

  • Thin Layers: Always apply thin layers of both size and primer. This method ensures better adhesion and a smoother surface.
  • Brush Technique: Use straight, even strokes and avoid over-brushing.
  • Ventilation: Ensure good ventilation during the drying process to expedite drying and remove any odors related to the materials used.

Common Mistakes to Avoid

  • Skipping Sizing: Always size your canvas before priming to prevent oil absorption.
  • Too Much Primer: Over-application can lead to cracking.
  • Inadequate Drying: Never rush the drying process; ensure each layer dries completely.

Additional Tips for Success

  1. Use Quality Materials: Investing in quality canvas, size, and primer will yield the best results.
  2. Experiment: Try different Techniques and surfaces to find what works best for your style.
  3. Plan Your Painting: Consider the color palette you’ll use; toning can significantly affect the final outcome of your work.

Frequently Asked Questions

How long does it take to prepare a canvas for oil painting?

Typically, preparing a canvas can take anywhere from a few hours to a few days, depending on the drying times between layers.

What is the best type of primer for oil painting?

Oil primer is often recommended for oil painting, as it offers better adhesion and a smoother finish compared to acrylic gesso.

Can I paint directly on raw canvas?

While it’s technically possible, painting directly on a raw canvas can lead to problems such as paint absorption and degradation of the canvas over time.

Is it necessary to tone a canvas?

Toning is optional; however, it can enhance the vibrancy of colors and provide a harmonious foundation for your painting.

Recommended Resources

For further reading on the topic, you might want to check out this detailed guide on preparing your canvas for oil painting which dives deeper into techniques and products available.

Armed with this comprehensive guide, you are now ready to accurately prepare your canvas for oil painting. Enjoy the creative process, and remember that the preparation phase is just as important as the painting itself!

Exit mobile version