Unlock Your Creativity: 15 Oil Painting Abstract Ideas to Inspire Your Next Masterpiece!

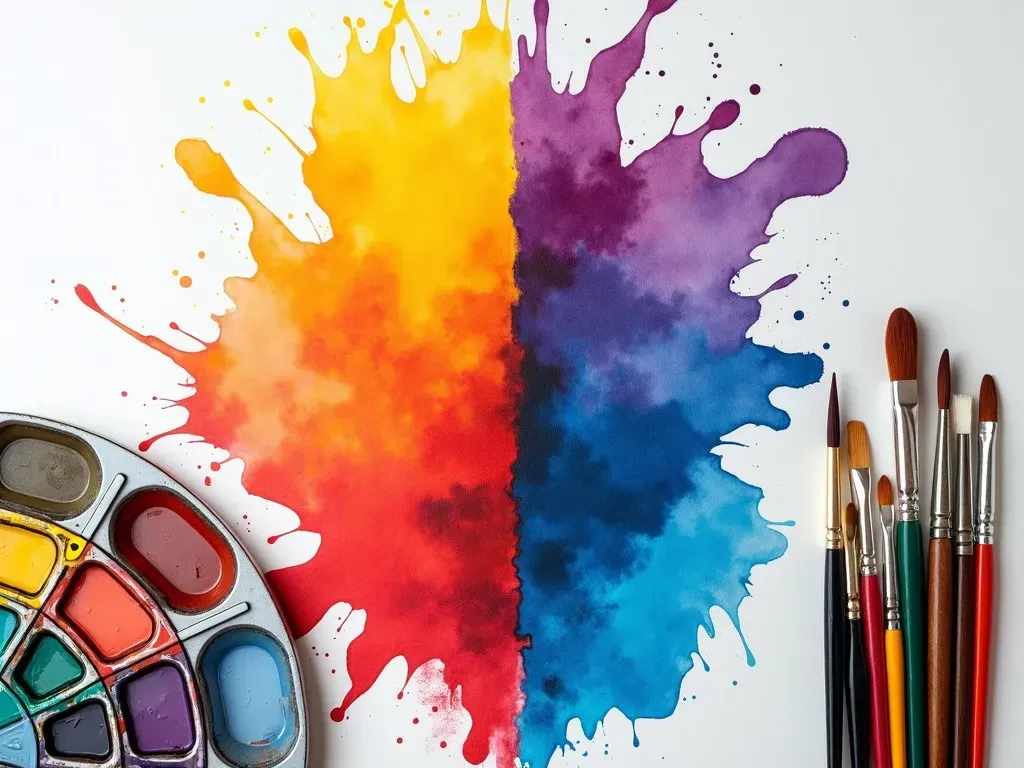
When it comes to oil painting, the realm of abstract art opens up a universe of possibilities. Abstract art allows you to explore color, form, and emotion without the confines of realism, enabling both beginners and seasoned artists to unleash their creativity. In this article, we’ll dive into a rich assortment of oil painting abstract ideas that inspire, empower, and guide you on your artistic journey. Whether you’re an absolute beginner or a more advanced painter, these concepts will help you discover your unique style.

Exploring Abstract Art

Abstract art is often characterized by its use of shape, form, and color to convey emotions rather than realistic depictions. This medium is appreciated for its freedom, allowing artists to work intuitively and expressively. Here are some facts that illustrate the importance and growing interest in abstract oil painting:

Statistic Fact
Popularity Abstract art sales have increased by over 40% in the last decade.
Diversity of Styles There are countless styles under the abstract umbrella, including geometric, lyrical, and color field painting.
Art Market Growth In 2022, the global art market was valued at approximately $67.4 billion, with abstract art comprising a significant portion.

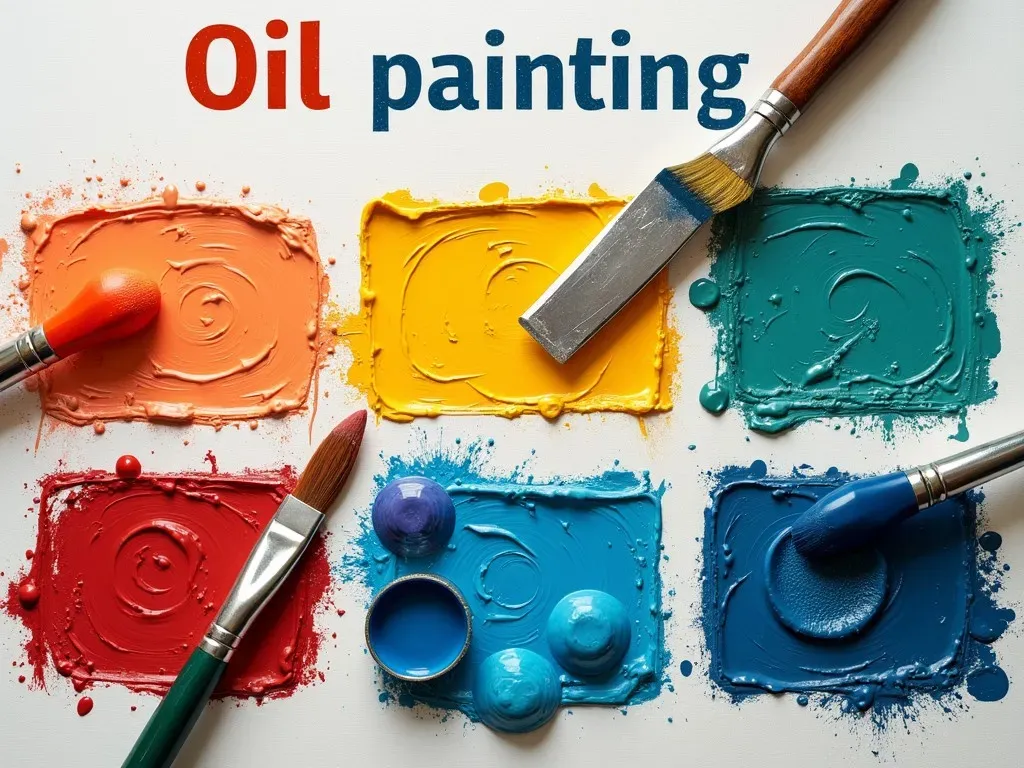
Techniques for Beginner and Advanced Artists

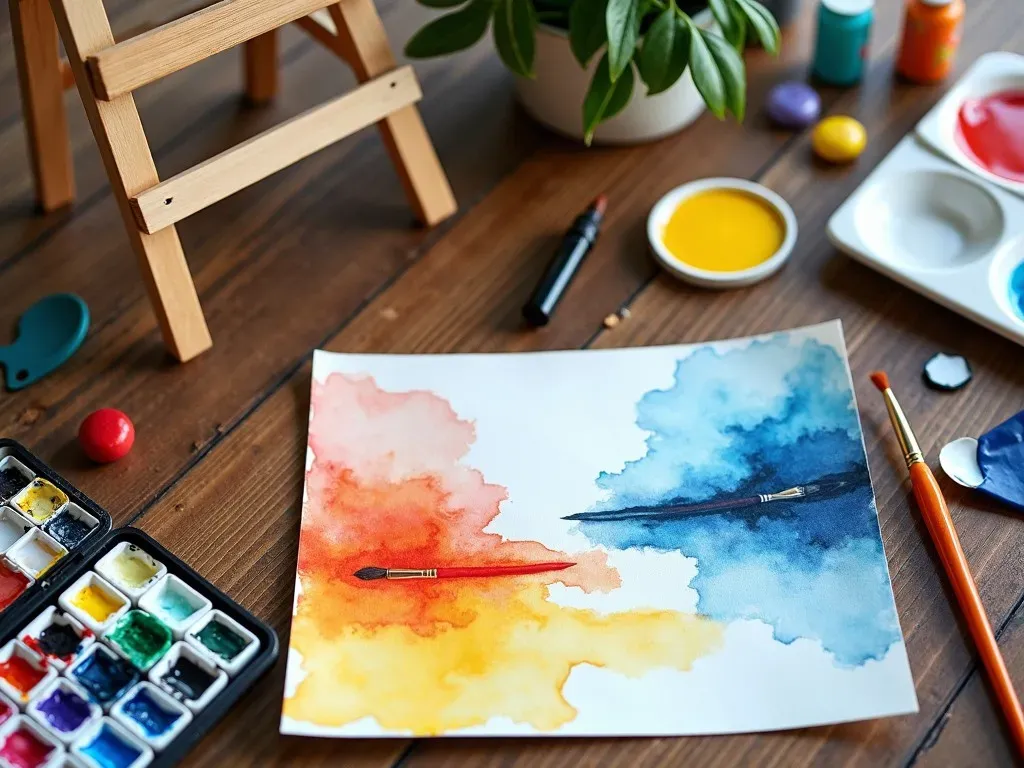
Before diving into specific ideas, it’s crucial to understand the Techniques commonly used in abstract oil painting. Depending on your skill level, exploring these basic methods can pave the way for your creation.

  1. Palette Knife Techniques: Use a palette knife to create thick layers of paint and unique textures.
  2. Color Blocking: Separate the canvas into distinct color segments for a playful, vibrant look.
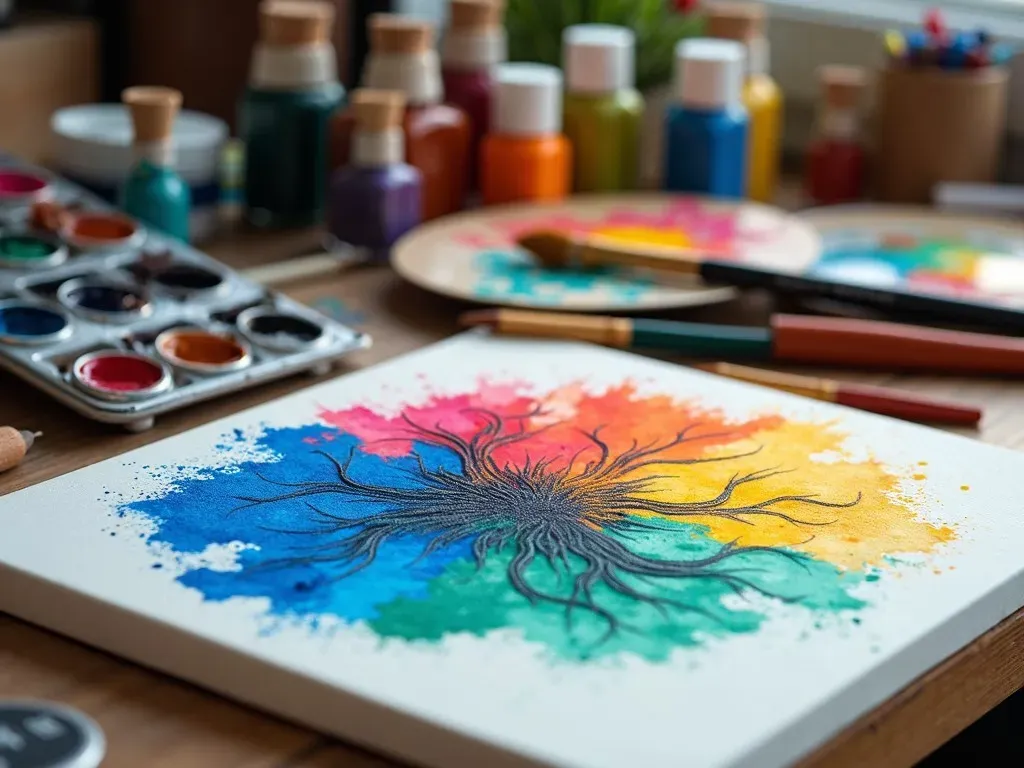
  3. Dripping and Pouring: Incorporate fluid techniques by dripping or pouring paint to create organic shapes and patterns.
  4. Layering: Build your painting in layers, allowing each one to dry before applying the next for depth and complexity.
  5. Mixed Media: Combine oil paint with other materials like collage, charcoal, or acrylics for intriguing mixed textures.

Exciting Oil Painting Abstract Ideas

1. Minimalist Forms

For those who prefer simplicity, creating a minimalist abstract piece with basic shapes and muted colors can be incredibly effective. Consider focusing on balance and symmetry to evoke a sense of calm.

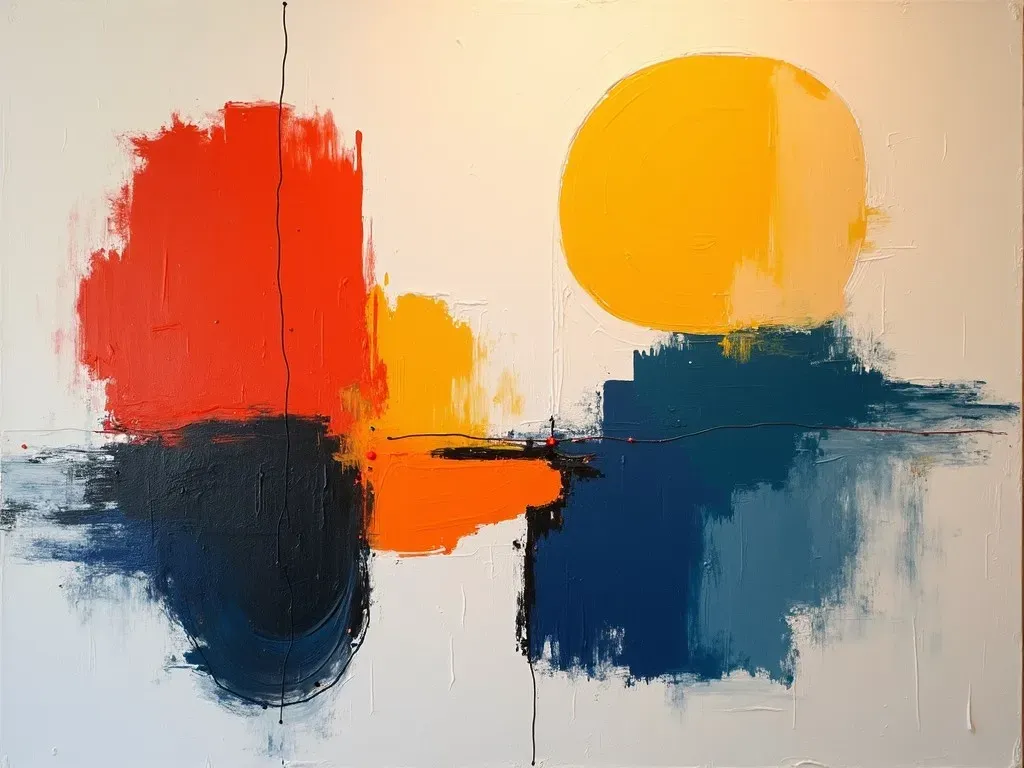
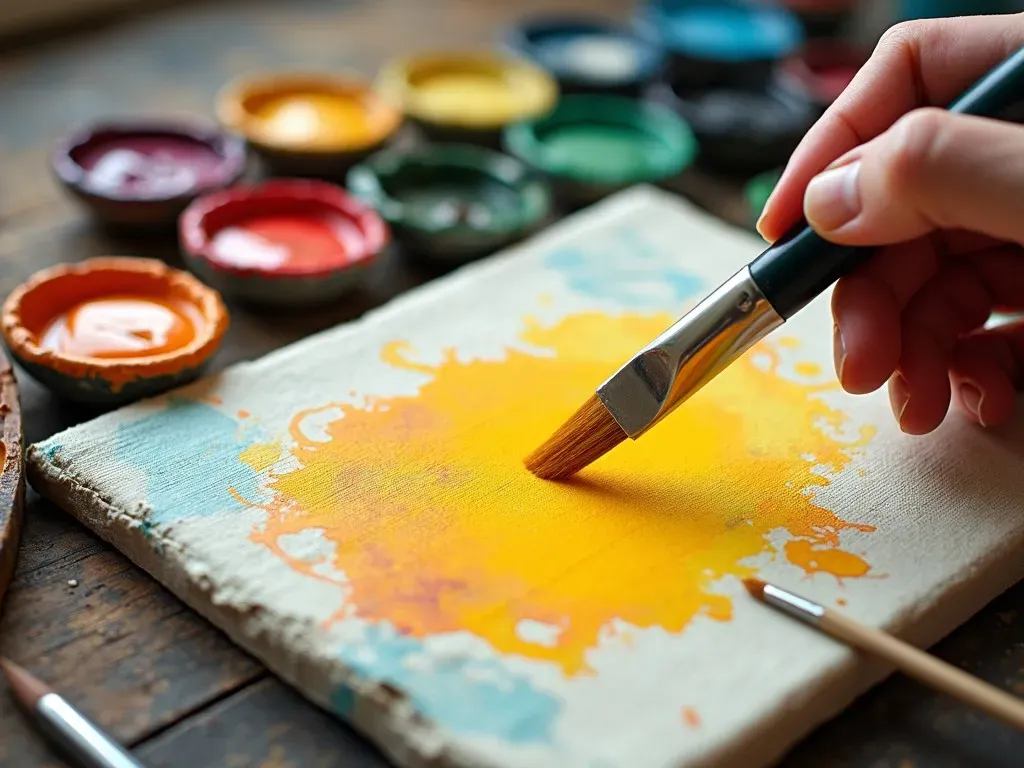
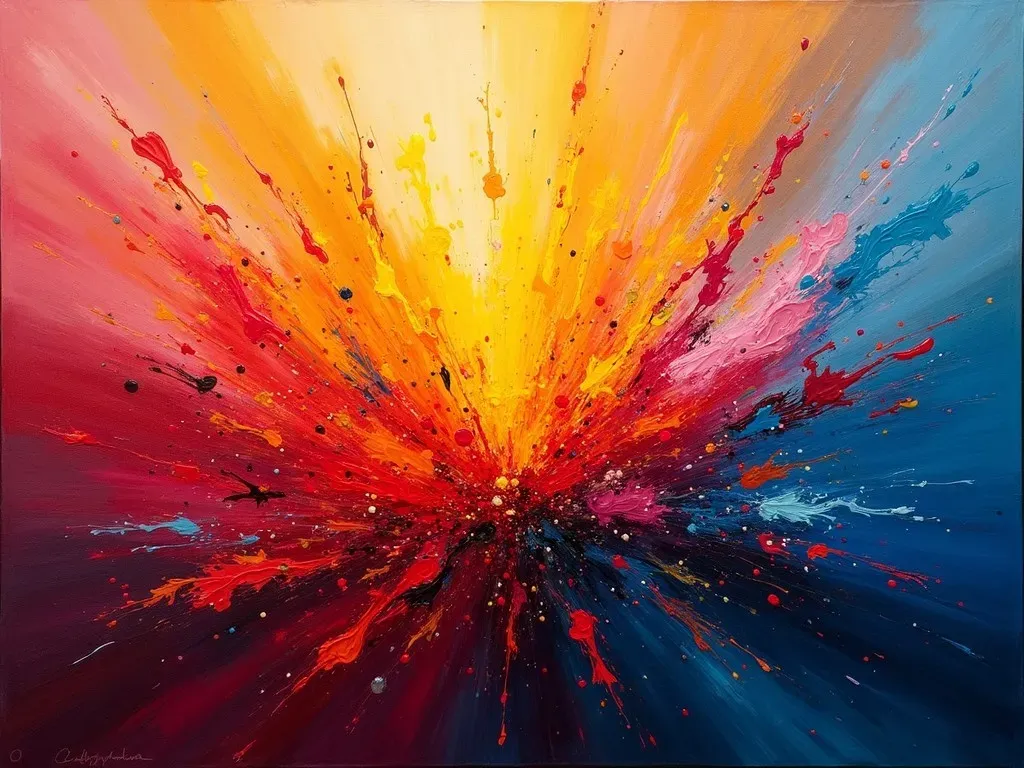
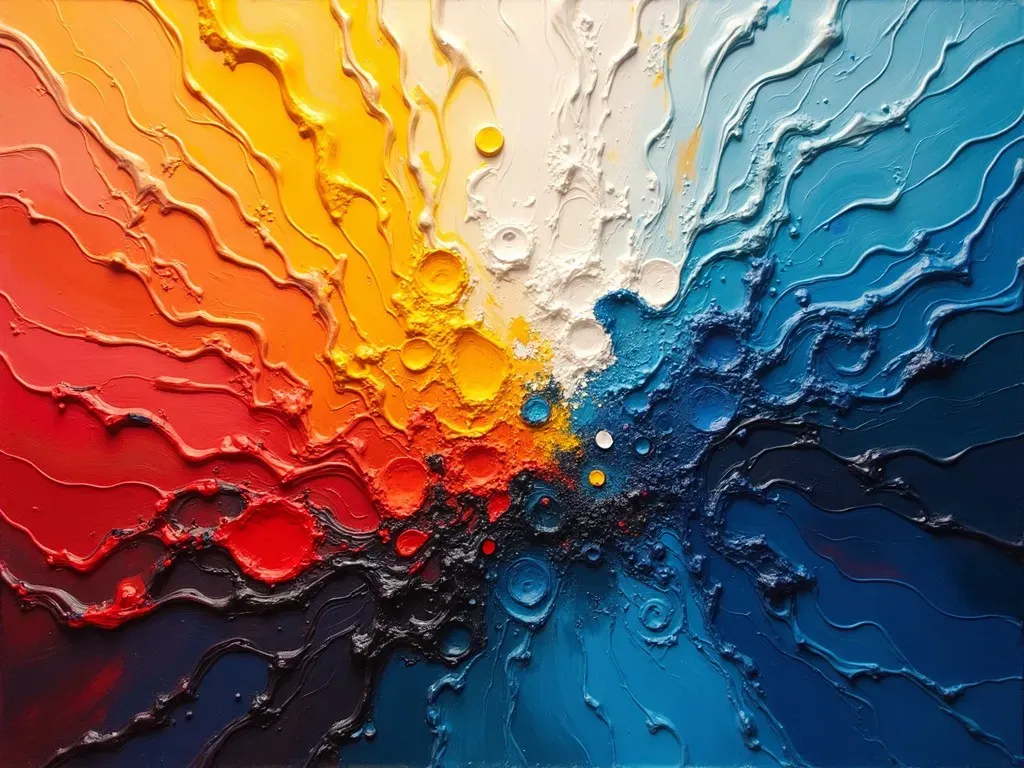
2. Vibrant Color Explosion

Explore the use of bold, contrasting colors flowing into each other. Use a wet-on-wet technique to allow colors to blend seamlessly on the canvas.

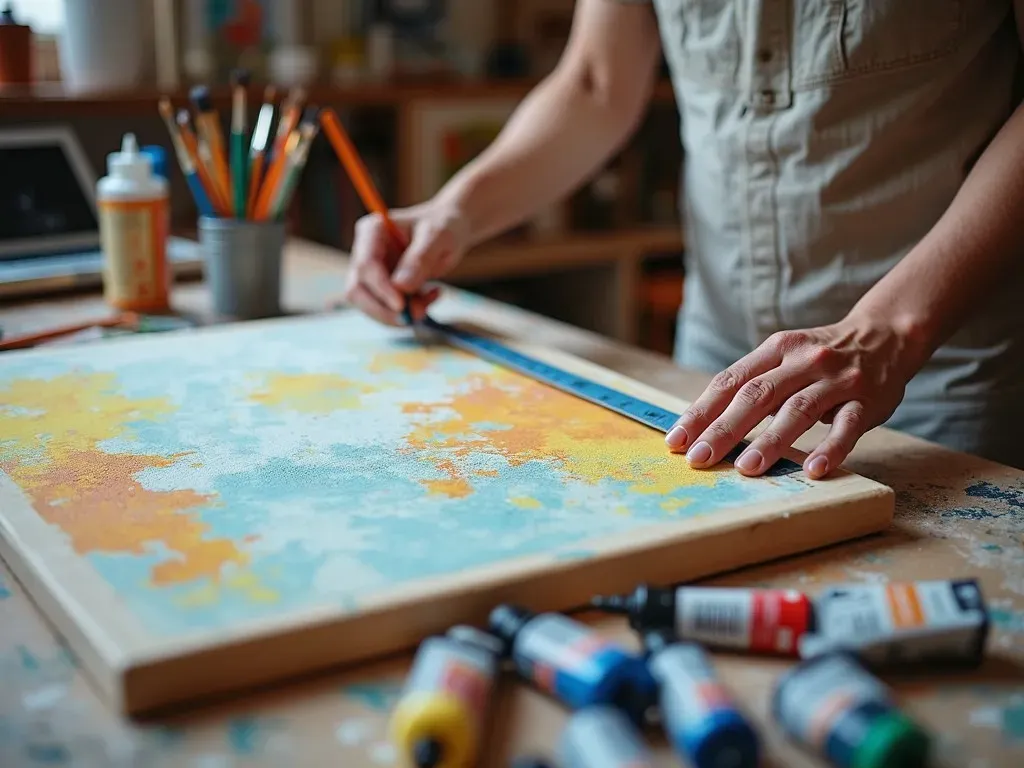
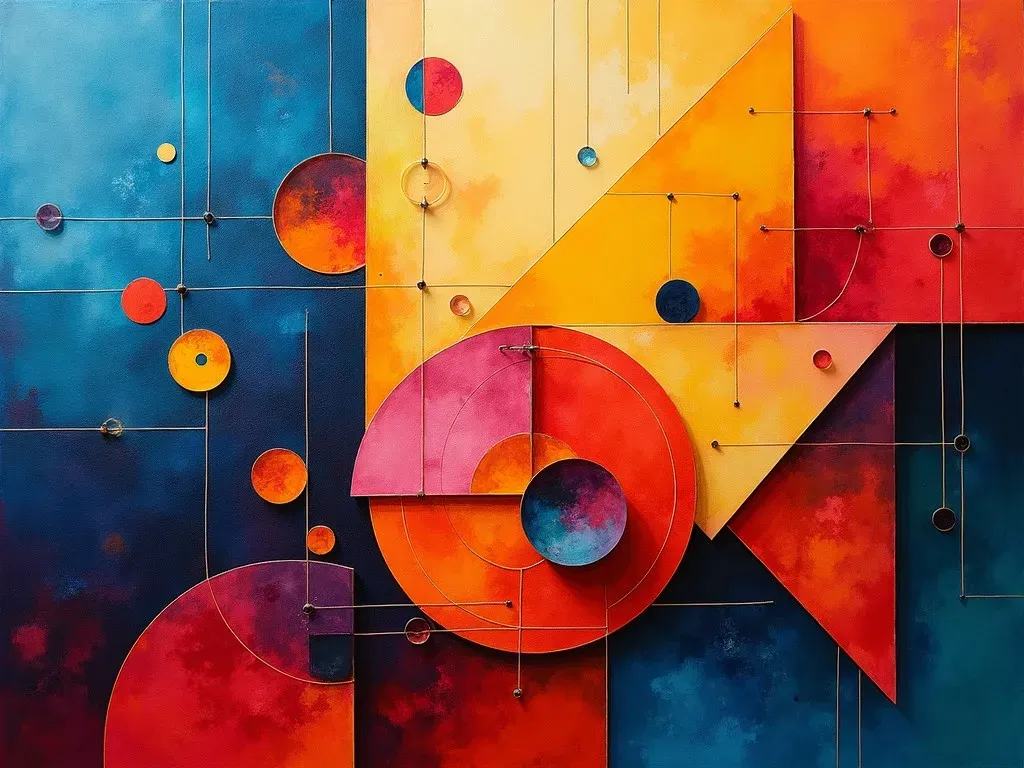
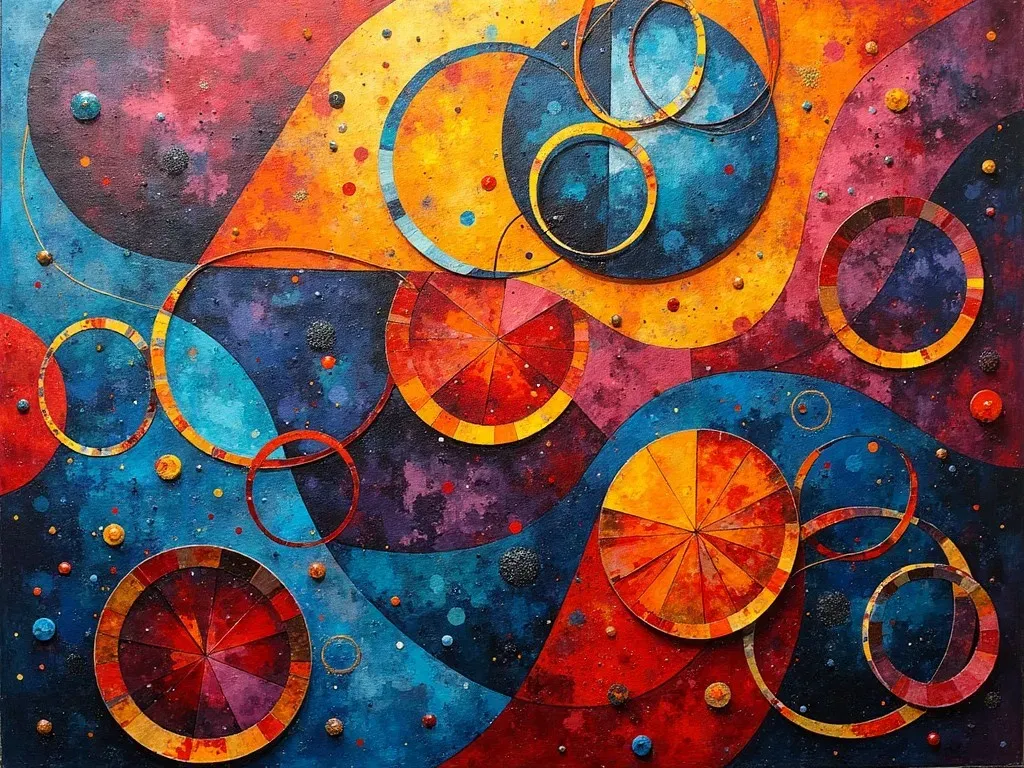
3. Geometric Patterns

Use rulers and templates to construct precise geometric shapes. This structured approach can provide a striking contrast to more fluid compositions.

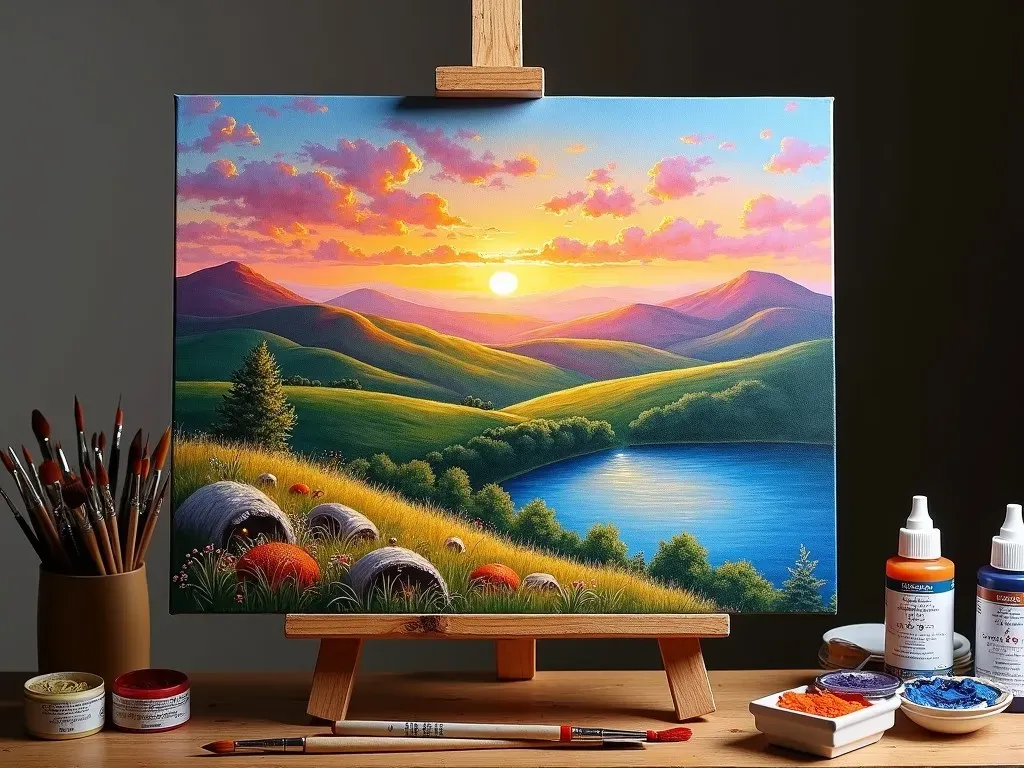
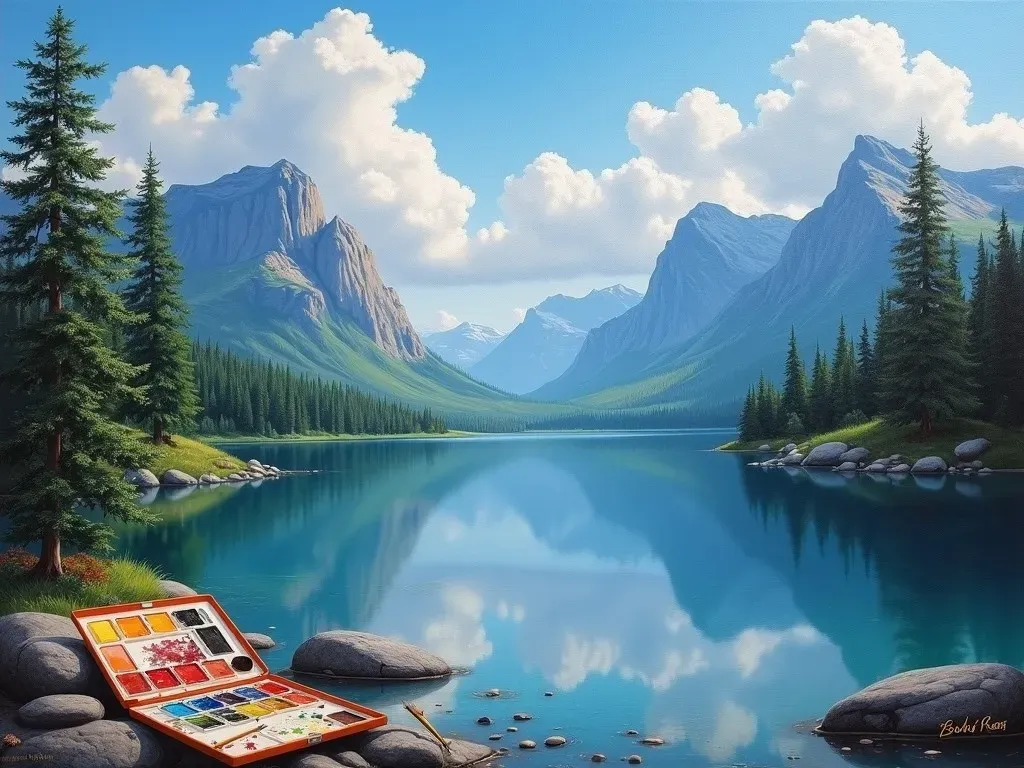
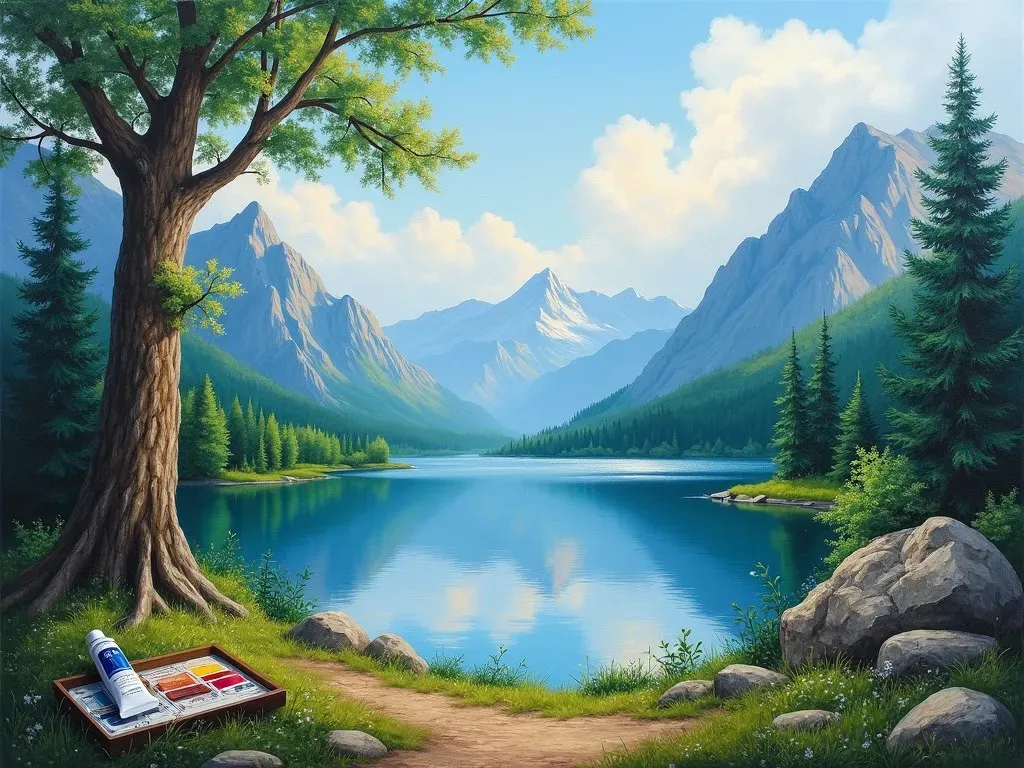
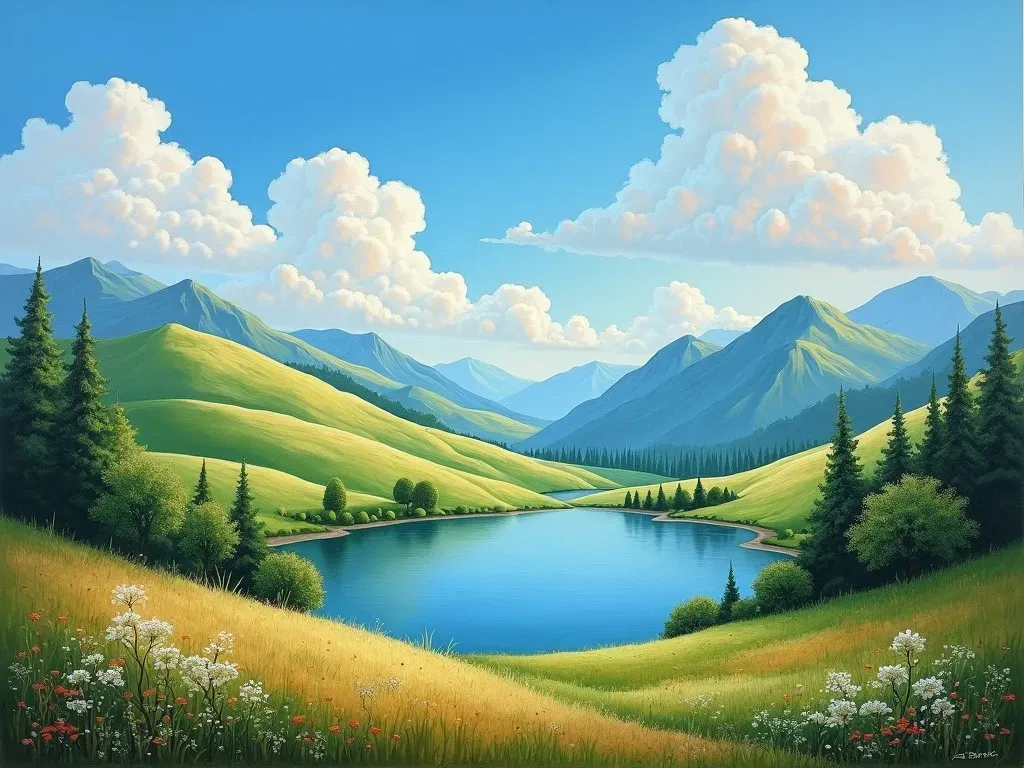
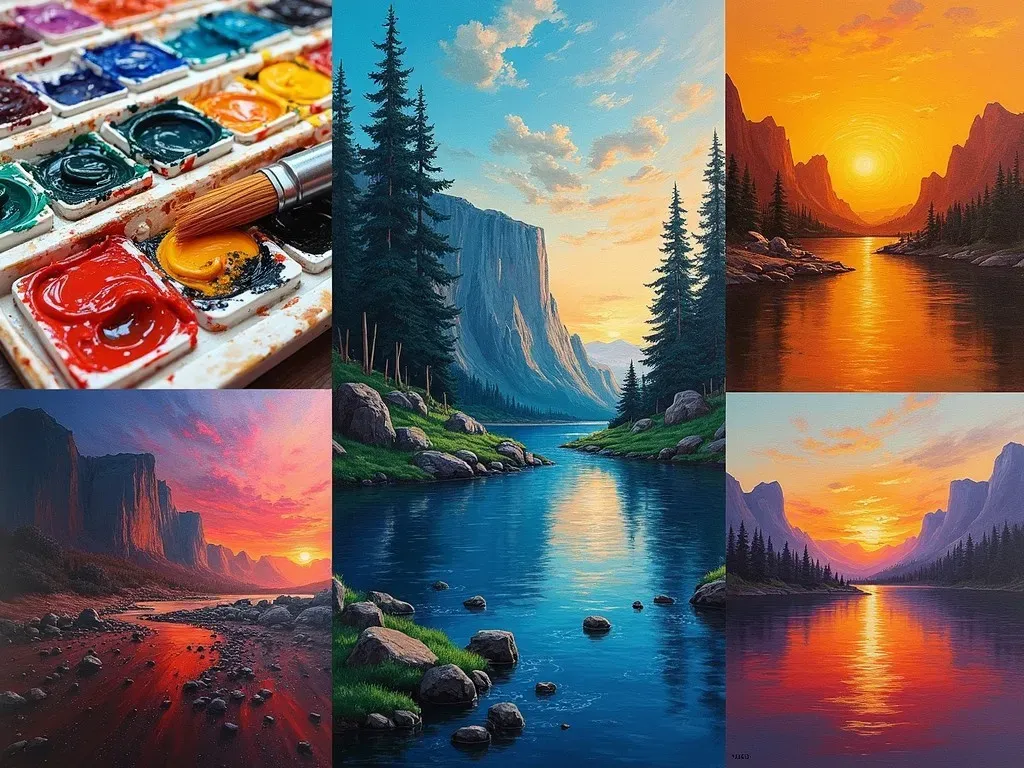
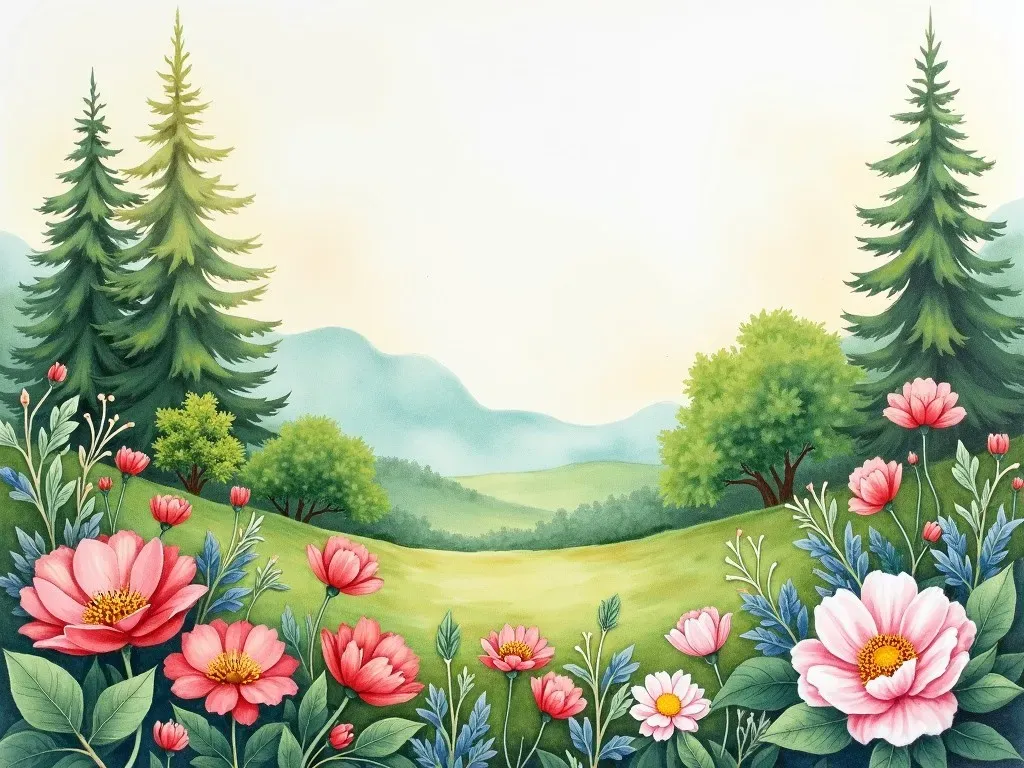
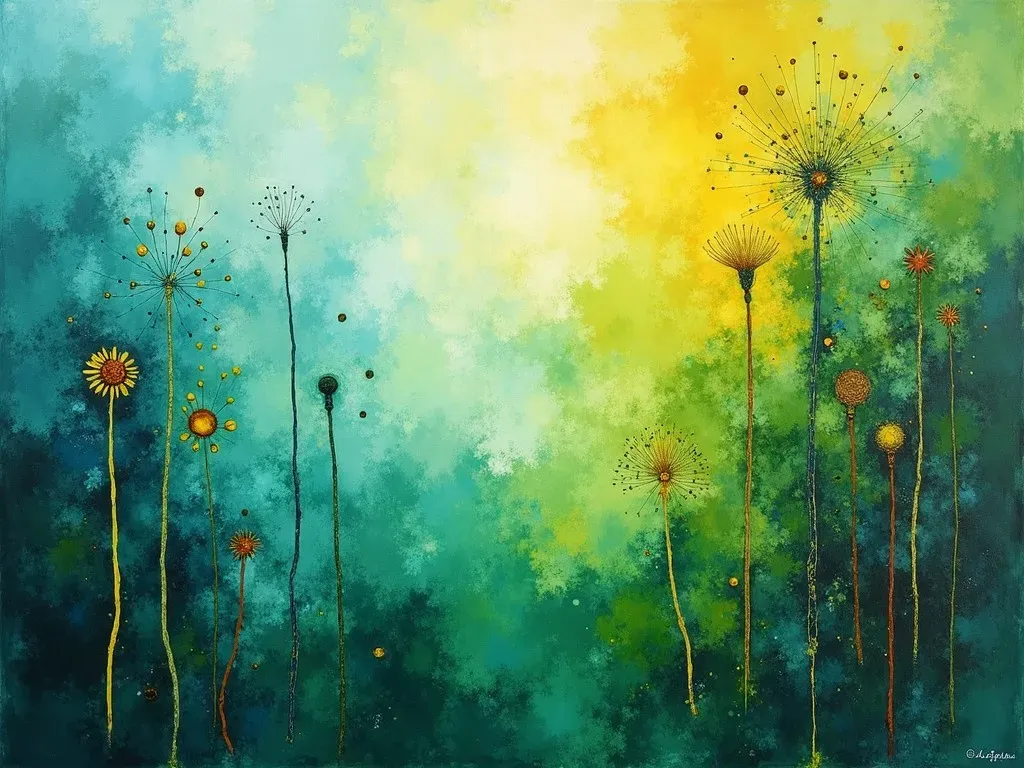
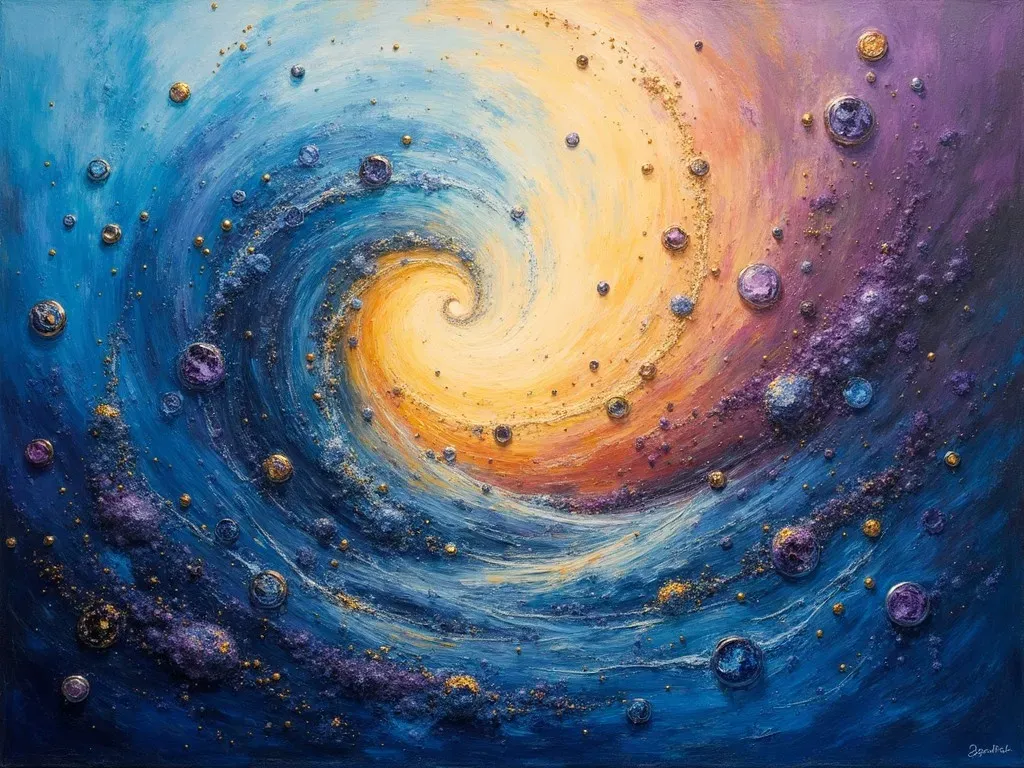
4. Nature-inspired Color Palettes

Take Inspiration from nature and formulate your color palette around the hues found in landscapes, flowers, or oceans. Capture the essence of your surroundings through abstraction.

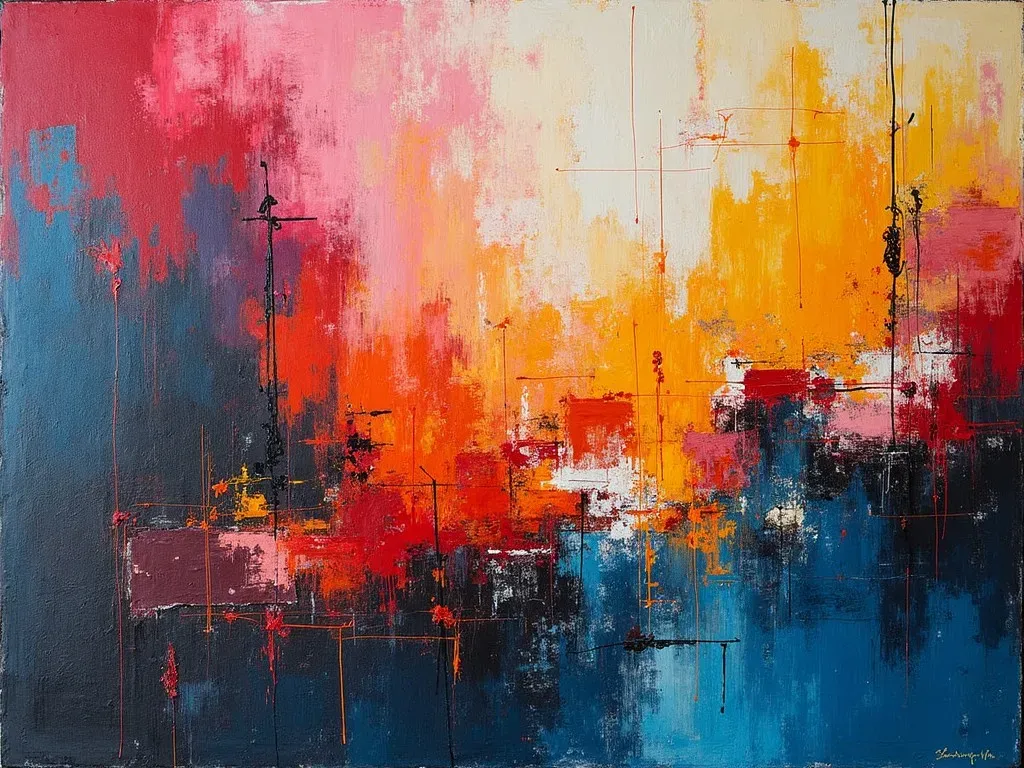
5. Emotional Expression

Channel your feelings through color choices and brush strokes. Let your emotions guide your interactions with the canvas, creating an authentic piece that reflects your current state.
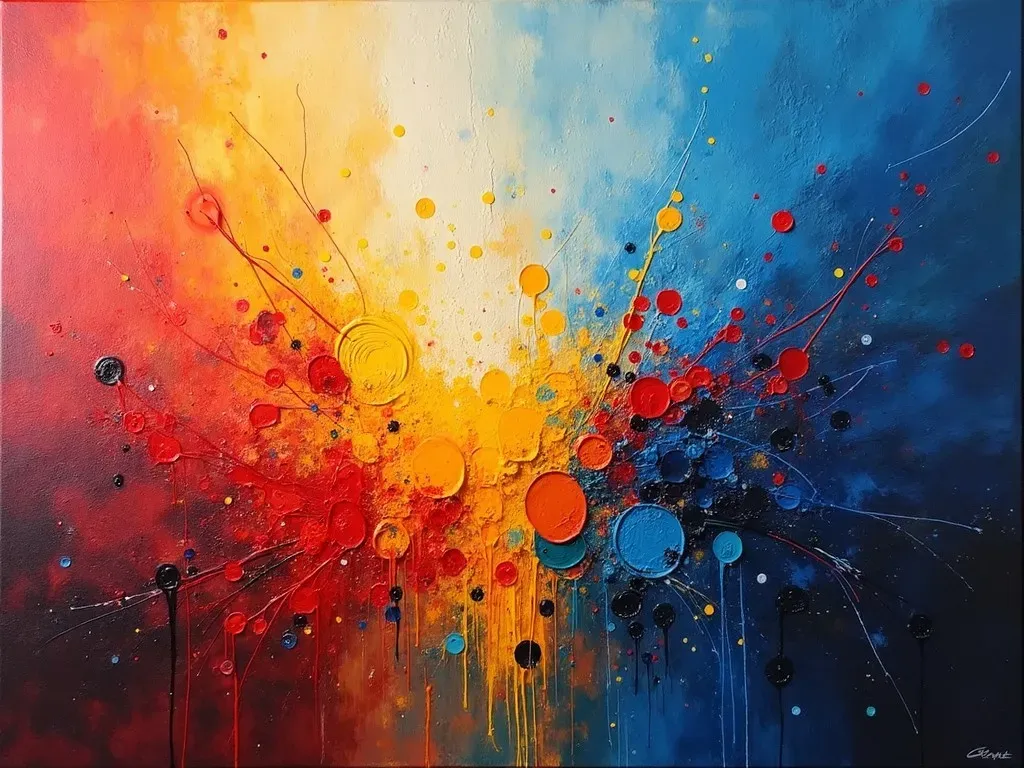
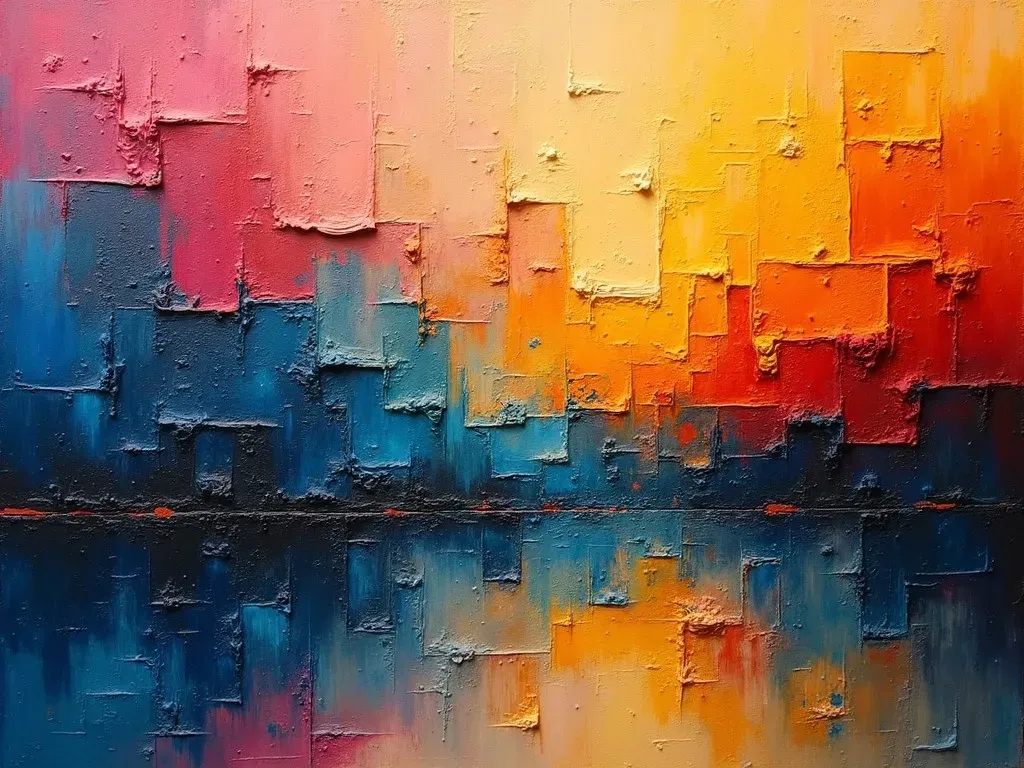
6. Textured Layers

Experiment with textures by applying thick layers of paint, sponges, or even fabric to the canvas. This adds tactile interest to your artwork and engages the viewer in a unique way.

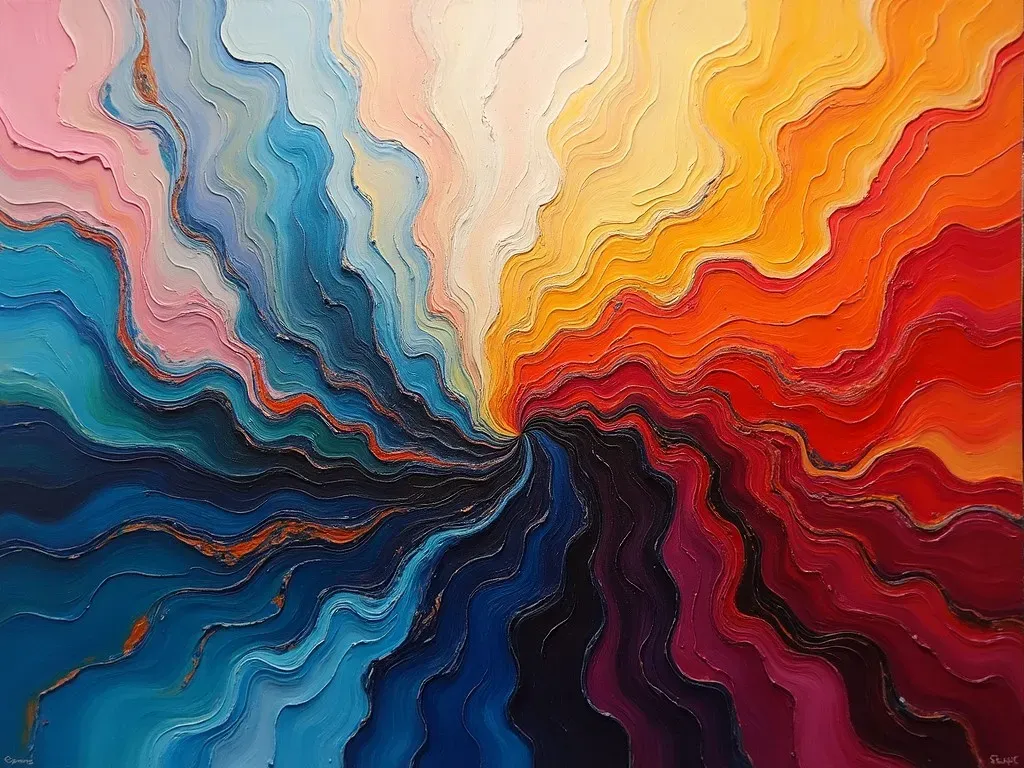
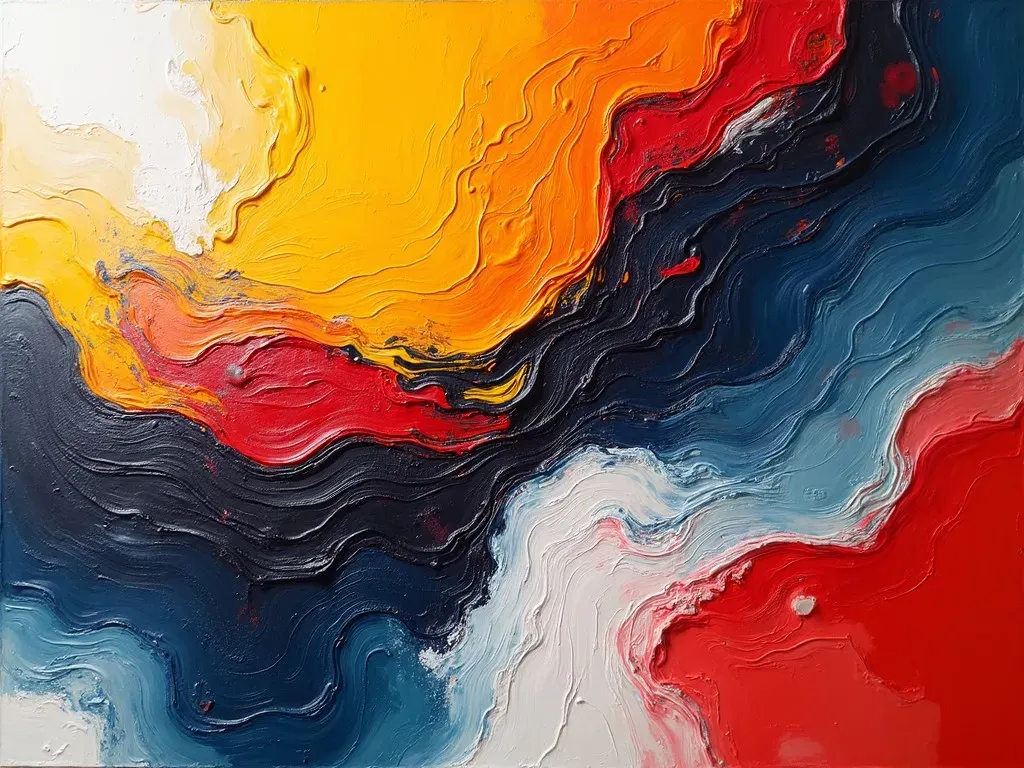
7. Interwoven Colors

Brush different colors together predictably or chaotically for a captivating, interwoven effect. Explore abrupt changes or smooth transitions to define your personal touch.

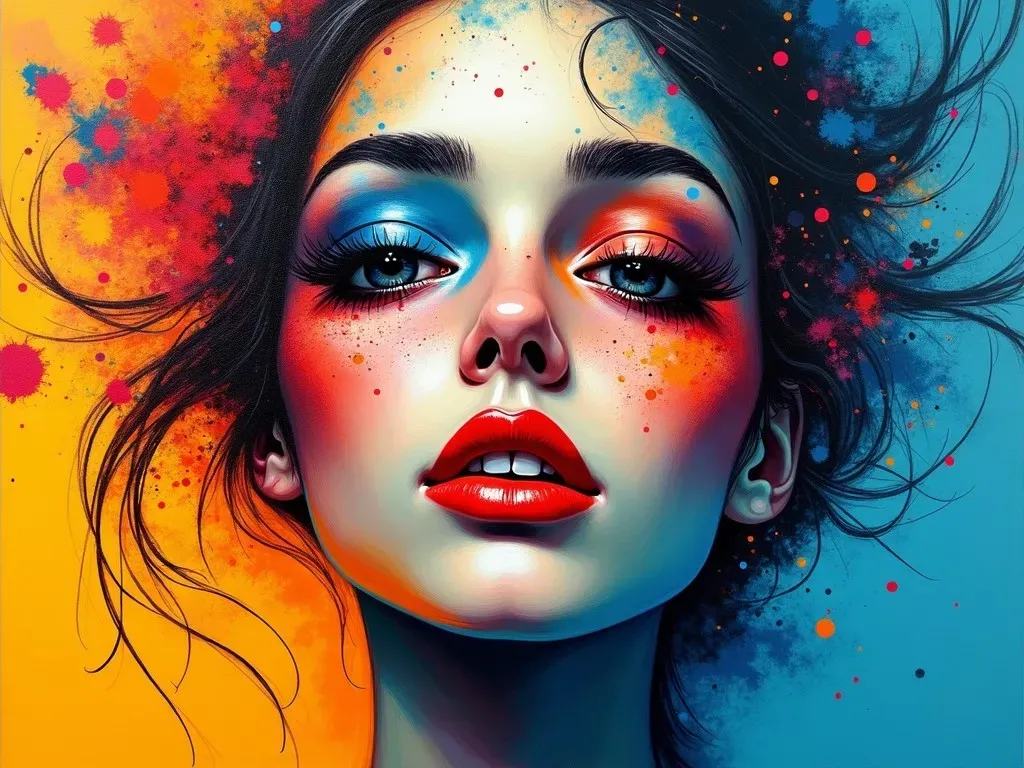
8. Abstract Portraits

Transform a traditional portrait into an abstract expression by distorting facial features while retaining some recognizable elements. This can yield an emotional and engaging piece.

9. Repetitive Motifs

Utilize repetitive shapes or strokes to form a pattern throughout your painting. This technique focuses on rhythm and can produce a mesmerizing visual experience.

10. Expressive Brush Strokes

Allow your brush strokes to retain spontaneity. Emphasize movement through dynamic strokes that convey energy and rhythm.

11. Collage Techniques

Combine oil painting with collage elements such as fabric scraps, paper, or photographs to add depth and narrative to your abstract piece.

12. Fragmentation

Draw inspiration from fragmentation by breaking down a subject into abstract shapes and forms, creating a jarring yet fascinating visual composition.

13. Bold Line Art

Implement bold, black lines alongside vivid colors to discrete areas. This gives definition to your abstraction while maintaining a playful aesthetic.

14. Suspension in Time

Create pieces that appear incomplete or paused mid-action. This technique invites viewers to consider what exists outside the frame.

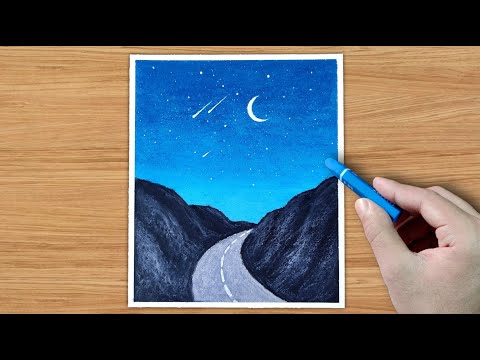
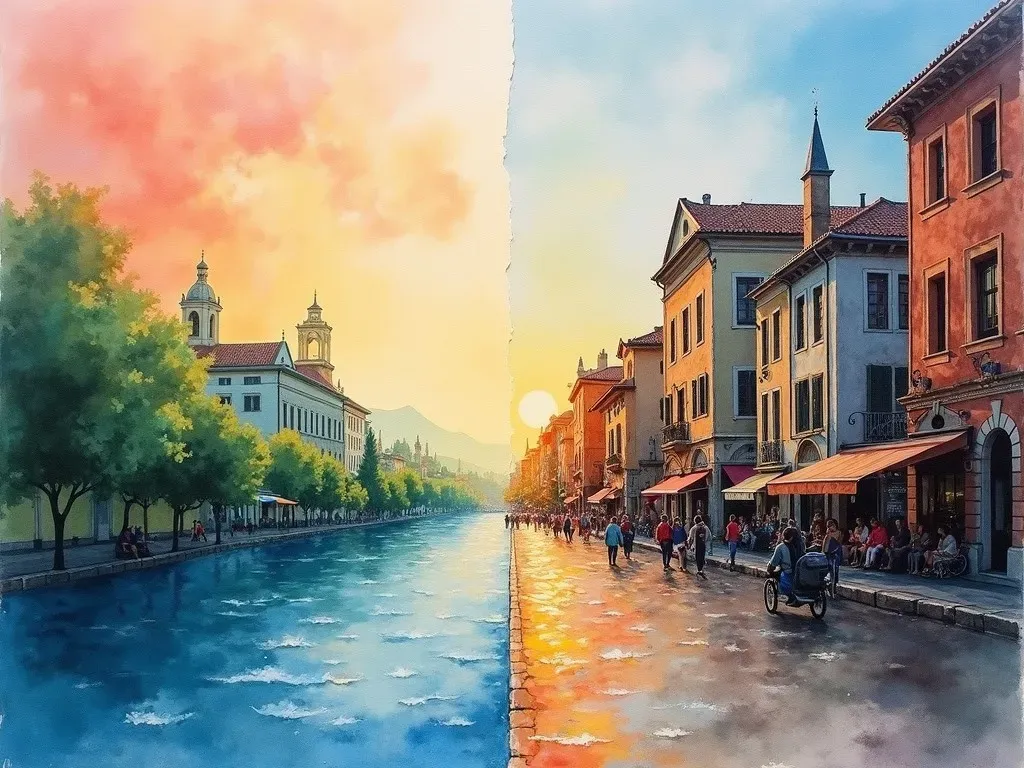
15. Atmospheric Blending

Focus on gradients and soft transitions in color to evoke a sense of atmosphere. This approach can be particularly effective in landscapes where the sky meets the earth.

Frequently Asked Questions (FAQs)

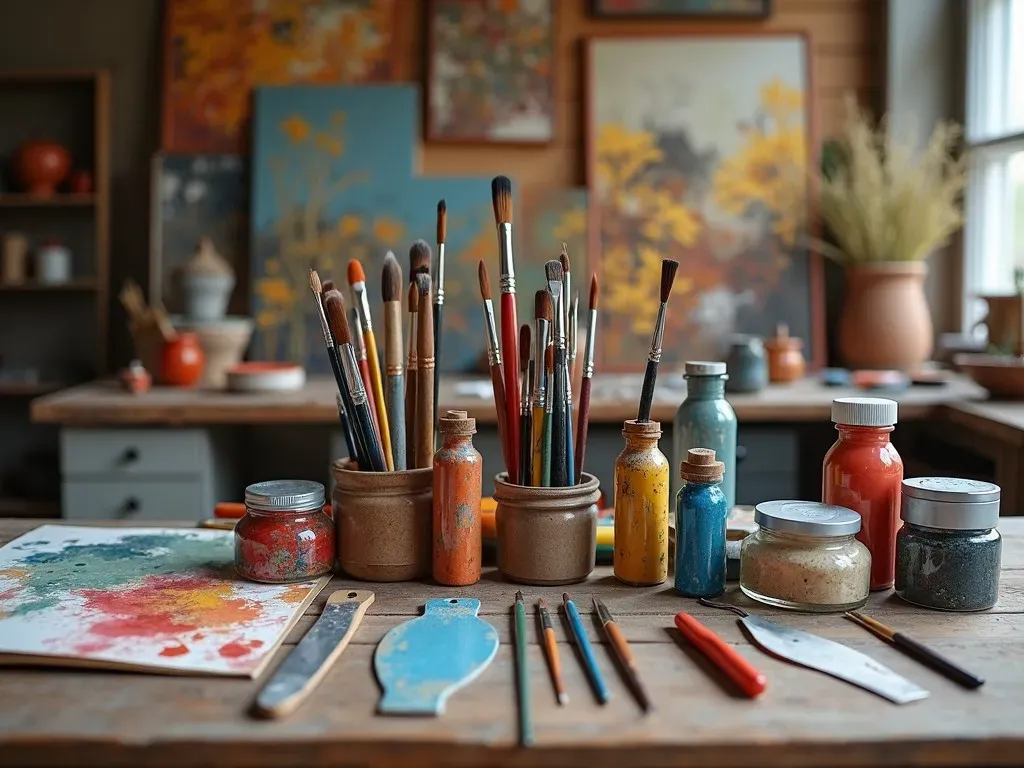
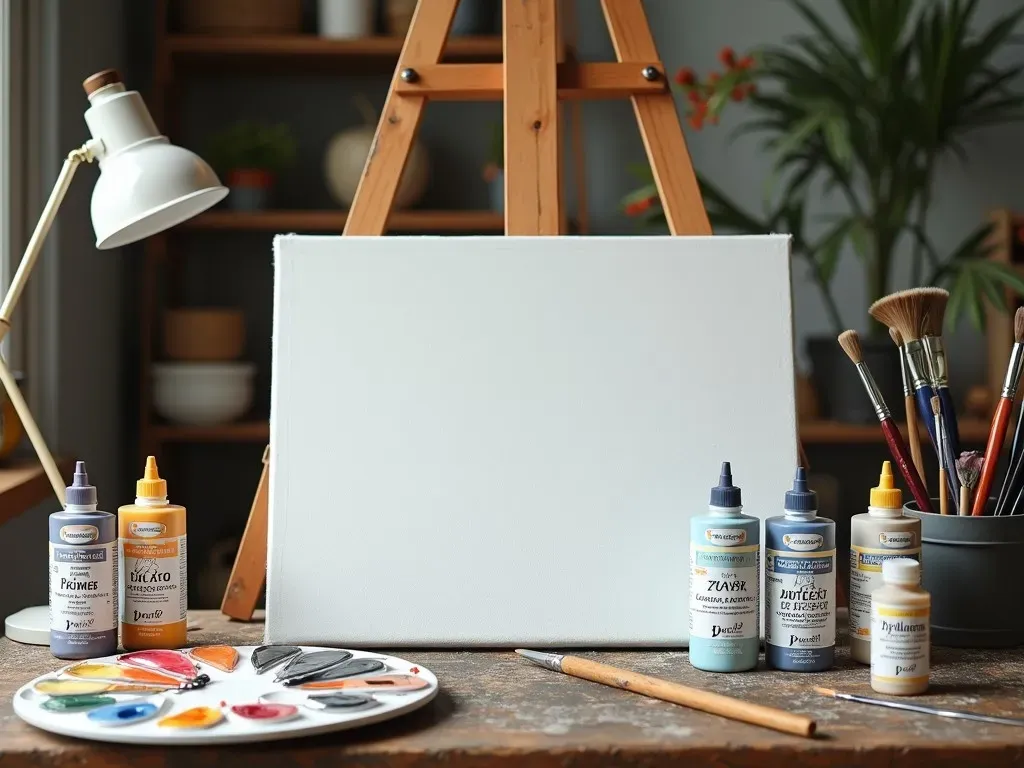
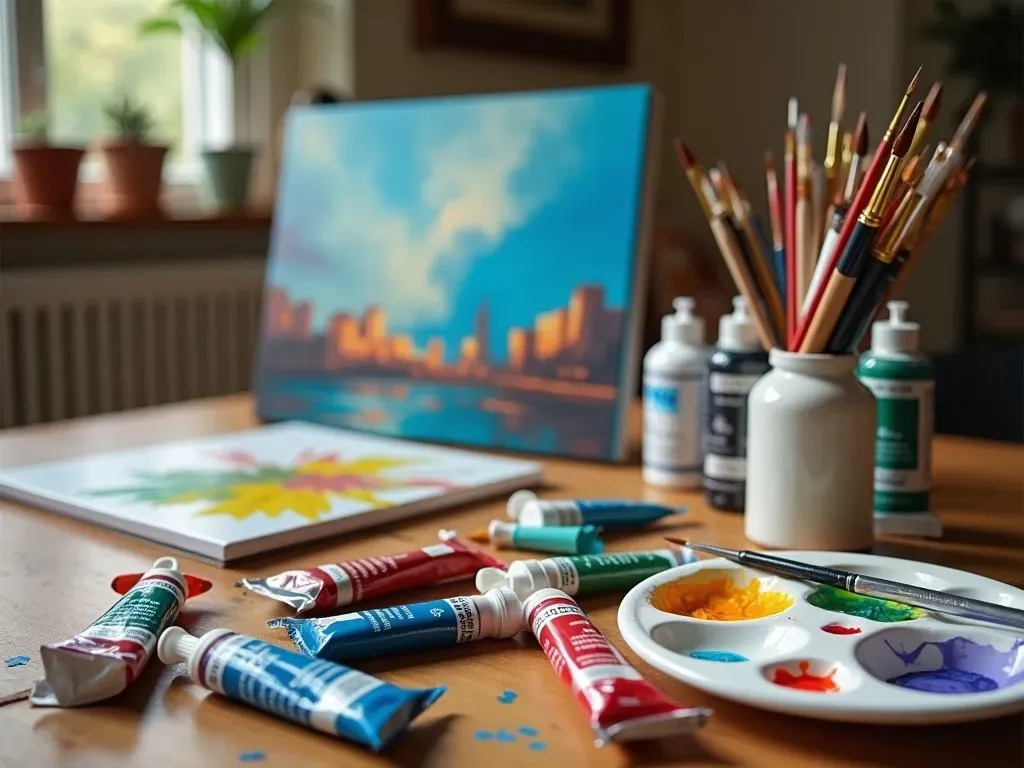
What materials do I need for oil painting?

You will need oil paints, brushes, a palette, a canvas or canvas board, linseed oil or another medium, and turpentine or another solvent for cleaning.

How do I start an abstract oil painting?

Begin by sketching your ideas lightly on the canvas, choose your color palette, and then apply paint using varied techniques that you feel comfortable with.

Can beginners create abstract art?

Absolutely! Abstract art is a fantastic way for beginners to explore their creativity without the pressures of realism.

Do I need to have any formal training to paint abstract?

While formal training can be helpful, many successful abstract artists are self-taught. Experimentation and practice play crucial roles in developing your skills.

Where can I find more inspiration for abstract oil painting?

Websites like Feeling Nifty and Pinterest have extensive galleries of abstract art to draw inspiration from.


With these oil painting abstract ideas, you can tap into your artistic spirit and create works that speak volumes while remaining true to your aesthetic vision. Embrace the freedom that abstract art offers—there are no wrong turns, only paths leading to innovation and self-discovery. Happy painting!

Unveil Your Creativity: Mastering the Art of Oil Drawing Like a Pro!

Oil Drawing is a captivating art form that utilizes oil pastels or oil paints to capture stunning visuals on canvas or paper. Whether you’re a seasoned artist or just starting your creative journey, mastering oil drawing can take your skills to the next level. In this article, we’ll explore Techniques, tips, and Inspiration to help every artist bloom in their oil drawing endeavors.


What is Oil Drawing?

Oil drawing primarily involves the use of oil-based materials, usually oil pastels or oil paints, to render images. The depth of color and texture achievable with oil mediums allows for a rich and diverse artistic expression. Unlike traditional drawing, which typically incorporates graphite or charcoal, oil drawing adds a vivid dimension that can be both subtle and dramatic.


The Benefits of Oil Drawing

  1. Vibrancy: Oil paints and pastels boast an incredible variety of colors, providing artists extensive creative freedom.
  2. Blendability: The oil binder allows for smoother transitions and blends, making it easier to achieve depth and shadow.
  3. Texture: Artists can create various textures by layering and manipulating the medium during the painting process.
  4. Durability: Once dried, oil art can last much longer than other mediums, preserving the essence of the artwork.

Key Statistics About Oil Painting

Fact Details
Average drying time 6 months to several years
Main ingredients Pigments mixed with oil (linseed, safflower)
Famous oil artists Vincent van Gogh, claude monet, Leonardo da Vinci
Popular oil brands Windsor & Newton, Holbein, Gamblin

Reference Video

Essential Tools for Oil Drawing

Before diving into the world of oil drawing, you’ll need to gather the right tools. Here’s a list of essential Supplies:

  • Oil Pastels or Oil Paints: Choose quality brands for the best results.
  • Canvas or Thick Paper: Select appropriate substrates that can hold the medium.
  • Brushes: Various shapes (round, flat) in different sizes will enhance your techniques.
  • Palette: A surface to mix your colors.
  • Odorless Solvent: For cleaning brushes and thinning paints.
  • Palette Knife: Useful for mixing colors and applying paint in an impasto style.


Techniques for Beautiful Oil Painting

To create compelling oil drawings, familiarize yourself with some of these essential techniques:

1. Blending

Blend colors on your canvas using brushes or fingers to create smooth transitions. This technique is ideal for portraits and landscapes.

2. Impasto

Applying paint in thick layers gives a three-dimensional effect. Use a palette knife to create textured strokes.

3. Glazing

Layer thin washes of color to achieve depth without overwhelming the canvas. Glazes can enhance luminosity and richness.

4. Scumbling

Apply a thin, opaque layer of paint over dry paint to lighten or alter the existing colors.

5. Sgraffito

Scrape away a layer of paint to reveal the color beneath, adding depth to your work.

oil painting techniques">


Getting Started with Oil Drawing: Step-by-Step Process

  1. Choose Your Subject: Select a reference image that inspires you.
  2. Prepare Your Workspace: Make your space comfortable—good lighting is essential.
  3. Sketch Your Outline: Lightly sketch the composition with pencil or a thin layer of paint.
  4. Block in Colors: Start applying large areas of color, focusing on shadows and highlights.
  5. Build Layers: Gradually apply further layers to develop richness and detail.
  6. Refine Details: Use smaller brushes for intricate details and final touches.

Inspirational Oil Artists to Follow

Engaging with established artists can ignite your creativity. Here are a few notable oil artists known for their exceptional technique:

  • Vincent van Gogh: Known for expressive brushwork and bold colors.
  • Claude Monet: Pioneer of Impressionism, famous for his landscapes.
  • Rembrandt van Rijn: Master of light, shadow, and realistic expressions.

Famous Oil Paintings Table

Artist Artwork Year
Vincent van Gogh Starry Night 1889
Claude Monet Water Lilies 1916–1926
Rembrandt van Rijn The Night Watch 1642


Frequently Asked Questions (FAQ)

What is the difference between oil paints and oil pastels?

Oil paints are a liquid medium made from pigments mixed with oils, typically applied with brushes. Oil pastels are a more solid form of paint that can be blended similarly to crayons or chalk.

How long does it take for oil drawings to dry?

Drying times can vary significantly. Generally, oil paintings can take from several days to years, depending on the thickness of the paint layers and the environment’s humidity.

Can I layer oil pastels?

Yes, layering oil pastels can produce beautiful textures and gradients. Be sure to allow each layer to settle as you build up the colors.

Where can I find more tutorials on oil drawing?

For an in-depth guide to oil painting techniques, visit Draw Paint Academy for free resources and tutorials.


By embracing oil drawing into your artistic repertoire, you can unlock an array of creative possibilities. As you experiment and explore, you’ll refine your skills and artistic voice. Whether creating stunning landscapes or evocative portraits, each stroke will bring you closer to mastering this versatile medium. Happy drawing!

Unveiling the Magic: Why Linseed Oil for Paint is a Game-Changer for Artists!

Linseed oil for paint is a crucial element in the world of oil painting. This natural substance, derived from flax seeds, is not just a medium but an essential component that affects the overall quality, texture, and durability of the paint.

What is Linseed Oil Used For in Oil Painting?

Linseed oil has a multi-faceted role in oil painting. Primarily, it serves as a binder that holds the pigments together, allowing for even dispersion and consistency in color application. Additionally, it modifies the texture of the paint, making it smoother and easier to work with.

Function Description
Binder Holds pigments together, maintaining color integrity.
Medium Alters the texture and viscosity, allowing for varied Techniques.
Drying Agent Enables slower drying for detailed layering and blending.

How Linseed Oil Enhances Oil Paint

Linseed oil plays several roles in enhancing oil paint, including:

  1. Improved Pigment Dispersion: It helps in achieving uniform color distribution in the paint mixture, preventing clumping.
  2. Flexibility: This oil adds flexibility to dried paint, reducing the likelihood of cracking or peeling.
  3. Gloss Finish: Linseed oil contributes to a natural gloss, enriching the vibrancy of the colors.
  4. Slow Drying Time: Artists often value linseed oil for its ability to slow down the drying process, which is ideal for techniques requiring blending and glazing.

The Science Behind Linseed Oil

Linseed oil is composed of fatty acids that undergo chemical reactions upon exposure to air. This process, known as oxidation, transforms liquid linseed oil into a solid, durable film through cross-linking. Here’s a breakdown of its components:

Component Function
Alpha-Linolenic Acid Provides flexibility and durability.
Linoleic Acid Contributes to the drying properties.
Oleic Acid Enhances flow and application.

Common Uses of Linseed Oil in Oil Painting

In the realm of oil painting, linseed oil is utilized for several purposes:

  • Mixing with Pigments: Artists mix different pigments with linseed oil to create unique shades and effects.
  • Creating Glazes: By diluting the oil, artists can create transparent layers that add depth to their work.
  • Varnishing: Once the paint dries, linseed oil can be used in varnishing to enhance the durability and appearance of the finished artwork.

oil painting techniques">

The Benefits of Using Linseed Oil for Paint

1. Easy Application

Linseed oil allows for smoother application on various surfaces, be it canvas, wood, or metal. The consistency and flow it imparts make it a favorite among artists.

2. Eco-Friendly Option

Derived from flax seeds, linseed oil is a natural product with low toxicity levels. For environmentally-conscious artists, it serves as an excellent alternative to synthetic mediums.

3. Versatility

From traditional oil painting to modern artistic expressions, linseed oil can adapt to diverse techniques, making it suitable for artists of all styles.

4. Historical Significance

Linseed oil has been a trusted medium since the 12th century, representing a long-standing tradition in the art world. This rich history adds cultural depth to its use.

Reference Video

FAQ About Linseed Oil for Paint

Q: What does linseed oil do to oil paint?
A: Linseed oil acts as a binder, enhances flow, and extends drying time, allowing for better blending and layering.

Q: How does linseed oil affect drying times?
A: Linseed oil slows down the drying process, which can be beneficial for artists who need extra time for adjustments or detailed work.

Q: Can linseed oil be used with other mediums?
A: Yes, many artists combine linseed oil with turpentine or mineral spirits to achieve desired textures and effects.

Q: Is linseed oil safe to use?
A: Generally, linseed oil is considered safe, but precautions should be taken to avoid ingestion or prolonged skin exposure.

Q: How do I clean brushes after using linseed oil?
A: Brushes can be cleaned using mineral spirits or soap and water, making sure to remove all excess oil for proper maintenance.

Comparing Linseed Oil with Other Mediums

Medium Drying Time Flexibility Finish
Linseed Oil Slower drying Highly flexible Glossy
Turpentine Faster drying Less flexible Matte
Safflower Oil Medium drying Moderately flexible Semi-gloss
Poppy Oil Slower drying Flexible Satin

Painting Techniques with Linseed Oil

Artists often utilize linseed oil for various techniques:

  • Glazing: Applying layers of translucent paint to create depth.
  • Impasto: Using thick layers of paint for a three-dimensional effect.
  • Scumbling: Rubbing a thin layer of opaque paint over a dried layer for texture.

Conclusion

Using linseed oil for paint unlocks a myriad of possibilities for artists, enhancing the quality of their work while offering a connection to traditional practices. For more detailed insights into linseed oil and oil painting, you can visit The Beginning Artist.

Embracing linseed oil not only enriches the artist’s toolkit but also fosters a deeper appreciation for the art of oil painting itself. Whether you are a novice or a seasoned professional, understanding the implications and advantages of this remarkable medium is essential for any creative endeavor.

Ultimate Guide: How to Prepare Canvas for Oil Painting and Achieve Stunning Results

When it comes to oil painting, the preparation of your canvas is a crucial step that lays the groundwork for a successful artwork. Understanding how to prepare canvas for oil painting ensures you create a smooth surface for your paint and helps prevent issues like cracking and peeling later on.

Understanding Canvas Types

Before diving into the priming process, it’s essential to know the types of canvases available for oil painting. The two most popular materials are:

  • Cotton Canvas: This is a cost-effective option that is readily available. It absorbs paint well but has less durability compared to linen.
  • Linen Canvas: More expensive, but it offers superior durability and a smoother finish, which is particularly loved by professional artists.
Canvas Type Cost Durability Texture
Cotton Low Moderate Slightly rough
Linen High High Smoother

Sizing vs. Priming: What’s the Difference?

It’s vital to differentiate between sizing and priming, as both serve different purposes:

  • Sizing: This involves applying a liquid layer (usually rabbit skin glue or acrylic medium) to the canvas to prevent the oil from leaching into the fibers.
  • Priming: This layer serves to prepare the surface for painting, providing a smooth finish and preventing paint absorption.

Reference Video

How Do You Prime a Canvas for Oil Painting?

1. Gather Your Materials

To properly prime your canvas, you will need:

  • Raw Canvas: Choose either cotton or linen
  • Rabbit Skin Glue or Acrylic Size: For the sizing process
  • Gesso or Oil Primer: For priming
  • Sandpaper: For smoothing the surface
  • Natural Hair Brushes: For applying the size and primer
  • Palette Knife: For mixing
  • Water: For dissolving glue

2. Sizing the Canvas

  1. Prepare the Size: If using rabbit skin glue, dissolve it in warm water according to manufacturer instructions (usually about 1 part glue to 8 parts water).

  2. Apply the Size: Using a brush, apply a thin layer to the raw canvas. Brush continuously to soak in the size evenly.

  3. Let It Dry: Allow it to dry completely before moving to the next step, which may take several hours.

3. Priming the Canvas

  1. Choose Your Primer: While gesso is often used, a traditional oil primer offers a more suitable surface for oil paints. Mix your primer thoroughly with a palette knife.

  2. First Coat of Primer: Apply the primer using a brush. It’s preferable to use a flat brush for an even application.

  3. Drying Time: Let the first coat dry for at least 24 hours.

  4. Sanding: Once dry, lightly sand the surface with fine-grit sandpaper. This creates a smooth finish and prepares the canvas for the second coat.

  5. Second Coat: Apply a second coat of primer in the same manner, followed by another drying and sanding phase.

  6. Final Smoothing: Depending on the surface you desire, you may choose to sand again lightly.

4. Toning the Canvas (Optional)

Once priming is complete, you can tone the canvas using a thin oil wash of color. This adds a subtle hue for your painting backdrop.

  • Choose a warm or neutral tone.
  • Apply it with a clean brush or cloth and allow to dry before painting.

Important Priming Techniques

  • Thin Layers: Always apply thin layers of both size and primer. This method ensures better adhesion and a smoother surface.
  • Brush Technique: Use straight, even strokes and avoid over-brushing.
  • Ventilation: Ensure good ventilation during the drying process to expedite drying and remove any odors related to the materials used.

Common Mistakes to Avoid

  • Skipping Sizing: Always size your canvas before priming to prevent oil absorption.
  • Too Much Primer: Over-application can lead to cracking.
  • Inadequate Drying: Never rush the drying process; ensure each layer dries completely.

Additional Tips for Success

  1. Use Quality Materials: Investing in quality canvas, size, and primer will yield the best results.
  2. Experiment: Try different Techniques and surfaces to find what works best for your style.
  3. Plan Your Painting: Consider the color palette you’ll use; toning can significantly affect the final outcome of your work.

Frequently Asked Questions

How long does it take to prepare a canvas for oil painting?

Typically, preparing a canvas can take anywhere from a few hours to a few days, depending on the drying times between layers.

What is the best type of primer for oil painting?

Oil primer is often recommended for oil painting, as it offers better adhesion and a smoother finish compared to acrylic gesso.

Can I paint directly on raw canvas?

While it’s technically possible, painting directly on a raw canvas can lead to problems such as paint absorption and degradation of the canvas over time.

Is it necessary to tone a canvas?

Toning is optional; however, it can enhance the vibrancy of colors and provide a harmonious foundation for your painting.

Recommended Resources

For further reading on the topic, you might want to check out this detailed guide on preparing your canvas for oil painting which dives deeper into techniques and products available.

Armed with this comprehensive guide, you are now ready to accurately prepare your canvas for oil painting. Enjoy the creative process, and remember that the preparation phase is just as important as the painting itself!

Unlock Your Creativity with Oil Painting Still Life: A Comprehensive Guide to Master this Timeless Art Form

Seed keyword: oil painting still life
Keywords: still life oil


Oil painting still life is a captivating genre of art that focuses on inanimate subjects, typically featuring everyday objects such as fruits, flowers, and household items. This art form allows artists to showcase their technical skills and creativity while providing viewers with a ray of beauty captured in static objects.

Understanding Still Life in Oil Painting

The term still life is derived from the Dutch word "stilleven," which means "quiet life," and it has emerged as a significant genre within the realm of painting. Oil painting still life has a rich history that dates back to ancient civilizations, but it reached new heights during the Renaissance period when artists like Caravaggio and Jan Davidsz de Heem portrayed stunning arrangements that featured an interplay of light and shadow, rich colors, and intricate details.

Characteristics of Oil Painting Still Life

  1. Composition: The arrangement of objects is crucial in still life paintings. A well-composed piece draws the viewer’s eye and encourages them to explore every detail.
  2. Color Palette: Oil paints offer a vast range of colors, which artists exploit to create vibrant and emotive scenes. A limited palette can also be effective for artistic cohesion.
  3. Lighting: Understanding how light interacts with objects adds depth and realism. Artists often use chiaroscuro to accentuate features and create a three-dimensional effect.
  4. Textural Variation: The unique quality of oil paints allows for smooth blending or heavy texture, adding to the overall dynamics of the painting.

Essential Supplies for Oil Painting Still Life

Before you embark on your still life oil painting journey, ensure to gather the following materials:

Material Purpose
Canvas or Panel Surface for painting
Oil Paints Various colors
Brushes Different sizes for detailing
Palette Mixing colors
Palette Knife For mixing paint and creating texture
Rags or Paper Towels For cleaning brushes and hands
Easel To support your canvas
Odorless Solvent For thinning paint and cleaning
Varnish To protect your finished painting

Facts and Figures Related to Still Life Painting

  • Historical Significance: The still life genre became prominent during the Renaissance, with Dutch painters leading the way in this depiction of everyday objects.
  • Proportion of Art Sales: Still life paintings represent approximately 15% of total art sales in galleries, indicating a sustained interest from collectors.
  • Global Popularity: While Central and Western European countries are well-known for their still life tradition, contemporary artists worldwide continue to contribute to this genre, adding diverse influences and styles.

Step-by-Step Guide to Creating Oil Painting Still Life

Here’s a simple yet effective step-by-step tutorial to help you create your own still life masterpiece.

Step 1: Choose Your Subject

Select items that inspire you, such as fruits, flowers, or kitchen utensils. Arrange them thoughtfully to create a compelling composition.

Step 2: Prepare Your Canvas

Gesso your canvas to create a smooth surface for painting. Let it dry completely before proceeding.

Step 3: Sketch Your Composition

Lightly sketch the outline of your objects using a pencil or charcoal. Pay attention to proportions and perspective.

Step 4: Underpainting

Begin with an underpainting using a monochromatic color palette. This establishes values (light and dark) and helps in judging colors later.

Step 5: Layering Colors

  1. Base Layer: Start with a base layer of the main colors in your composition.
  2. Add Details: Gradually build up layers, adding highlights and shadows to create depth.
  3. Mixing: Use a palette knife to mix your colors, focusing on harmonious blends.

Step 6: Final Touches

Incorporate textural details and adjust colors as necessary. This is where the painting really comes alive.

Step 7: Drying and Varnishing

Allow your work to dry completely before applying a final varnish layer. This enhances colors and provides protection.

Additional Tips for Success

  • Experiment with Styles: Explore different styles such as realism, impressionism, or abstract to find what resonates with you.
  • Practice Regularly: Like any skill, practice is essential. Set aside time each week to create new still life compositions.
  • Utilize Online Resources: Consider online tutorials and classes such as those available on Art Ignition and YouTube channels dedicated to oil painting.

FAQ

Q: What types of subjects can I use for a still life painting?
A: You can use any inanimate objects, including fruits, flowers, books, and kitchen utensils. The key is to choose items that interest you and can be arranged in an appealing way.

Q: Do I need a lot of experience to create still life paintings?
A: Not at all! Start with simple objects and gradually work your way up to more complex arrangements. Painting is a learning process.

Q: How do I choose my color palette?
A: A limited palette is a good starting point. Select a few primary colors and mix them to create a cohesive look throughout your painting.

Q: How can I improve my skills in oil painting?
A: Regular practice, studying the works of renowned artists, and seeking feedback from fellow artists can greatly enhance your skills.

Q: What is the best way to clean my brushes after oil painting?
A: Use an odorless solvent to clean your brushes thoroughly, ensuring no paint residue remains. Follow up with soap and water for a final cleanse.

With diligence and creativity, you can master the art of oil painting still life. Each painting offers a unique opportunity to express your vision while honing your skills as an artist. Dive in, explore, and enjoy the journey of transforming still objects into vibrant works of art.

Reference Video

Does Bob Ross Paint with Oil or Acrylic? Discover the Truth Behind His Masterpieces!

When it comes to the art of painting, one name stands out prominently: Bob Ross. Known for his soothing voice, gentle demeanor, and iconic style, Bob Ross has captured the hearts of millions while teaching them the joys of painting. So, does Bob Ross paint with oil or acrylic? The answer is simple: Bob Ross primarily used oil paints in his artwork.

Oil vs. Acrylic: Understanding Bob Ross’s Choice

The choice of paint significantly affects the outcome of any painting. Bob Ross favored oil paints due to their unique properties, allowing for better blending and a more vibrant finish. Here is a comparison table that outlines the differences between oil and acrylic paints in general, which helps to appreciate the context of Bob Ross’s choice:

Feature Oil Paints Acrylic Paints
Drying Time Slow (days to weeks) Fast (minutes to hours)
Texture Creamy and smooth Thick and plastic-like
Color Vibrancy Rich and deep Can appear more vibrant when dry
Blending Excellent for smooth transitions Requires quick work to blend
Clean-Up Requires solvents like turpentine Simple clean-up with water
Layering Technique Can be glazed for depth Layers dry quickly, making glazing tricky

Bob Ross’s Painting Technique

Bob Ross was a master of the wet-on-wet technique, also known as "alla prima." This method allows artists to touch wet paint directly onto wet paint, which enhances blending and offers a mastery over textures that is particularly effective with oil paints. For those interested in trying Bob Ross’s style, here’s what you need to know about the tools and materials he used:

  1. Oil Paints: Bob preferred specially formulated oil paints designed for the wet-on-wet technique.
  2. Brushes: He used a variety of brushes including fan brushes and round brushes, which contributed to the creation of clouds, trees, and other textures.
  3. Canvas Size: Bob Ross typically painted on an 18 x 24-inch canvas, which provided ample space for his landscapes.

Adapting Bob Ross’s Techniques with Acrylics

Although Bob Ross primarily used oil paints, many artists have successfully adapted his Techniques for use with acrylic paints. It is important to note that acrylic paint dries faster than oils, which can create challenges when trying to blend colors. Here are some tips for using acrylics in a Bob Ross style:

  • Work Quickly: Due to their fast drying times, you must act swiftly to achieve the desired effects.
  • Use a Retarder: Adding a retarder to your acrylic mixture can extend the drying time, allowing for more blending time and depth.
  • Misting: A light mist of water can help keep acrylic paints workable, although caution should be taken not to overdo it.

You can find various tutorials online that guide you through the process of painting in Bob Ross’s style using acrylics. For example, articles like “Can You Paint Bob Ross Style With Acrylics?” from Sustain The Art provide insights on how to successfully navigate these adjustments.

Frequently Asked Questions (FAQ)

Q: Can I paint like Bob Ross with acrylic paints?

A: Yes, you can adapt Bob Ross’s techniques to use acrylic paints, but be mindful of their fast drying time.

Q: What size canvas did Bob Ross use?

A: Bob Ross typically painted on an 18 x 24-inch canvas.

Q: Is the Bob Ross technique compatible with acrylics?

A: While Bob Ross primarily used oils, his wet-on-wet technique can be used with acrylics; just remember to adjust for the different drying times.

Q: Which paints are best for beginners wanting to follow Bob Ross’s style?

A: For beginners, a set of quality oil paints or student-grade acrylics can be used. Choose according to your comfort level and willingness to manage drying times.

Exploring Bob Ross’s Legacy

Bob Ross’s contributions to the world of art extend well beyond his choice of paints. He has inspired countless people to take up painting, embracing creativity and self-expression. His unique approach cultivated a sense of calm and serenity, encouraging viewers to discover and enhance their own artistic abilities. The accessibility of his teachings is celebrated not just for the techniques he employed, but for the philosophy he promoted.

Fun Fact: Bob Ross was a sergeant in the United States Air Force and didn’t start painting until he was in his thirties! His journey is a testament to the idea that it’s never too late to pursue your passion.

Conclusion: The Lasting Impact

Bob Ross’s legacy as a painter stretches far beyond his choice of oil paints. By imparting joy and well-being through art, he has become a cultural icon. Whether you choose oils or acrylics, the essence of Bob Ross’s painting lies in the enjoyment of the process and the encouragement to embrace your artistic voice.

For those interested in pursuing either oil painting or acrylics in Bob Ross’s style, there are myriad resources available, including online tutorials, books, and community studios. For more detailed insights on practicing in his style, you can check out the Bob Ross Foundation for a wealth of information and techniques.

Unveiling the Mystery: What Does “Oil on Canvas” Really Mean?

The term "oil on canvas" refers to a painting technique where pigments are mixed with oils and applied to a canvas surface. This method has become one of the most popular and enduring forms of painting, dating back to the early Renaissance. Through its fluid nature and ability to create rich textures and vivid colors, oil on canvas has provided artists with a versatile medium to bring their visions to life.

The Oil on Canvas Process Explained

The Components of Oil on Canvas

To better understand the meaning of oil on canvas, it’s essential to break down its components:

  1. Oil Paint: Composed of pigments suspended in a drying oil, such as linseed, walnut, or poppyseed oil, oil paint allows for easy blending and layering of colors. The choice of oil affects drying time, glossiness, and consistency.

  2. Canvas: Typically made from cotton or linen, canvas serves as the sturdy support for oil painting. The texture of the canvas influences the final appearance of the artwork.

  3. Priming: Before painting, the canvas is usually primed with a layer of gesso, which prepares it to accept oil paint by providing a smooth surface.

Artistic Techniques

Artists utilize various Techniques when working with oil on canvas. Here’s a summary of some prevalent methods:

Technique Description
Glazing Applying thin layers of transparent paint to achieve depth and luminosity.
Impasto Thick application of paint for a textured surface that creates physical depth.
Scumbling A technique using a dry brush to apply a thin layer of opaque paint, allowing underlying colors to show through.
Alla Prima Painting "wet-on-wet" without letting earlier layers dry, achieving a spontaneous feel.
Sgraffito Scratching through wet paint to expose the layer underneath, adding complexity to textures.

Historical Significance

Oil on canvas has been utilized by many of the world’s most renowned artists, including Leonardo da Vinci, Rembrandt, and Vincent van Gogh.

Artist Famous Work Era
Leonardo da Vinci Mona Lisa Renaissance
Vincent van Gogh Starry Night Post-Impressionism
claude monet Impression, Sunrise Impressionism
Diego Rivera Detroit Industry Murals 20th Century

Advantages of Oil on Canvas

The oil on canvas method comes with several benefits, reinforcing its popularity among artists:

  • Durability: Oil paints have excellent longevity and resist fading.
  • Versatility: They can be used on various surfaces and accommodate multiple styles.
  • Rich Color: The oil medium allows for vibrant colors and complex hues due to its slow drying time, enabling artists to blend seamlessly.

The Artistic Journey: From Concept to Creation

Step-by-Step Process of Oil on Canvas

  1. Preparing the Canvas:

    • Start with a clean, primed canvas.
    • Use gesso to create an even surface for paint application.
  2. Sketching:

    • Lightly sketch the composition on the canvas using charcoal or a light pencil.
  3. Underpainting:

    • Create an initial layer using a monochromatic color to establish values. This layer sets the tone for subsequent applications.
  4. Building Layers:

    • Begin applying colors, working from dark to light as a general rule (fat over lean) to maintain flexibility and prevent cracking.
  5. Refining Details:

    • Use various brush sizes and techniques to add intricate details and textures.
  6. Final Touches:

    • Apply a final layer to enhance color vibrancy, adjust values, and add highlights.

Common Mistakes in Oil Painting

While creating artworks using oil on canvas, artists often encounter pitfalls. Here’s a list of common mistakes:

  1. Not Priming Canvas: Skipping gesso leads to poor paint adherence and uneven color application.
  2. Overworking Paint: Constantly revisiting saturated layers can turn muddy.
  3. Ignoring Drying Times: Not allowing layers to dry before adding new ones often results in unwanted blending.
  4. Using Cheap Brushes: Low-quality brushes can restrict artistic expression and lead to poor outcomes.
  5. Poor Color Mixing: Misunderstanding color theory can mislead artists into creating unintended shades.

Oil on Canvas in the Modern Era

In contemporary art, the oil on canvas technique continues to thrive. Artists are blending this traditional method with modern themes and innovative styles, leading to expressions that capture today’s cultural landscape. The resurgence of oil painting as a viable artistic medium demonstrates its versatility and emotional depth.

For more information about oil painting, visit Britannica – Oil Painting.

Frequently Asked Questions

What Does "Oil on Canvas" Symbolize in Art?

Oil on canvas signifies a blend of traditional artistry with personal expression. The technique is often associated with mastery in painting due to its complexity and the skill required to manipulate oil paints.

How Does Oil on Canvas Compare to Other Painting Techniques?

Compared to acrylic or watercolor, oil on canvas offers richer textures and prolonged blending time, allowing artists greater flexibility. However, it also has a longer drying time, which can be a disadvantage for those preferring quick results.

Why Do Artists Prefer Oil on Canvas?

Artists favor oil on canvas for its durability and the ability to create depth and luminosity that other mediums often struggle to achieve. Furthermore, the texture of the canvas itself enhances the painting’s overall aesthetic.

Is Oil on Canvas Environmentally Friendly?

Modern oil paints have made strides towards being more environmentally friendly. Artists today can find options that reduce harmful solvents and utilize biodegradable products.

How Can I Start Painting with Oil on Canvas?

Beginners should:

  1. Invest in quality materials (oil paints, brushes, and canvas).
  2. Familiarize themselves with color theory and basic techniques.
  3. Practice consistently, building skills through experimentation.

art Supplies">

This comprehensive understanding of "oil on canvas meaning" highlights not just the technical aspects but also the rich history and contemporary significance of this art form.

Oil Painting vs Watercolor: Which Medium Will Transform Your Artistic Journey?

In the realm of artistry, the choice between oil painting vs watercolor is a significant factor that can influence both the technique and emotional resonance of an artist’s work. Each medium offers distinct characteristics, which cater to a variety of personal styles and artistic visions.

Understanding Oil Painting

Oil painting is a classical form of art that uses pigments mixed with oils such as linseed, safflower, or walnut oil. The oil serves as a binder, extending the drying time of the paint, which allows artists to manipulate the medium for a longer period.

Key Characteristics:

  • Drying Time: Oil paints take considerably longer to dry, ranging from several days to weeks depending on the thickness of the application.
  • Texture: Artists can create a range of textures, from smooth to impasto, by manipulating the thickness and layering of the paint.
  • Color Intensity: Oil paints produce rich, vibrant colors due to their high pigment content.
  • Blending: The extended drying time allows for exceptional blending capabilities, making it ideal for complex color gradations.

Pros and Cons of Oil Painting

Pros Cons
Vibrant colors and depth Long drying time
Excellent for blending Difficult to transport wet canvases
Rich textures Requires solvents for cleanup
Highly durable finish Can be more expensive

Exploring Watercolor

Watercolor painting, on the other hand, utilizes pigments suspended in a water-soluble binder. This medium is known for its transparency and fluidity, allowing for soft washes and delicate detail work.

Key Characteristics:

  • Drying Time: Watercolor typically dries quickly, which can lead to spontaneous and lively brushwork.
  • Transparency: The transparent nature of watercolors allows light to reflect through layers of paint, providing luminosity.
  • Application Techniques: Watercolors are often applied with fluid strokes, creating a unique textural effect that differs significantly from oil paint.

Pros and Cons of Watercolor

Pros Cons
Easy to clean up Less control over blending
Portable and convenient Limited color intensity
Fast drying time Requires skill for layering
Lower cost compared to oils Can be easily mishandled

Reference Video

Comparing Techniques: Oil, Watercolor, and Others

Understanding how watercolor vs oil, and even comparing with acrylic, provides insight into the unique benefits each medium offers.

1. Application Methods

  • Oil Painting: Often uses brushes and palette knives. Techniques like glazing, impasto, and scumbling offer diverse creative options.
  • Watercolor: Primarily involves brushes, sponges, or even spray techniques. Artists might use wet-on-wet, wet-on-dry, or dry brush techniques.

2. Maintenance and Cleanup

Medium Cleanup Difficulty Storage Solutions
Oil Painting High (solvents needed) Store in a cool, dry place; separate each layer with paper
Watercolor Low (water-based) Can be easily stored; dry out brushes after use

3. Psychological and Learning Barriers

Research indicates that oil painting may be easier for many beginners to learn due to its forgiving nature. Mistakes can be corrected with scraping and reapplying, whereas watercolor often requires immediate resolutions.

Facts and Figures

  • Popularity: According to a survey from Artsy, about 37% of emerging artists prefer oil paints, while 24% lean towards watercolors.
  • Durability: Arts Journal states that properly painted oil paintings can last centuries, while watercolors may fade if not properly handled.

FAQs: Oil Painting vs Watercolor

Q1: Is oil painting harder than watercolor?

While this varies from artist to artist, many find oil painting easier to manage because of the ability to make changes over time. Watercolors require more precision due to their rapid drying time.

Q2: Which medium is better for beginners?

This largely depends on the artist’s preferences. Oil painting requires more materials and specific cleanup methods, while watercolors may be easier to start with due to their portability.

Q3: Can you mix mediums?

Yes! Many artists enjoy combining both media in their projects, creating a unique blend of techniques and effects.

Q4: Do professional artists prefer one over the other?

Preference varies. Many professionals will choose their medium based on the project requirements, personal style, and even emotional connection to the material.

Q5: What are the costs associated with each medium?

Generally, oil paints tend to be more expensive due to higher quality pigment and necessary tools. Watercolors offer a wider range of price points, often making them more accessible.

Conclusion

In the debate of oil painting vs watercolor, each medium holds distinct advantages and challenges. The journey of an artist is often defined by personal experiences with these materials. Whichever you choose, both oil and watercolor can yield breathtaking results and offer a fulfilling artistic path. For more in-depth information on this topic, you can visit Art Ignition.

Discover the Magic: One of the Advantages of Oil Paint is Its Remarkable Depth and Richness!

One of the advantages of oil paint is its vibrant color depth, which can transform any canvas into a breathtaking work of art. The unique properties of oil paint, including its slow-drying nature, versatility, and rich textures, have made it a favorite among professional and amateur artists alike for centuries.

The Vibrancy of Color

Oil paints are renowned for their ability to produce rich, deep colors. The pigments in oil paints are suspended in a drying oil, commonly linseed oil, which allows for a greater concentration of color. This results in artworks that appear more luminous and full of life.

Color Depth Compared to Other Paints

Paint Type Color Depth Drying Time Blending Capability
Oil Paint Very High Slow (days to weeks) Excellent
Acrylic Paint Moderate Fast (minutes to hours) Good
Watercolor Paint Low Fast (minutes) Limited

Oil paints also allow for extensive layering and glazing Techniques that further enhance color richness. Artists can apply thin layers of transparent paint to achieve a glowing effect that is often unattainable with other mediums.

Unique Blending Properties

One of the main advantages of oil paint is its slow-drying characteristic. This allows artists to work on their pieces over an extended period, making it easier to blend colors seamlessly. Many individuals who ask, "Is oil painting hard?" quickly discover that this slow pace can actually foster creativity rather than hinder it.

  • Blending Techniques: Artists can utilize several techniques like scumbling, glazing, and impasto to achieve different textures and effects.
  • Extended Work Time: With oil paints, artists can revisit areas over several sessions, allowing for revisions and refinements that are not as feasible with quicker-drying mediums.

oil painting techniques">

Durability and Longevity

Another significant advantage of oil paint is its durability. Finished oil paintings are resistant to fading and damage, which means they can stand the test of time. The binding properties of linseed oil, combined with the chemical composition of the pigments, ensure that oil paintings maintain their vibrancy for decades, if not centuries.

Lifespan of Various Paint Types

Paint Type Expected Lifespan Factors Influencing Longevity
Oil Paint 100+ years Light exposure, temperature, humidity
Acrylic Paint 20-30 years UV light, surface treatment
Watercolor Paint 10-20 years Moisture, light exposure

This durability makes oil paint a preferred choice, especially for landscape and portrait artists who wish to create lasting artworks.

Flexibility Across Different Techniques

Oil paints are compatible with various painting techniques, allowing artists to explore multiple styles without needing to switch mediums. Whether an artist wishes to create detailed, realistic portraits or expressively bold landscapes, oil paint can adapt to these diverse techniques.

Key Techniques in Oil Painting

  • Glazing: Applying thin translucent layers results in luminous colors.
  • Impasto: Thick applications of paint, creating a three-dimensional effect.
  • Mixed Media: Oil paints can be combined with other materials such as pastels and acrylics, expanding creative avenues.

This versatility is particularly beneficial for new artists who are still developing their individual styles.

Ease of Application

Oil paints are relatively easy to apply, making them suitable for both novice and experienced artists. They glide smoothly over surfaces, helping to create fine details without difficulty. Furthermore, oil paints don’t dry as quickly as acrylics, allowing for ample time to adjust and refine the work before it sets.

  • Brush Techniques: Different types of brushes can be used to achieve various effects, from soft blending to precise detailing.
  • Surface Choices: Oil paints can be applied on a wide range of surfaces, including canvas, wood panels, and even paper, providing artists a lot of options to experiment with.

Challenges of Oil Painting

While oil paint offers numerous advantages, it also presents some challenges. The long drying time can sometimes be discouraging for artists on a tighter schedule. Additionally, proper ventilation is essential due to the strong solvents frequently used in cleaning brushes and thinning paint.

Quick Facts on Challenges

Challenge Description Solution
Long Drying Time Can delay finalization of artworks Use a heat source to expedite drying
Strong Smells Solvents can be overwhelming Work in a well-ventilated area
Cleaning Up Requires specific solvents Use odorless mineral spirits

FAQs

Q1: What is the best surface for oil painting?
A: While oil paints can be used on various surfaces, canvas and wood panels are the most commonly recommended due to their ability to hold heavy paint applications.

Q2: Do oil paintings need to be varnished?
A: Varnishing is recommended after the painting has fully dried (usually several months to a year) to protect it from dust, UV rays, and moisture, added to a more vibrant finish.

Q3: Are there any environmentally friendly oil paints?
A: Yes, there are eco-friendly options available that use natural oils and pigments. Artists should look for brands that prioritize sustainability and low environmental impact.

For more detailed insights about oil painting, consider visiting Paint Explained.

Understanding the advantages of oil paint not only expands your artistic knowledge but also prepares you for a rewarding journey in the world of painting. Whether you are a beginner or a seasoned professional, the advantages of oil paint can greatly enhance your artistic expression and the durability of your creations. Embrace the rich, vibrant world of oil painting and enjoy the artistic possibilities it offers!

Watercolor and Oil Painting: Which Medium Dominates the Art World?

Watercolor and oil painting are two of the most celebrated artistic mediums, each offering unique qualities that cater to different preferences and skills. Understanding the nuances of these two styles can help artists determine which medium they may prefer, based largely on the Techniques they want to explore and the aesthetic they wish to achieve.

The Key Differences Between Watercolor and Oil Painting

Painting with watercolors involves using water-soluble pigments, while oil paints consist of pigments suspended in drying oil. This fundamental difference leads to varying techniques, drying times, and visual effects between the two mediums.

  1. Drying Time

    • Watercolor: Watercolor paint dries relatively quickly, usually within a few minutes to hours, depending on the amount of water used and the thickness of the application.
    • Oil Painting: Oil paints dry much slower, taking days to weeks to fully cure. This allows artists to blend colors over extended periods, giving a greater degree of freedom in manipulating the paint.
  2. Transparency and Opacity

    • Watercolor: Typically characterized by its transparency, watercolor allows light to pass through layers of paint, creating a luminous effect.
    • Oil Painting: While oil paints can be both transparent and opaque, they often have a richer, deeper hue that can create more intense colors and textures.
  3. Techniques

    • Watercolor Techniques: These include wet-on-wet, wet-on-dry, and layering, all designed to take advantage of the medium’s fluidity and transparency.
    • oil painting techniques: Artists employ techniques like glazing, impasto, and back-and-forth blending to achieve varied textures and depth.
Feature Watercolor Oil Painting
Drying Time Fast (minutes to hours) Slow (days to weeks)
Transparency Highly transparent Can be transparent or opaque
Techniques Wet-on-wet, layering Glazing, impasto
Finish Matte finish Glossy or matte (depending on varnish used)

The Cost Factor

While both mediums can be acquired at various price points, watercolor painting tends to be more budget-friendly for beginners.

  • Watercolor Supplies: Starter sets can be found for as little as $20, giving access to basic pigments, brushes, and paper.
  • oil painting supplies: Oil painting sets can be more expensive; a beginner’s kit may cost around $50 to $100, considering the additional need for solvents and mediums used to modify the paint’s consistency.

Reference Video

Visual Effects Produced by Each Medium

Watercolor Effects

Watercolor paints produce soft washes and brilliant, luminous layers. The fluid nature of the medium allows for unique effects such as:

  • Granulation: Where the pigments settle into the paper texture, producing a grainy effect.
  • Blooming: An effect created when clear water is applied to the page over existing, wet pigment, causing an unexpected soft-edge appearance.

Oil Painting Effects

Oil paints allow for remarkable depth and texture. Techniques that highlight oil’s potential include:

  • Glazing: A fine, transparent layer of paint laid over dry paint to create depth.
  • Impasto: Thick paint application that stands away from the surface, giving a sculptural look.

Which Medium is More Beginner-Friendly?

It generally depends on the personal preferences and goals of the artist. However, here are some considerations:

Watercolor as a Beginner Choice

  • It requires less setup and cleanup, making it more accessible for impromptu painting sessions.
  • The ability to create rapid pieces facilitates experimentation and learning.

Oil Painting as a Beginner Choice

  • The slow drying time allows for more time to refine and perfect a piece.
  • Deeper, saturated colors might appeal more to those looking for rich visuals in their artwork.

According to Art Ignition, “watercolors contain a concentrated pigment that offers more coverage than other mediums,” suggesting that beginners may find it easier to produce immediate results.

Where to Start: Basic Supplies for Each Medium

Watercolor Supplies Oil Painting Supplies
Watercolor paints Oil paints
Watercolor paper Canvas or wood panel
Watercolor brushes Bristle and synthetic brushes
Water cup Palette knife
Mixing palette Solvents (like turpentine)

Techniques and Tutorials

For artists wishing to dive deeper into either medium, numerous resources are available for learning. Sites like Paint Petal provide helpful tutorials and comparisons, while dedicated YouTube channels offer hands-on demonstrations of basic techniques.

FAQs

1. Is oil painting more difficult than watercolor?

  • Many artists find oil painting harder due to the longer drying times which require specific techniques and patience. Watercolor can be challenging as well, particularly in controlling the flow of water.

2. Can I mix oil and watercolor?

  • Mixing water-based and oil products directly is not advised as they don’t adhere properly. You can, however, create effects by layering finished works or maintaining some separation in your compositions.

3. What is the best medium for landscape painting?

  • Both mediums work well for landscapes; oil painting allows for richer textures, while watercolor can capture the delicacy of light.

4. Do I need expensive supplies to start?

  • Not necessarily! Both mediums can be approached with budget-friendly materials designed specifically for beginners.

In summary, both watercolor and oil painting are enjoyable and fulfilling mediums, each with distinct characteristics that appeal to different types of artists. By exploring each, artists can discover their preferences, develop their skills, and grow their creative expression.

Exit mobile version